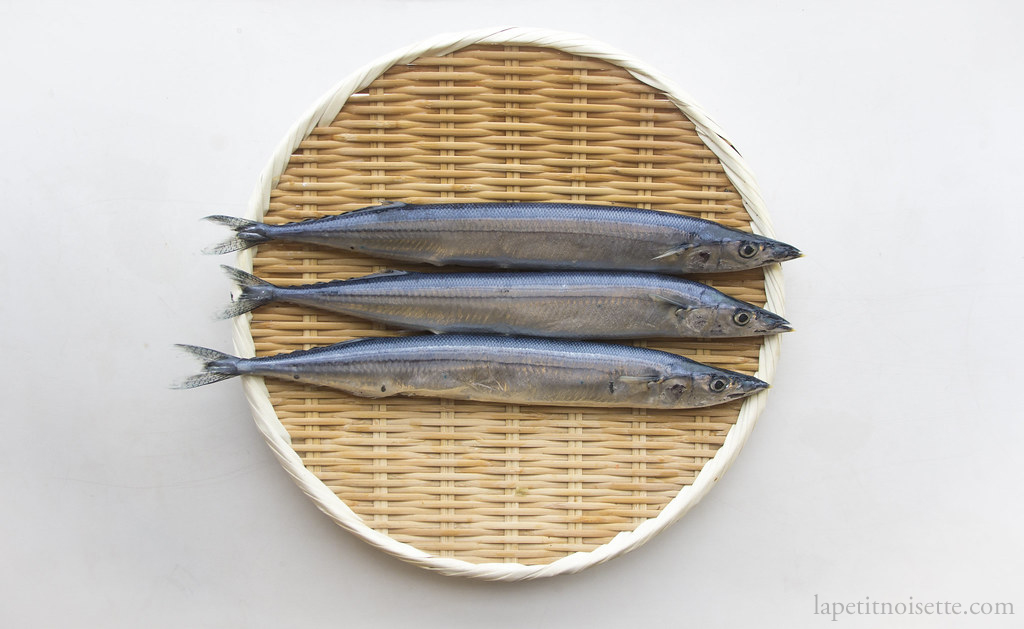
Sanma or Pacific Saury is not a traditional Edomae fish served as sushi. More famous for being grilled with salt, Sanma comes into season during the autumn, with its name 秋刀魚 meaning autumn knife, with its silver skin and long body shape resembling a sword. During the Edo period, Sanma was classified as a low class fish not fit for consumption.
A relatively cheap fish, it is a good source of protein, with the highest quality of Sanma coming from the cold waters of Hokkaido. Most Sanma sold in Japan is not safe for being made into sashimi, so please check before doing so. It is categorised as a sliver skinned fish (Hikarimono/光り物). As a silver skinned fish, it is sometimes prepared in the same way as Kohada and Kasugo, being salted and marinated in vinegar. However, Sanma can be served fresh with a small amount of grated ginger and spring onions.
Edomae-style preparation of Sanma for Nigiri Sushi:
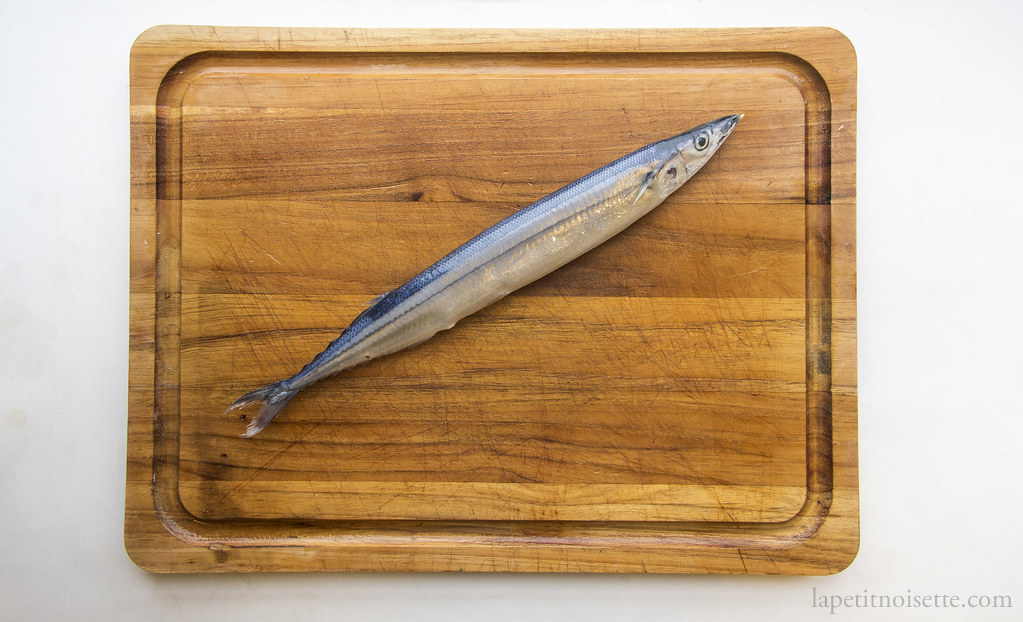
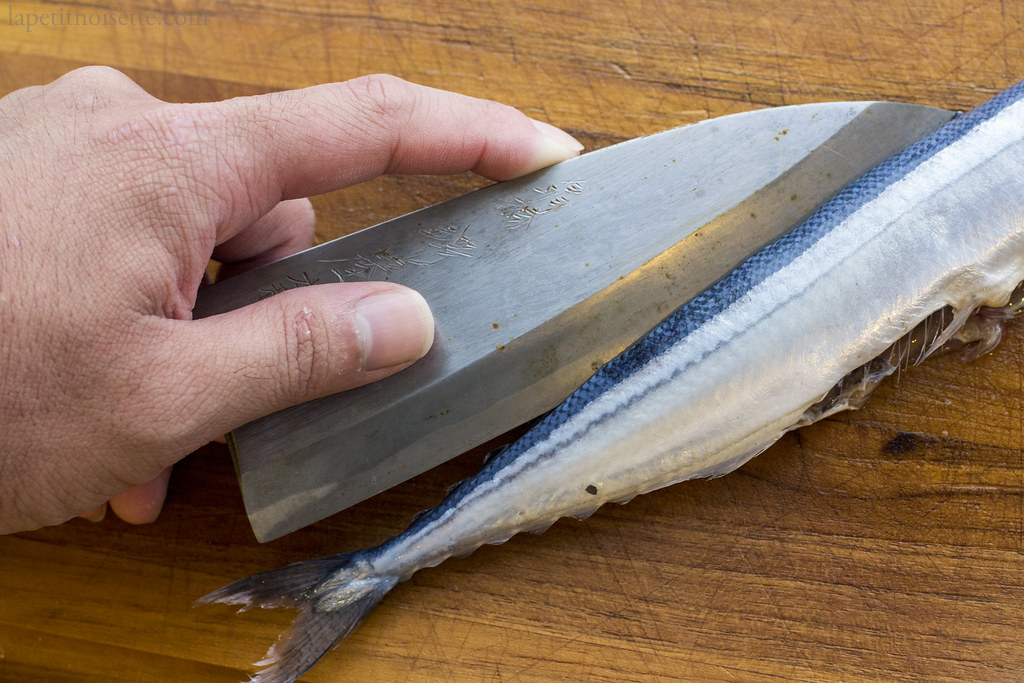
After washing the fish in cold water, start by descaling the fish. We descale the fish using a urokotori (鱗取り), a traditional Japanese fish scaler. Run the scaler against the direction of scale growth to most efficiently remove them. Wash away the scales and slime with cold water. Whilst descaling, we run a small stream of cold water onto the fish from the tap to prevent any scales from flying about.
After descaling the fish, cut off the head of the fish just behind the pectoral fin.

Make a cut down the belly of the fish starting from just below the head all the way to the anus. The cut runs through the pelvic fins, separating them into right and left pelvic fin. The flesh in between the pelvic fin is tough and will require some force. This is why the sharpness of the knife is important. Be careful not to cut yourself.
Open up the entire fish cavity and pull away the innards.
Rinse the cavity with cold water and clean throughly. Wash the chopping board and wipe dry. The fish’s air bladder is located at the centre of the cavity where the rib cage meets the backbone. The air bladder is connected to a blood line that needs to be removed. Cut open the bladder by running the knife through it all the way to the blood line underneath. Whilst under a light stream of cold water, wash the cavity and remove the blood from the blood line. Use an old toothbrush the remove and bit and pieces.
Start by opening the internal cavity of the fish, inserting the tip of the knife and breaking the rib bones, separating them from the backbone.
Next, the flesh starting from the end of the belly cavity all the way down to the tail, angling the blade towards the bone.
Turn the fish around and place the knife above the dorsal fin. Use your other hand to support the fish. In long cutting motions, separate the flesh from the spine of the fish, angling your blade downwards so that you can feel your blade running along the spine, minimising waste. if the long cutting motions prevents the flesh from being damaged too much from multiple cuts. Cut as close to the spine as possible to prevent flesh from being left on the bone.
Continue the cutting motion until the entire fillet is separated from the fish. Making an incision at the tail of the fish and cut off the flesh attaching the fillet to the head.
Flip your knife so that it is facing upwards and gently separate the rib bones from the flesh just where it meets the pin bones.
Turn your knife back and place the knife under the rib cage, cutting as to gently separate the rib cage from the flesh, angling the knife upwards towards the ribcage to reduce waste. Don’t worry about cutting yourself as the rib cage should be protecting your fingers.
To remove the pin bones, pull the pin bones using a pair of tweezers in the direction towards the head. Pulling the pin bones towards the tail is easier but will damage the flesh. Dip the tweezers in water to clean them occasionally. Repeating until you can not feel anymore pin bones. Remember to use a firm grip as not to break the pin bones, leaving bone fragments inside the fish. It is better to pull the pin bones slowly and steadily, rather than quickly.
To finish preparing the Sanma, repeat for the other side of the fish to extract another fillet.
Generously salt a colander and place the fillets on a colander. Salt the flesh of the fish as well. In the example below, you’d notice that the rib bones were not removed from the fillet when salting. This prevents the fish from being over salted in smaller specimens. If the fish is large, remove the rib bones before salting.
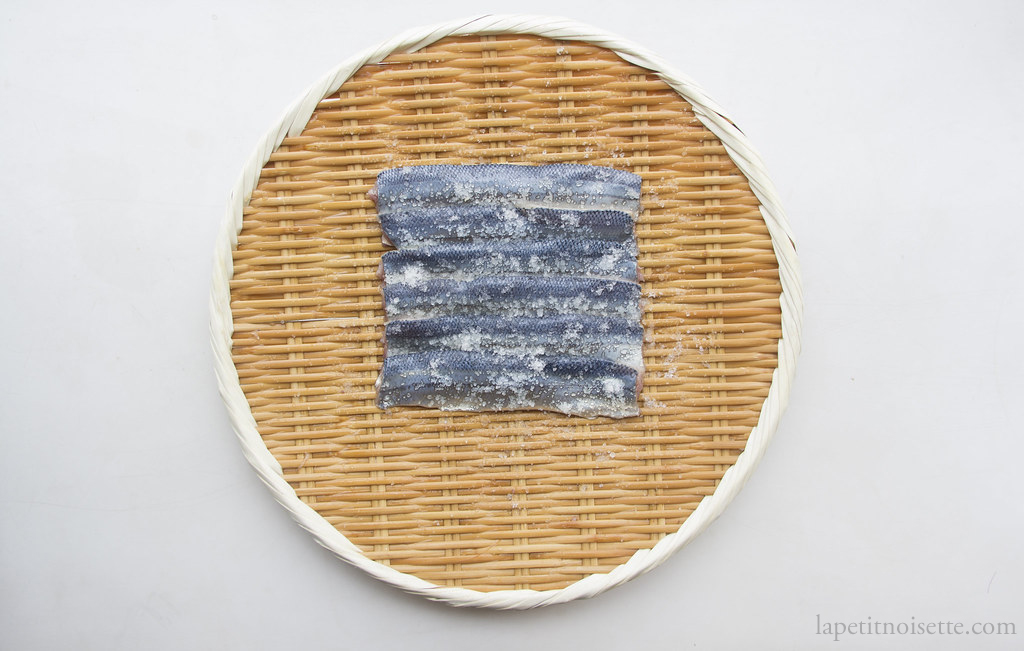
Allow to rest for 20 to 25 minutes depending on the size. During that time, remove the pin bones of the fish. After salting, wash off the salt and place the fillets skin side down on a chopping board.
Remove the skin off the fillets by making a small cut underneath the tail of the fillet between the flesh and skin. Start by cutting into the flesh and stopping just at the skin. When the blade just touches the skin, use a back and forth motion on the skin to gently separate the fresh from the skin whilst angling the blade until it is flat. The blade should remain still whilst you only move the skin.
Continue the cutting motion until all the skin has been removed from the flesh. If the skin breaks halfway, don’t worry and start from the other end of the fillet. Using a paper towel to grip the skin of the fish allows you to have a more stable hold on the fillet, making it easier to cut.
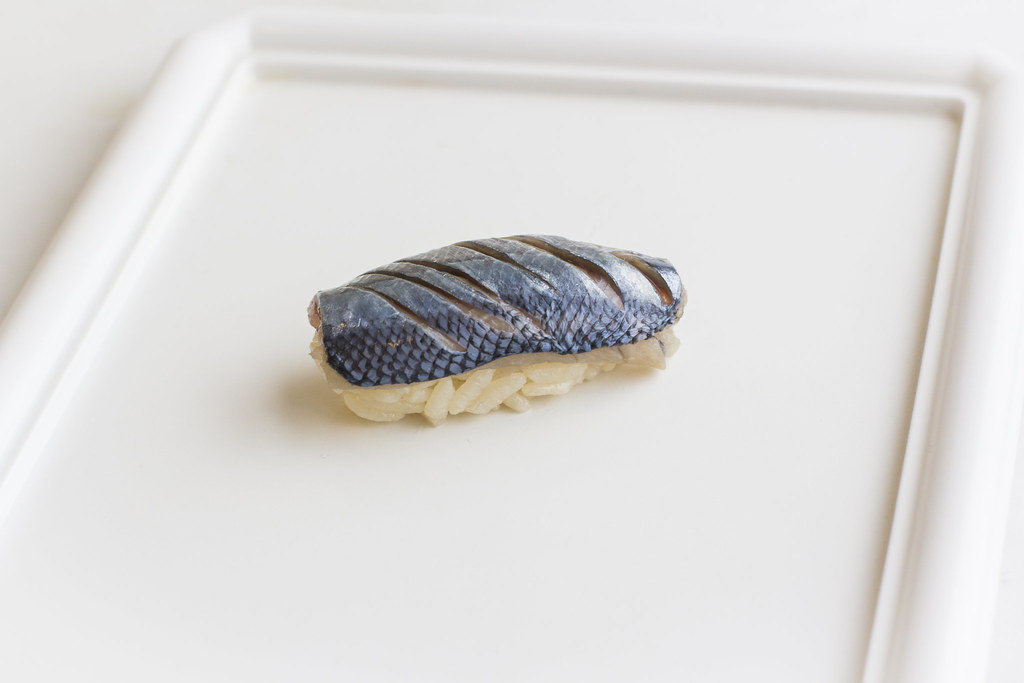
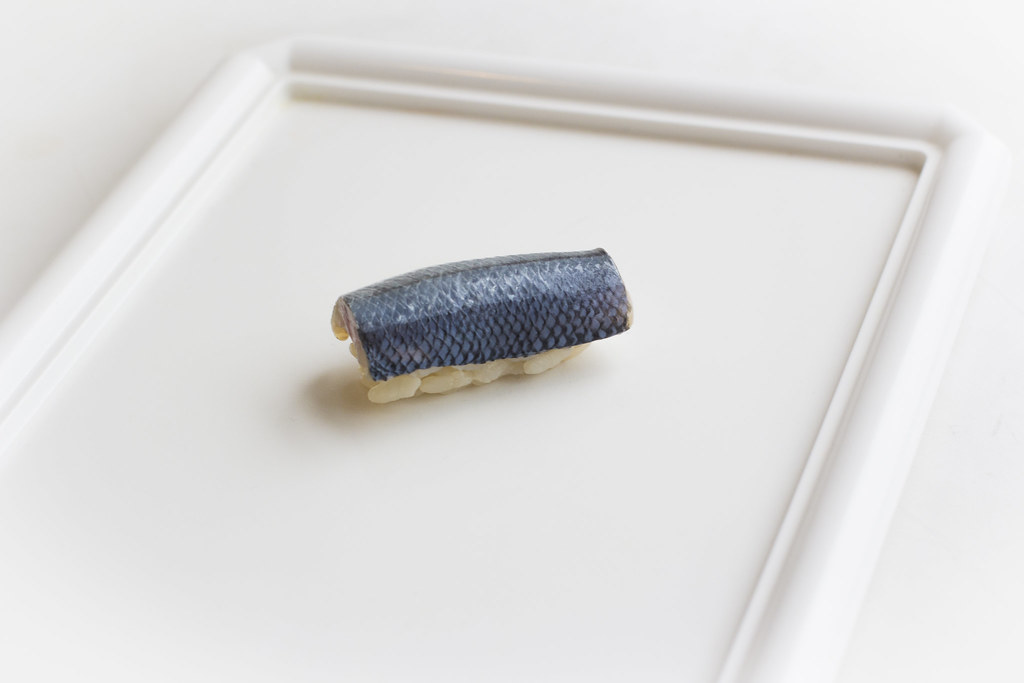
Serve as it is for nigiri or make many small cuts to improve the texture of the fish.