Read any article on traditional Japanese wagashi (sweets) and you’ll find people talking about how Shiratamako flour (白玉粉) is the most important flour needed to make mochi or any sort of daifuku of the right texture and mouthfeel. However, it’s not easy to find shiratamako outside of Japan and can be somewhat expensive to buy online. Some online recipes say that you can make shiratamako flour by adding other flours or starches to Mochiko, but those recipes don’t actually work (I’ve tested) and give you a rather sticky texture. Here, I breakdown how you can make shiratamako flour at home for real, but be warned, the recipe is messy and tiring. Before we dive into it however, firstly we need to know:

Shiratamako (白玉粉) vs Mochiko (もち粉)
Both Shiratamako and Mochiko are made from short grain glutinous rice (mochigome/もち米) but have a slightly different production method which makes the resulting flour different.
To make Mochiko, glutinous rice is soaked overnight, strained and allowed to dry. The dried rice is then blended into a fine powder and sieved and is ready to be sold.
To make Shiratamako, glutinous rice is soaked overnight and strained as well, but then mixed back into water and blended into a slurry. The slurry is pressed to remove as much water as possible which leaves behind a paste that is spread out and left to dry into a cake/block. This cake is then crushed to produce granules which are ready to be sold.
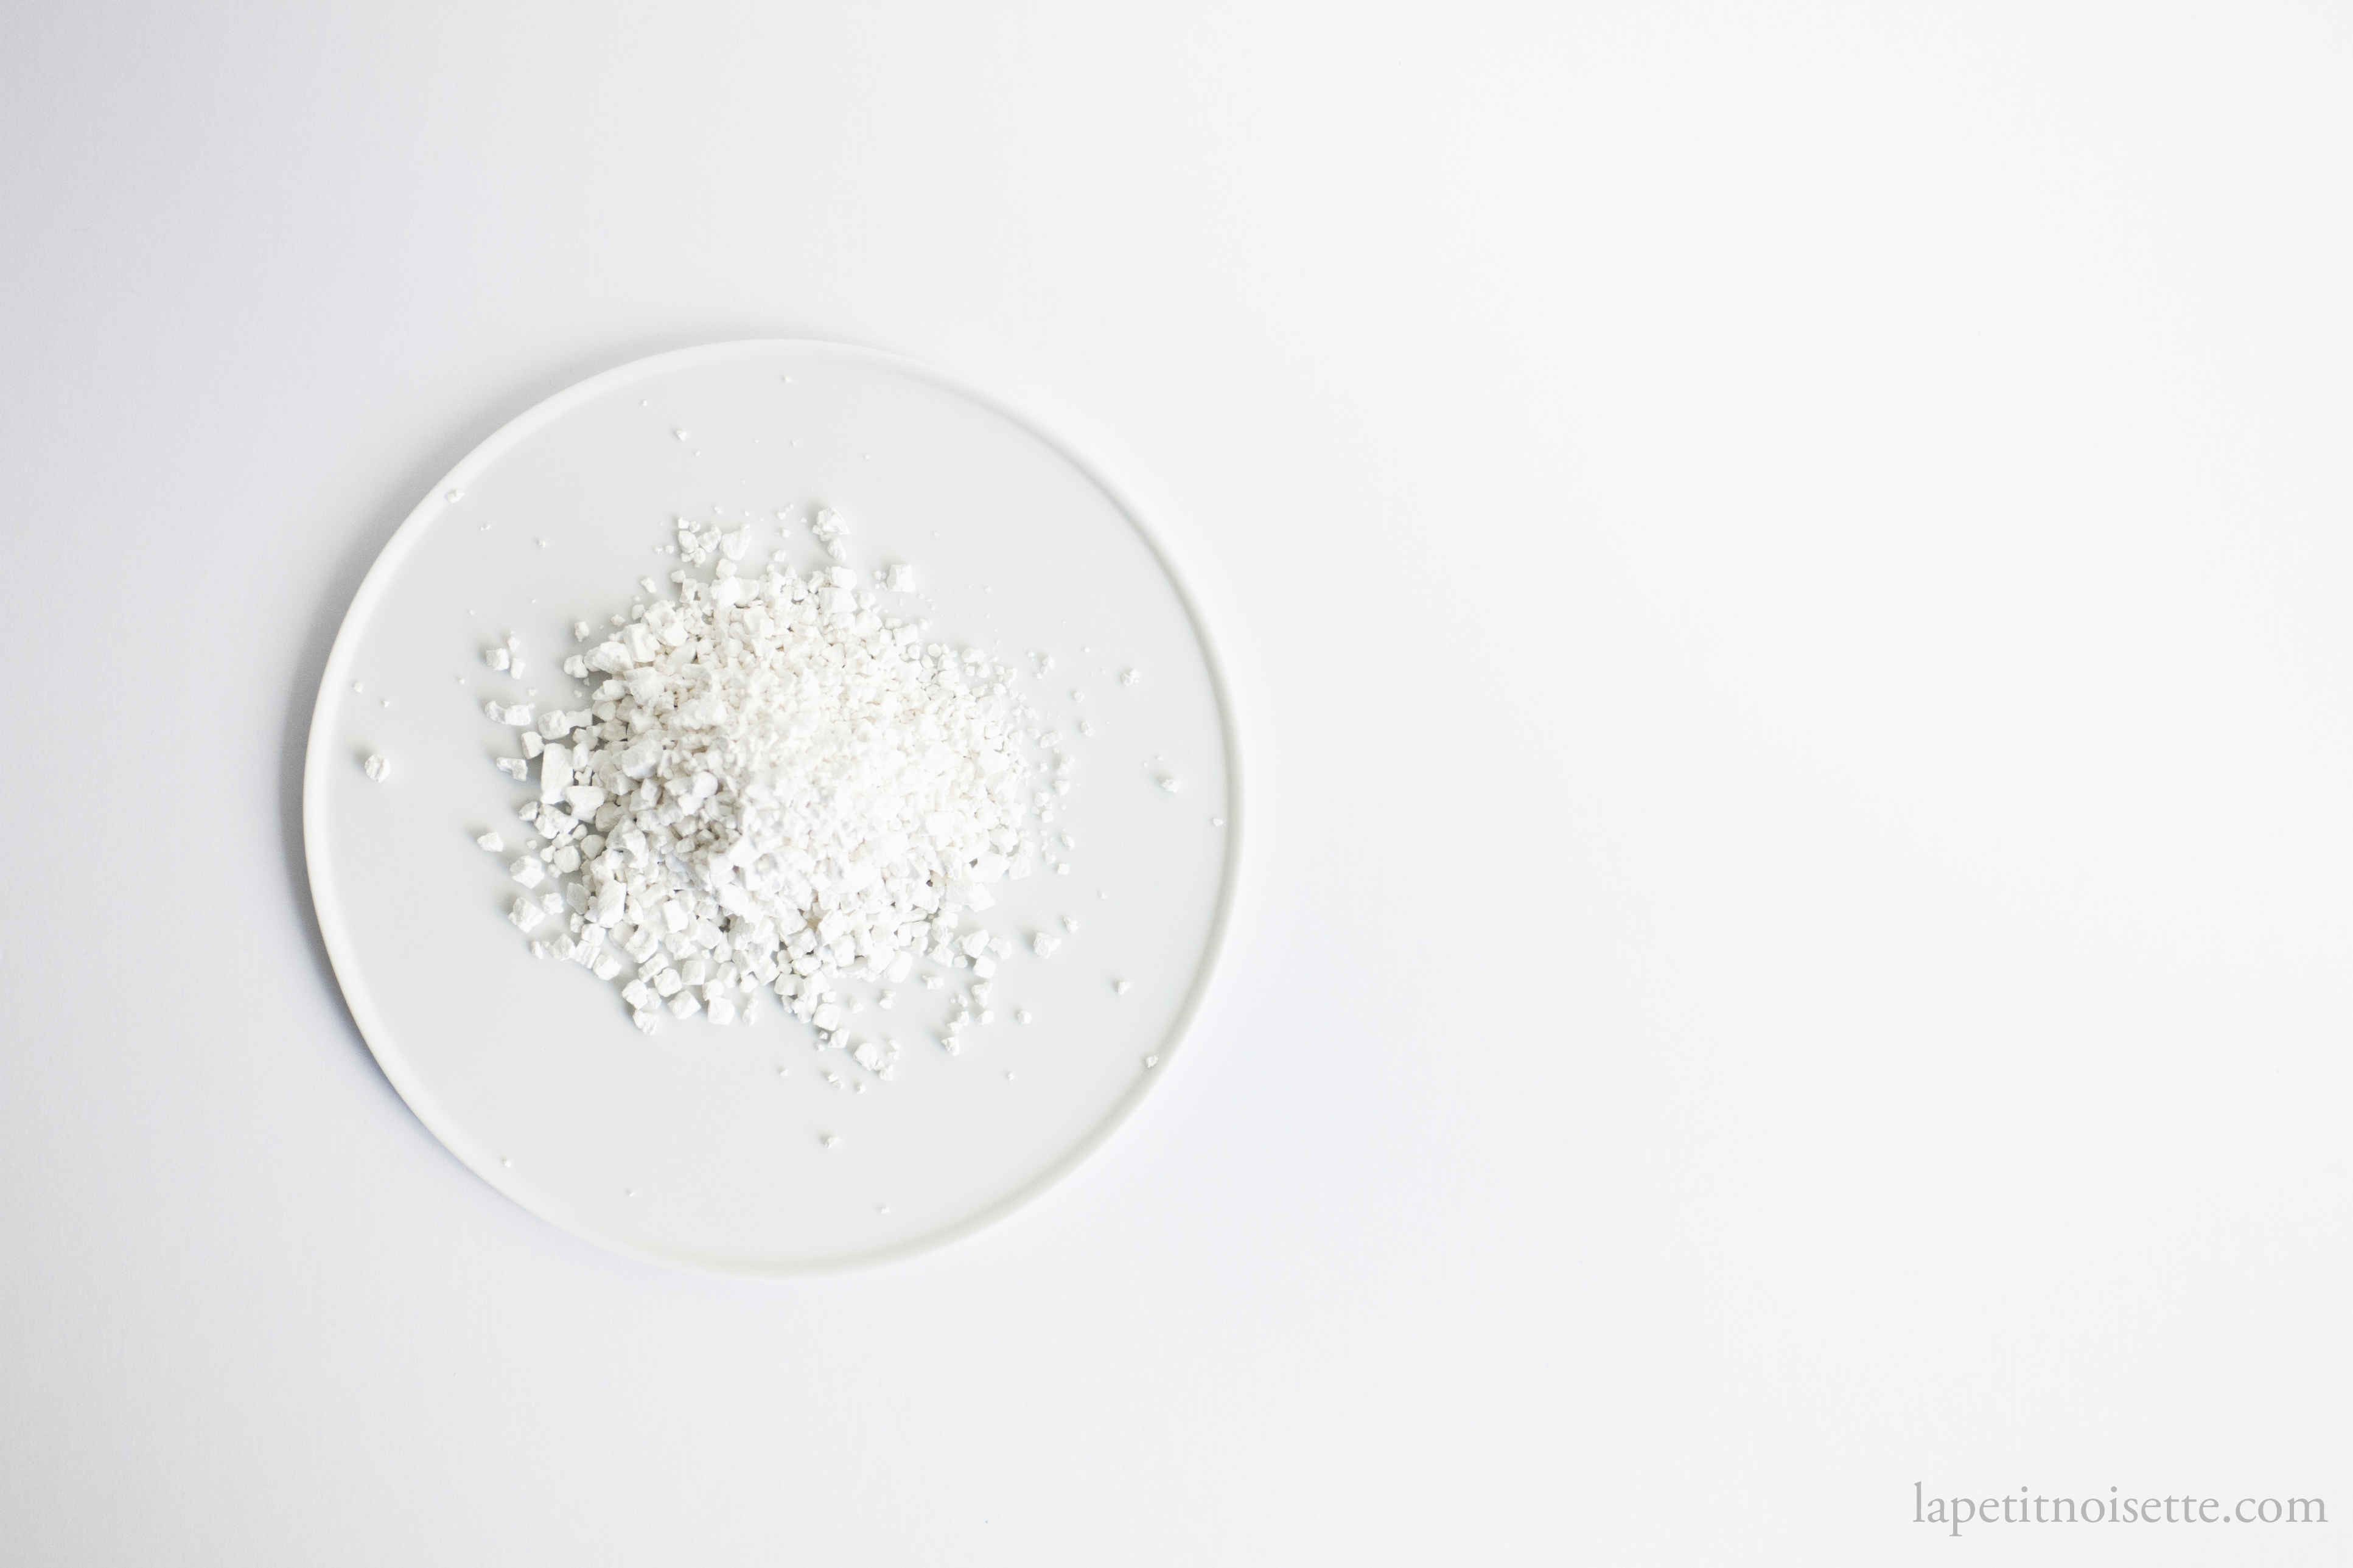
Because of this you’d find that Mochiko is sold as a fine powdery flour whilst Shiratamako is sold as coarse lumpy granules which you then dissolve in water.
So what effect do these processes have on the resulting flours? Dough made from Mochiko is not as fluffy and soft, with it having a more elastic and chewy mouthfeel. If you let mochiko dough sit out for too long as well, it dries out and hardens. Dough made from Shiramatamko however, is soft and gentle on the mouth while yet being bouncy. It also can be left out for a long time whilst maintaining it’s texture.
What’s the science behind it? I don’t actually know. It doesn’t have anything to do with gluten development because rice doesn’t have gluten. It probably has to do with starch hydration however, as the process of making Shiratamako allows the rice grains to soak in water much longer.
Short Grain vs Long Grain Glutinous Rice Flour
Next comes the types of glutinous rice flour out there and their differences. There are already more than a dozen articles talking about the differences between Shiratamko (白玉粉) and Mochiko (もち粉) but let’s go a bit further and elaborate on how you can make them yourselves and talk about the possibilities if you don’t have access to these flours. It’s easier to understand in point form so If you intend to make the rice flour at home yourself:
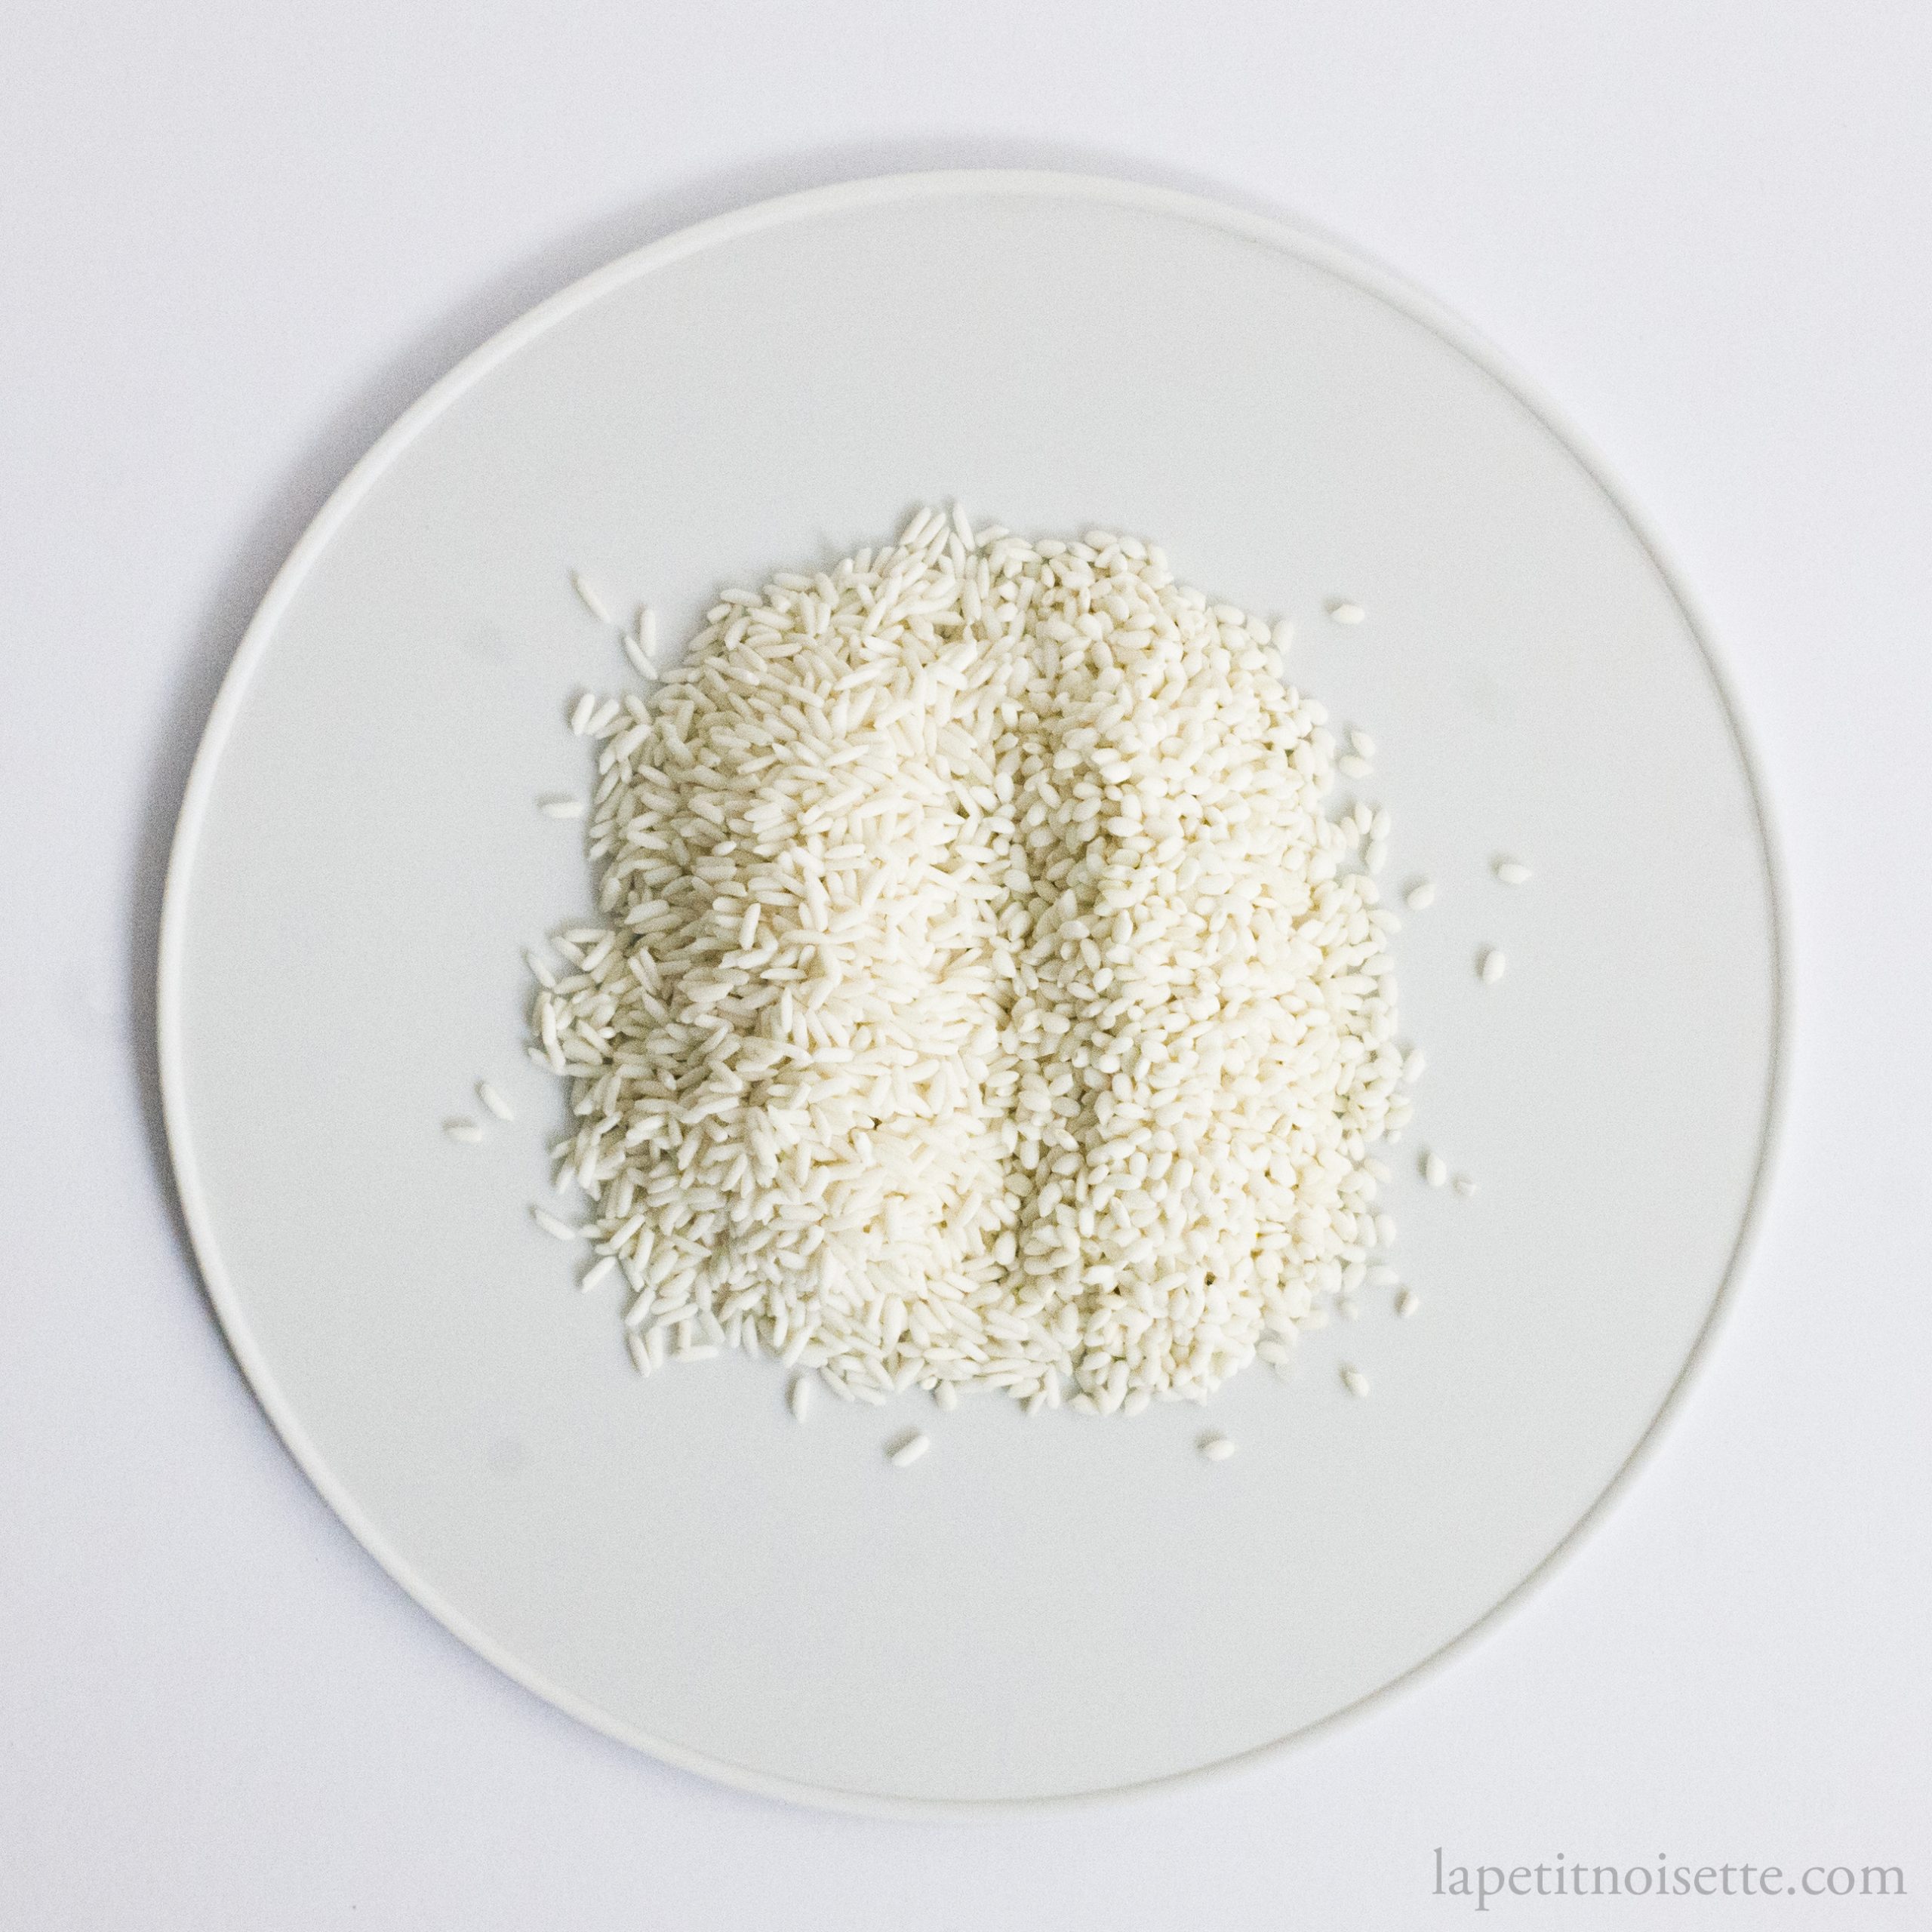
- The majority of Japanese wagashi is made from glutinous rice flour made from short grain glutinous rice.
- This rice is known as mochigome (もち米).
- The kanji for mochi is 糯 and therefore the Japanese kanji for mochigome is 糯米. In Chinese, the characters of short grain glutinous rice are 圆糯米.
- Shiratamako and Mochiko are both made from mochigome.
- You cannot replicate the Japanese wagashi textures using long grain glutinous rice.
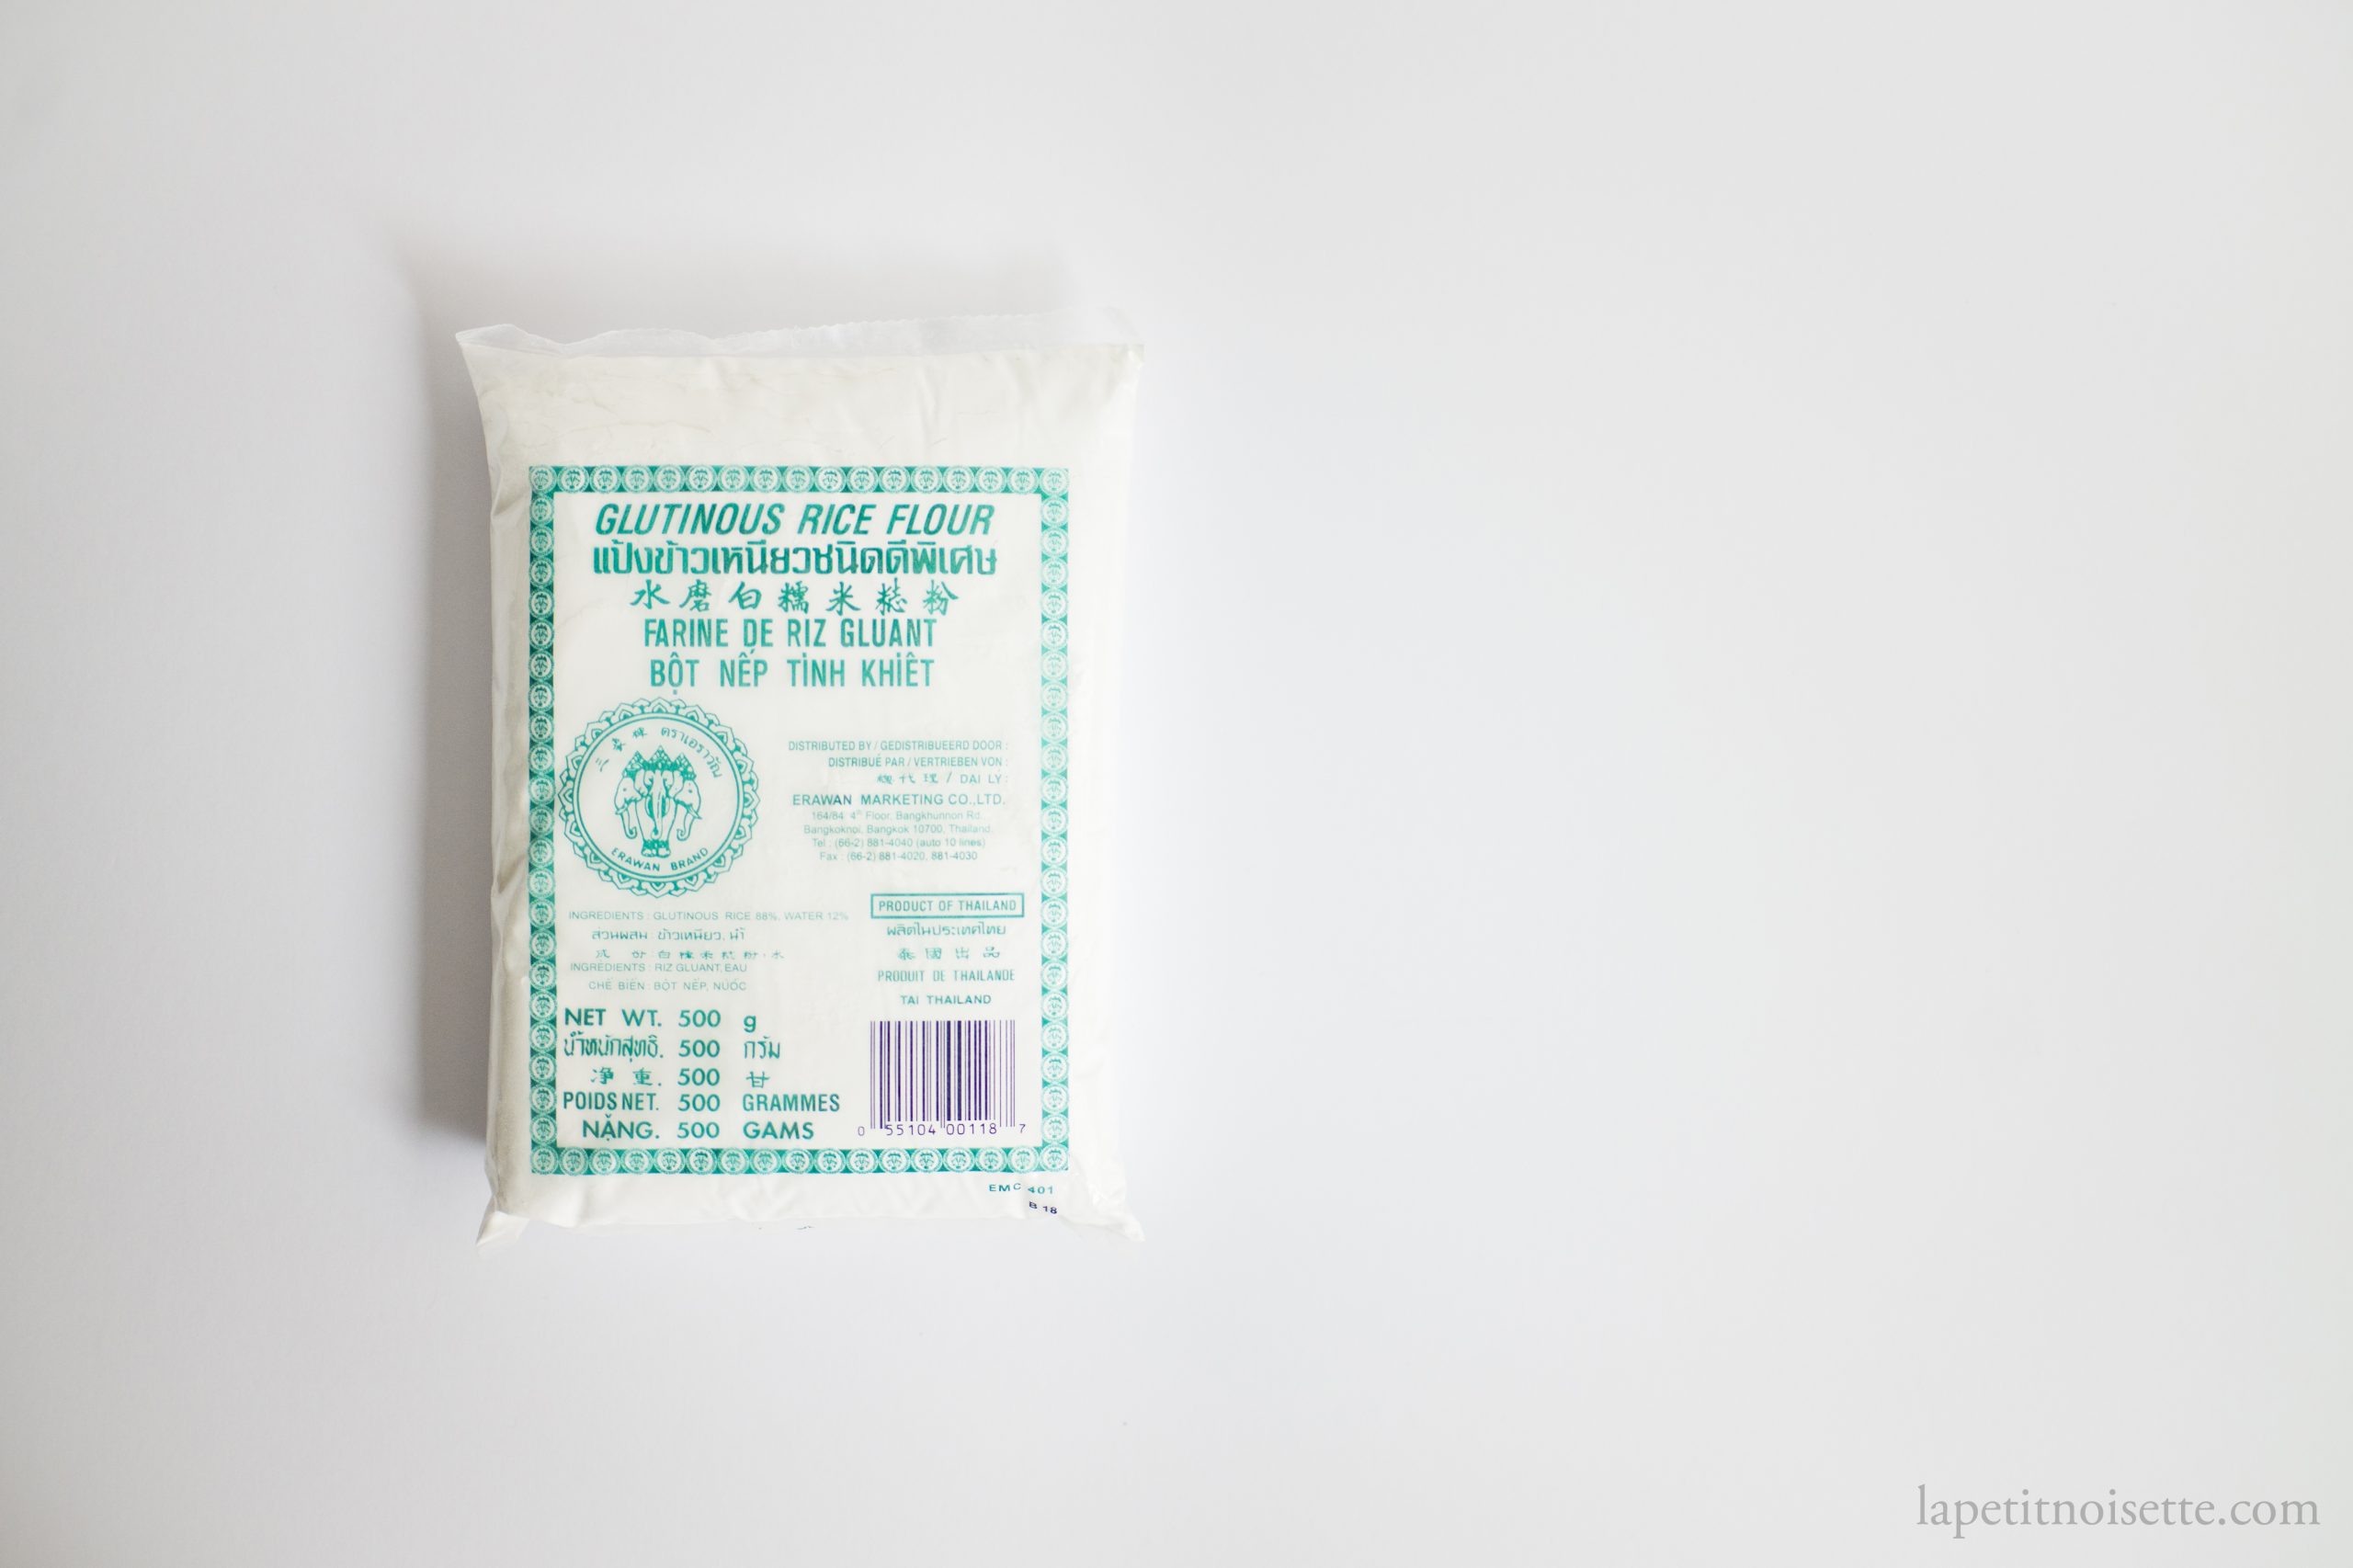
- The glutinous rice flour you find in most Asian grocery stores outside Japan that are made in Vietnam or Thailand are made from long grain glutinous rice and will give you the wrong texture. It will be sticky and chewy instead of soft and fluffy.
- In chinese, the characters of long grain glutinous rice are 糯米.
This leads us to an important distinction when trying to buy the right rice, which is that the characters used to describe short grain glutinous rice in Japan and long grain glutinous rice in China are the same- 糯米.
This means that if the packet of rice you buy says 糯米 on it but originates from China or any Southeast Asian country, it’s highly likely to be long grain glutinous rice so you’d better double check before buying as it is the wrong rice to make wagashi from. Instead, what you should be looking for is rice labelled 圆糯米, with the extra character 圆 meaning round, for round glutinous rice. However, if the rice originated from the USA or Japan, 糯米 typically already refers to short grain glutinous rice.
If you do choose to use long grain glutinous rice flour to make this recipe just expect it to be extremely sticky, not in a bad way though, just not what you’d get in Japan- it will not be the same texture as real shiratamako.
How to make Shiratamako (白玉粉) from scratch
Ingredients:
- Water
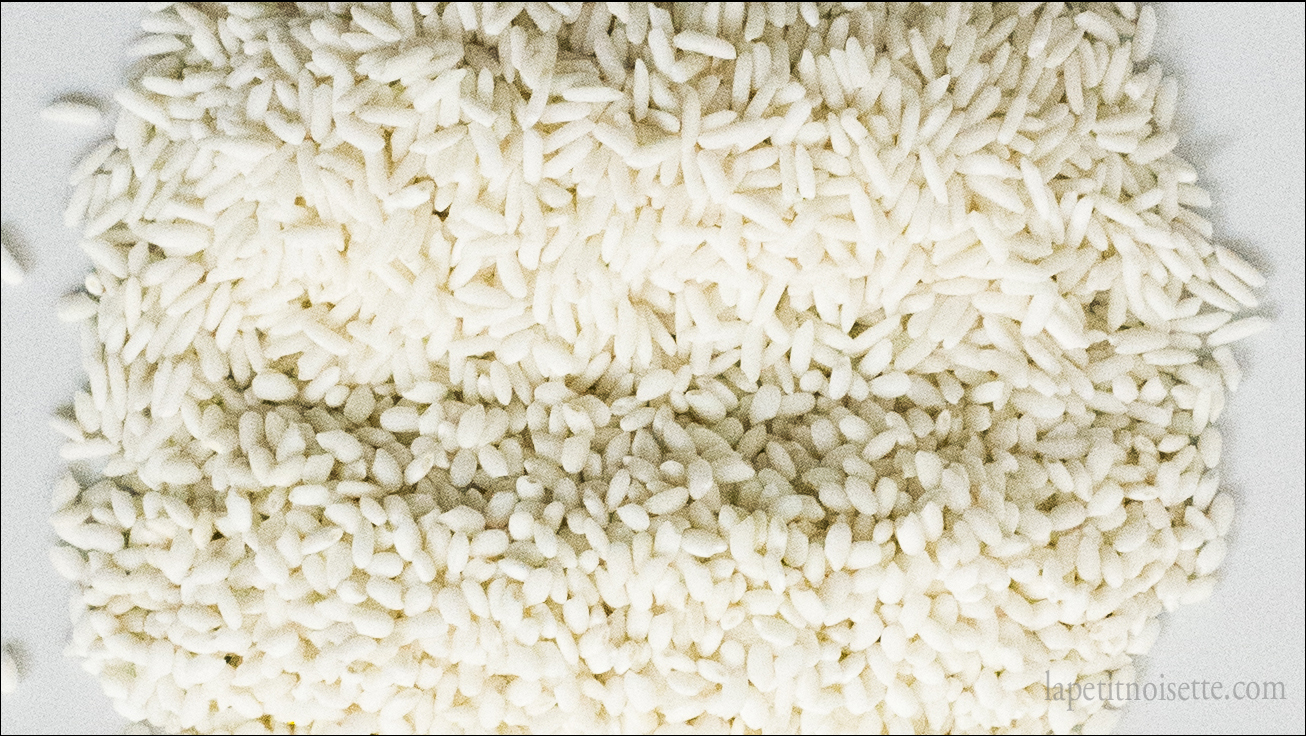
- Short grain glutinous rice (about 100g to make 6 pieces of strawberry daifuku but I recommend you make more and keep it in an airtight container for future use).
- Muslin/cheesecloth
- Wash the rice in water until the water runs clear.
- Soak the rice in water overnight with enough water to cover the rice.
- The next day, drain the water from the rice through a sieve or colander and allow it to continue draining for 30 minutes.
- Pour the rice into a blender and pour enough fresh water to cover the rice.
- Blend the rice until all the individual rice grains have been broken up and the water is a milky colour. This may take a few minutes or a few rounds of blending if your blender is not powerful enough.
- Pour the mixture into a cheesecloth to separate the water from the rice. Remember to rinse out the blender with water and pour the water through the cheesecloth as some of the rice powder will stick to the blender walls.
- Bunch up the cheesecloth and squeeze out as much water as possible. The holes in the cheesecloth will quickly clog up at this point but keep trying to get as much water as possible out from the paste.
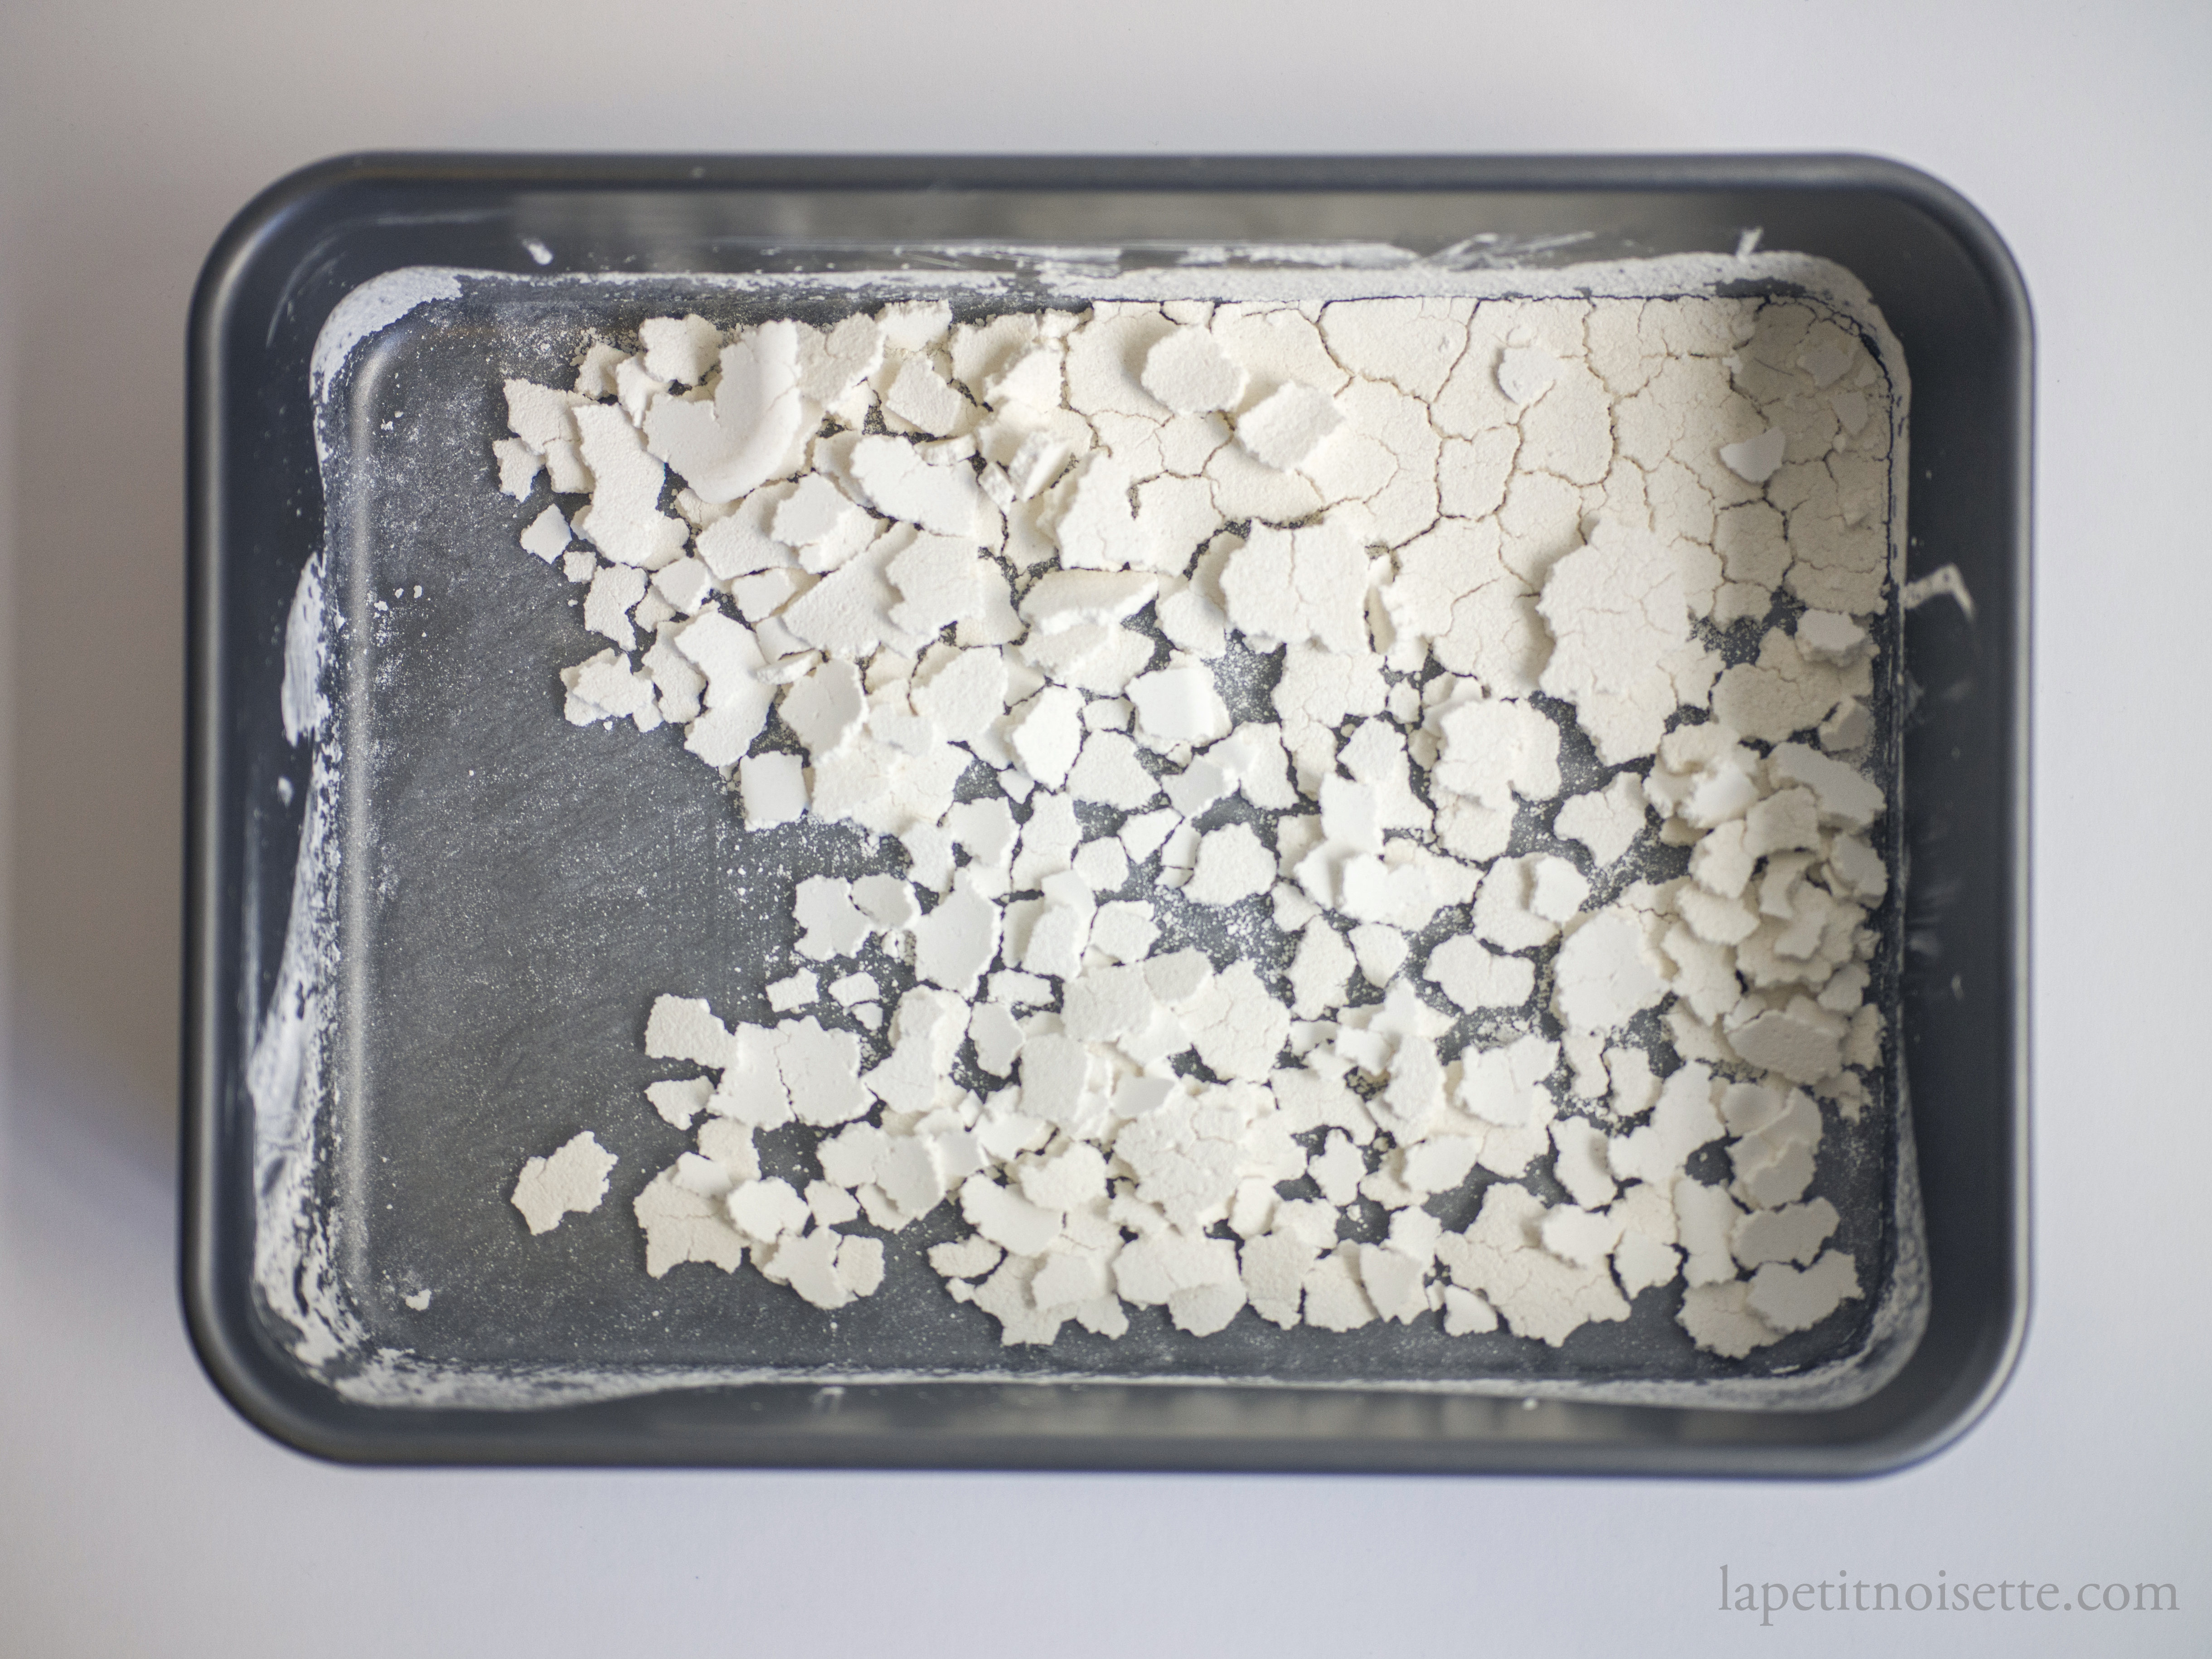
- Spread out the paste onto a tray and let it dry at 20-25℃ for around two to 3 days. The paste should start to crack apart as it dries.
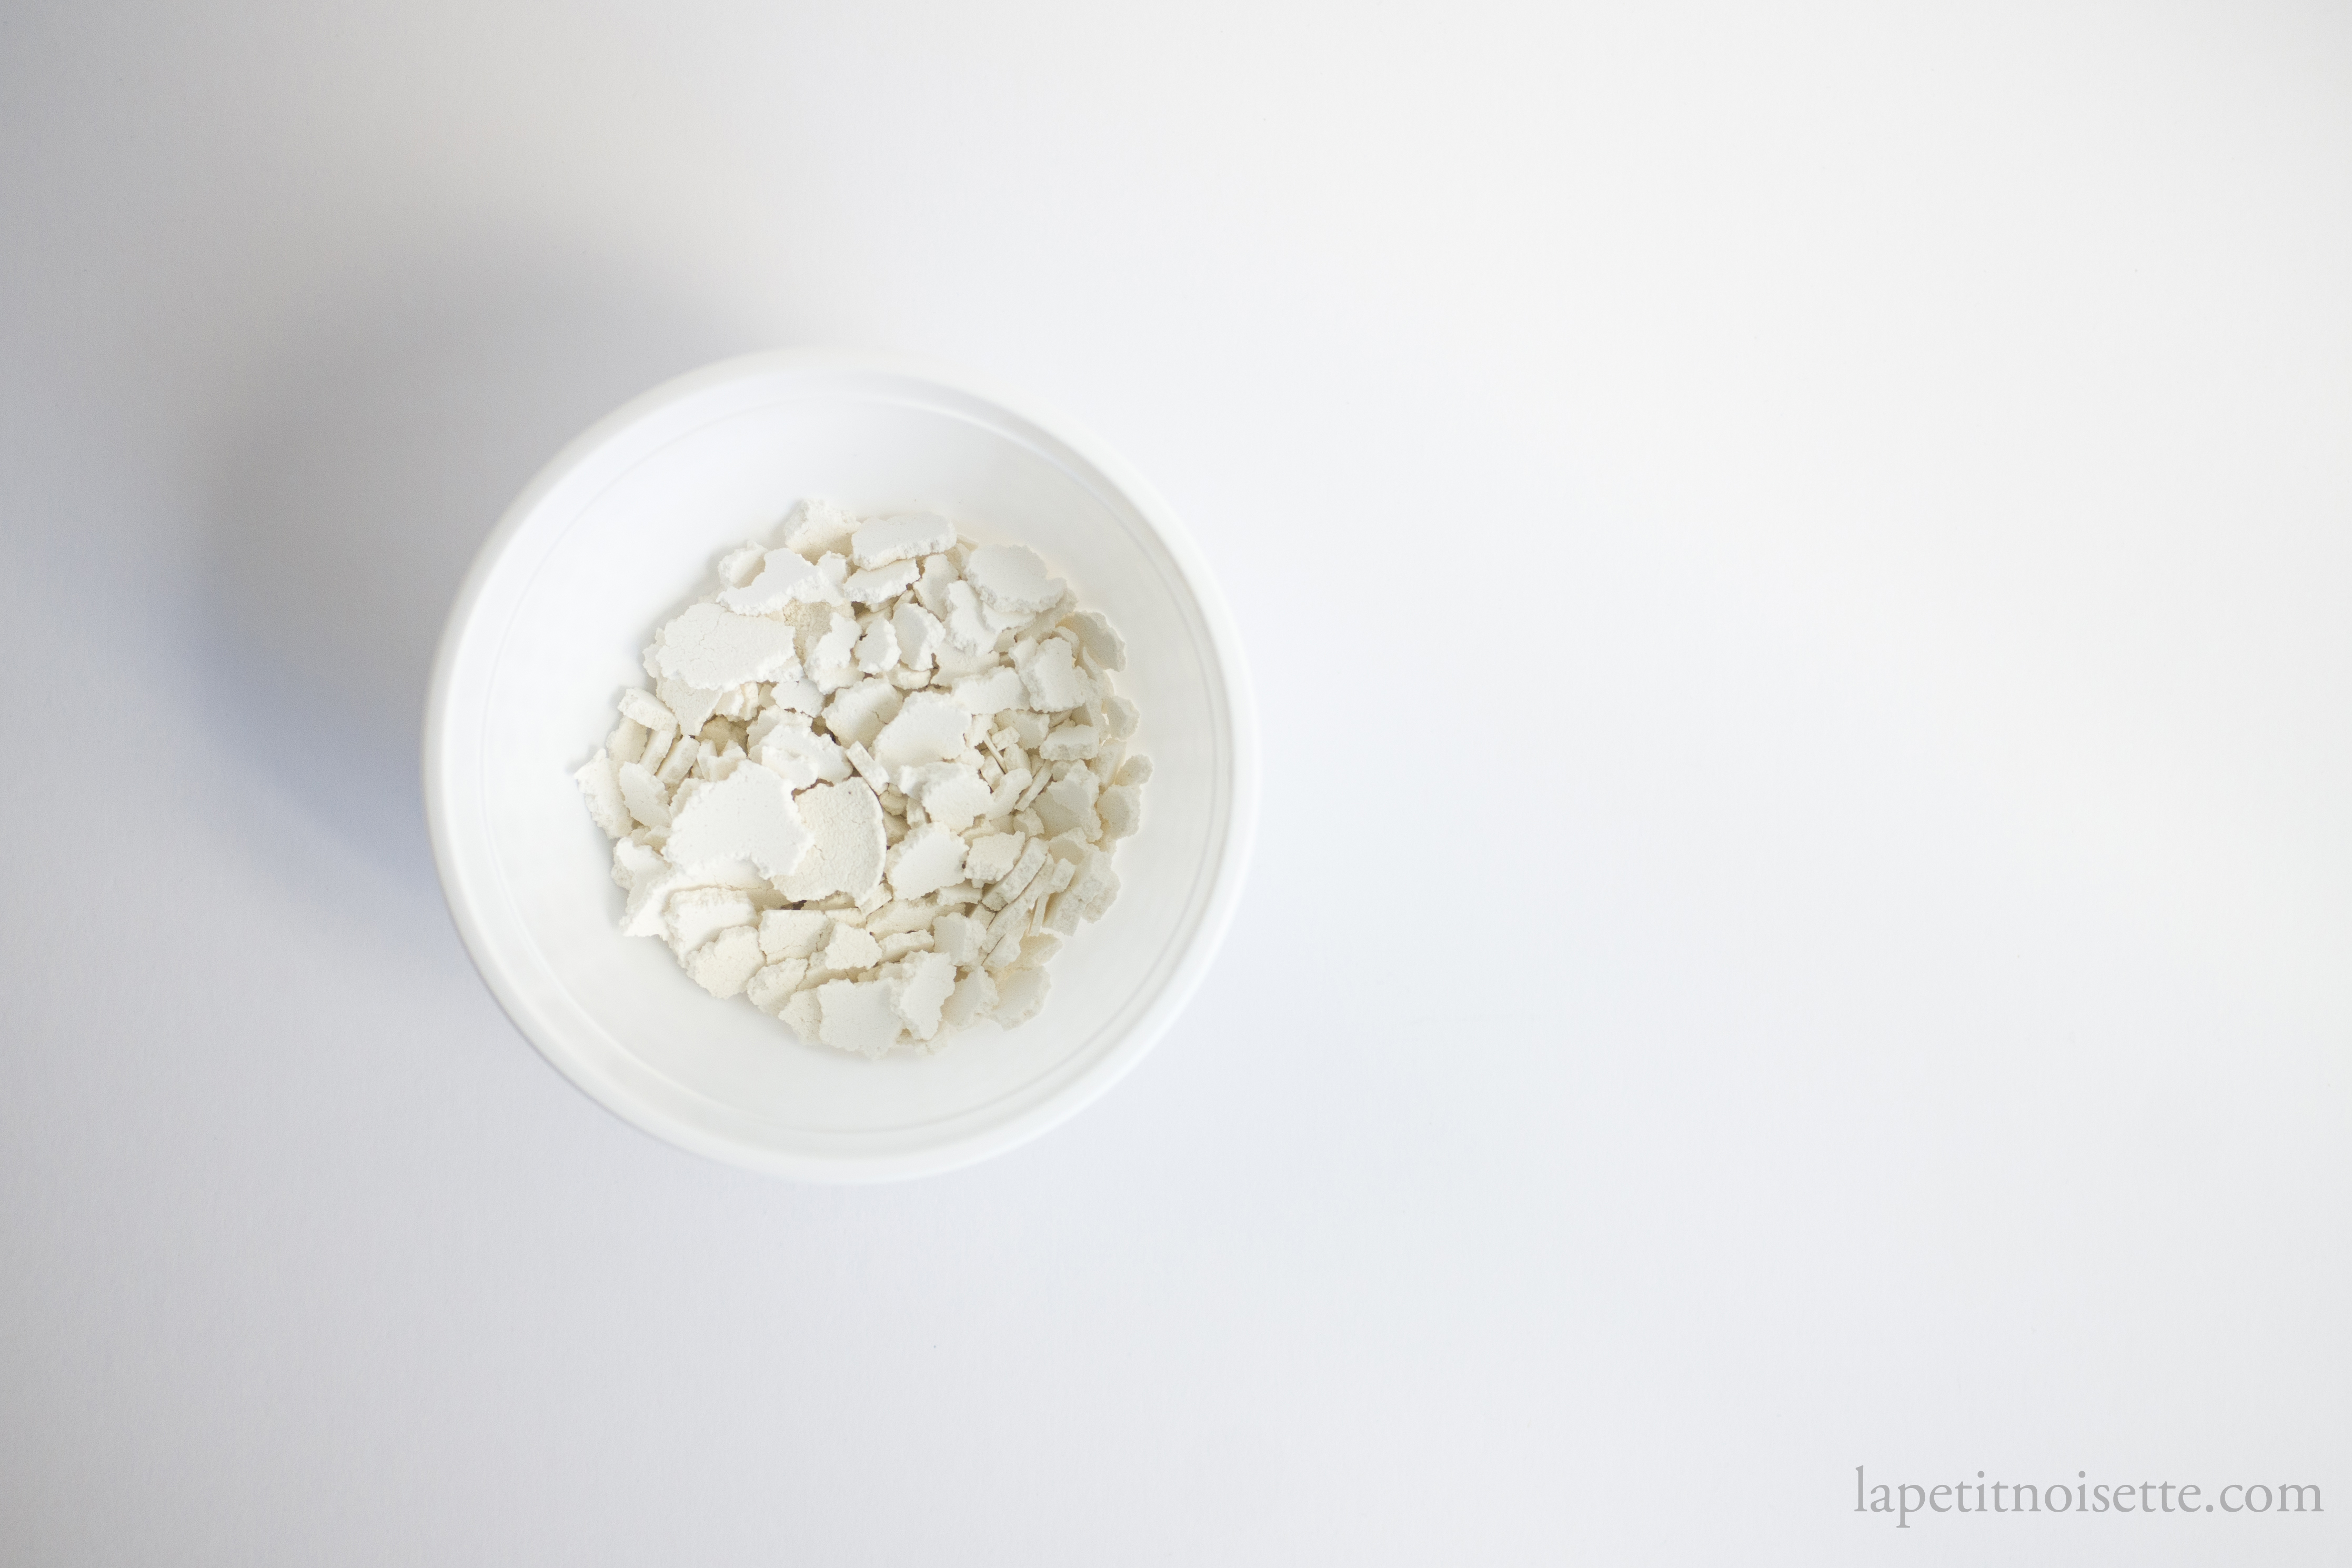
- Once fully dried, the paste should have dried into a cake that has broken up into flakes. Transfer the flakes to a pestle and mortar and grind until broken up like granulated sugar or later.
- Store in an airtight container for later use.
Troubleshooting and what to focus on:
- The recipe does not specify how much water and rice you need to make this recipe so long as you add enough water to cover the rice during soaking and blending. Glutinous rice absorbs some of the water during soaking but your rice should be always submerged in water. The less water you add, the easier it’ll be to squeeze out the water from the blended glutinous rice but just make sure you add enough water to properly blend the rice into the paste.
- Homemade shiratamako is not as pure white in colour as store bought stuff as the commercially made stuff is usually bleached or artificially whitened.
- Depending on the power and of your blender, your homemade shiratamako flour might be rather coarse compared to the factory made one, which will result in a coarsely textured mochi that you might find grainy. Sadly, There is no way around this other than to get a stronger blender that can create a much smoother/finer paste like a thermomix or vitamix but those are extremely expensive. It helps slightly to soak the rice longer than 24 hours but not longer than 36.
- If using muslin cloth/cheese cloth to squeeze out all the water from the paste, you might find that the hole clog up so quickly that you’ll get a very watery paste trapped in the muslin cloth that you squeeze like a balloon yet no water will come out anymore. At this point, you need to squeeze harder to get more and more water out, without breaking the muslin cloth. This is the point where this recipe can get very messy. If this continues not to work, you can transfer the content of the muslin cloth to a sieve to get rid of more water, but your yield might reduce as some flour leaks through the holes of the sieve. You’ll also find that the holes in your sieve will start to clog up super quickly, so you’ll have to use a spoon to mix around the content to unclog it and allow the water to sieve out. You want the paste as dry as possible.
- Why are we so obsessed with squeezing out as much water as possible? Once you have blended the rice and spread out the paste to dry it, the longer it takes to dry, the higher the chances of it starting to ferment or going bad, either making the flour you worked so hard to make inedible or having a weird off smell. This is because blending up the rice drastically increases the surface area of sugars available for bacteria to digest, making your rice paste highly susceptible to bacteria colonisation. Because of this, you want to squeeze out as much water as possible so that it dries as soon as possible.
- What do you do with water that has strained out the blended rice paste? This water is a very potent thickener. A few tablespoons added to a stew and cooked for a few minutes should be enough to thicken the stew. Alternatively, it can be used to make the marinade for kimchi. Use as a substitute anywhere you see cornstarch water being used.

quick question, do you think a dehydrator would work to dry out the paste quicker and possibly aid if you cannot squeeze out all the water? Excellent article. Thanks for the research information.
That’s a fantastic idea! Thank you. I’m quite sure it would work as long as it doesn’t cause the rice to brown a little but I don’t see why not. I’m guessing it’s probably dried with a dehydrator when made commercially anyway now that I think about it.
Did you try making this? If so, did you use the dehydrator?
Hello, yes this recipe was tested and modified by me based on information available in books and the internet. The pictures in the article are taken by me during the making process. I did not test out using a dehydrator sadly. I’d love to do it when I get access to one.
Hi Tracy! Not sure if you were still interested but I tried using a dehydrator with a small batch at about 115° for 4 hours. I’m guessing a larger batch would need more time
Hello, I really enjoyed your article and I am interested in learning more about the process of making shiratamako and the science behind the difference with mochiko. Would you have any references I could look to start understanding the differences? Thank you
Information on this what you’re looking for is quite sparse and hard to find. I’m not sure if people actually understand the science behind the two or actually just know the characteristics from using each flour resulting from the difference in processing. I know the Japanese National Agriculture and Food Research Organization does do some research on it as they had a look at the microscopic structure difference between the two. You can the image of the structural difference here in page 3, but you’ll have to dig around yourself if you want more information.
https://www.maff.go.jp/chushi/kome_syoukaku/komeko/pdf/2603komekoworkbook.pdf