This article is part of our aging fish series. To learn more, try our science of dry aging fish article. This recipe requires you to have access to a specialized dry aging fridge which can be quite costly. For an alternate way to age fish, try our technique to wet age fish. Read our introduction to aging fish to learn about the difference between dry aging and wet aging fish.
So you’re one of the lucky ones with access to a dry ager, you’ve gone through the tedious process of sourcing and processing your fish and you’re now on the final stretch. How do you proceed?
To begin, you want to make sure that you set up your dry aging fridge correctly. We usually go with 70% to 85% relative humidity, and between 1°C to 2°C. However, if you’re unsure and your fridge comes with pre-installed programs, you may choose to run one of those instead.
Make sure you have some hooks and butcher string ready as well, and place a drip tray on the bottom of the fridge.
Before handling the fish, you’ll want to make sure you have everything ready: a large cutting board, a scaler, knives, scissors and lots of fish paper. This is to make sure the moment the fish hits the cutting board you’re ready to go and thus minimizing the time duration that the fish is exposed to room temperature.
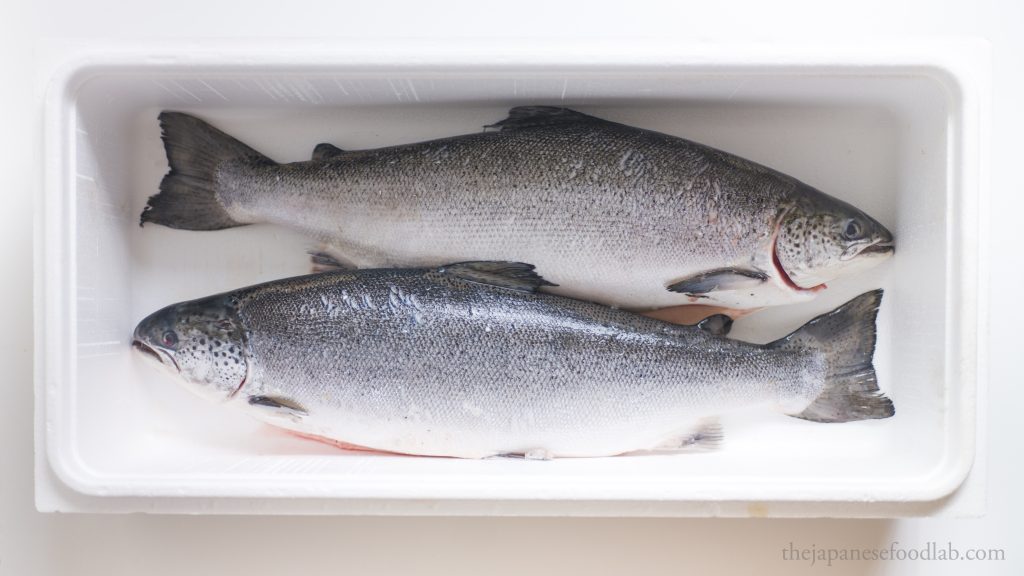
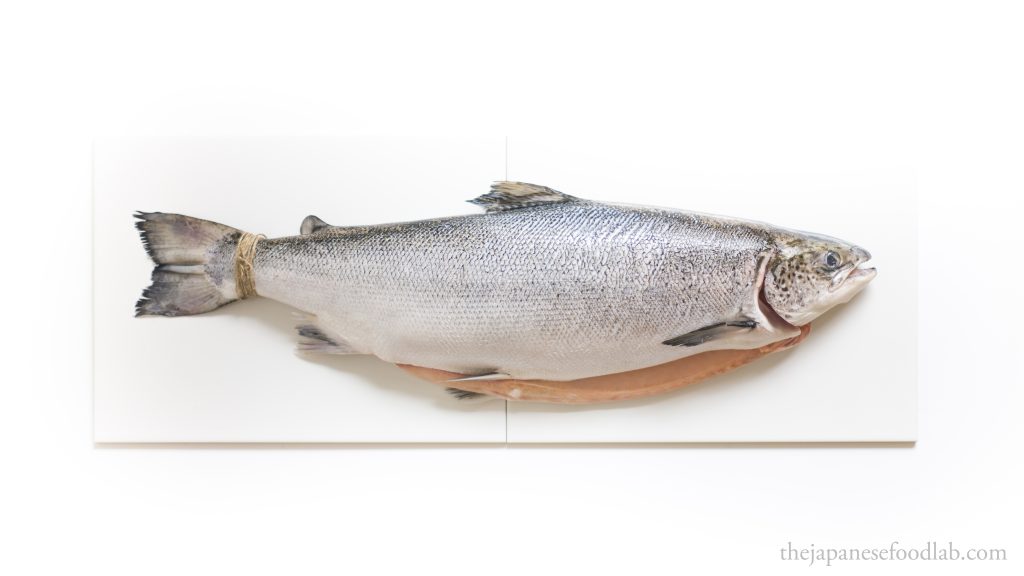
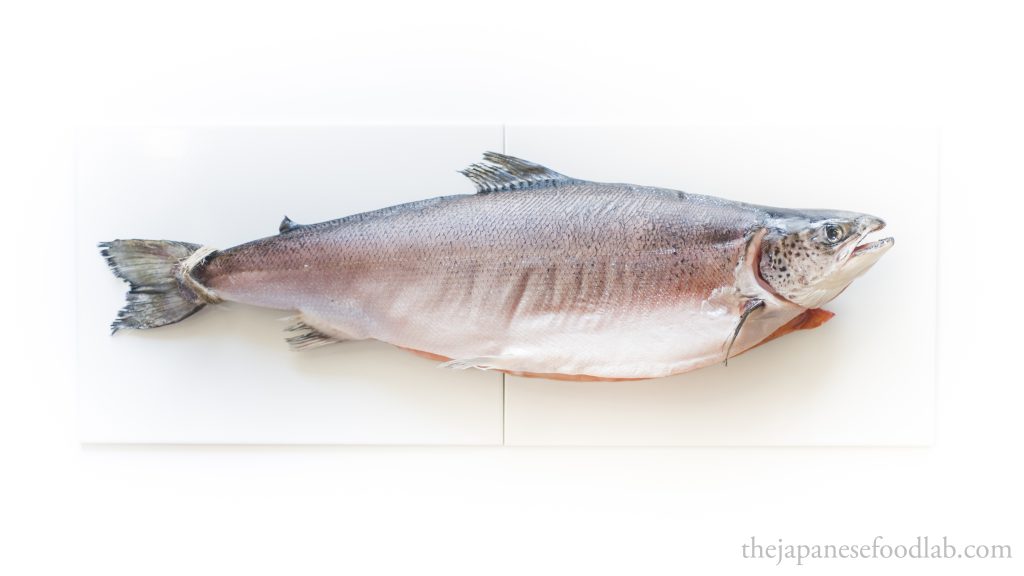
For this example, we’ve decided to go with farmed salmon from Tasmania, Australia as we believe farmed salmon or any other farmed fish will be the easiest for most people to source. Unfortunately, fish from commercial farms come scaled and gutted beforehand and thus these steps in the preparation process will be delved into in a later article.
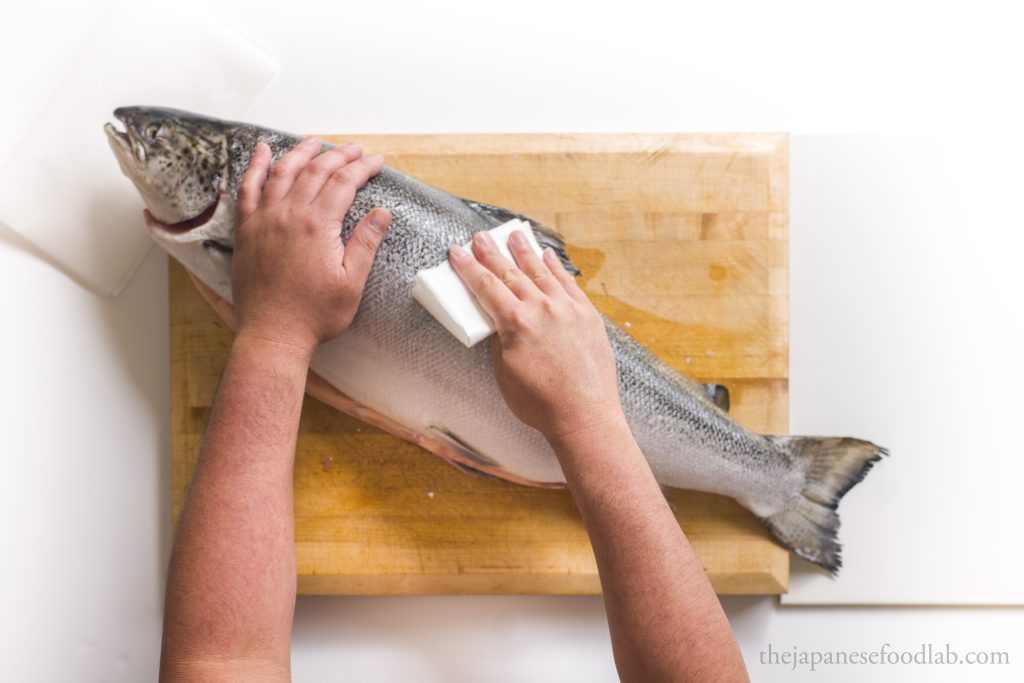
To begin, place the fish on your cutting board and begin wiping down the fish with a clean paper towel or fish paper if you have it. The goal here is to remove any dirt and blood left on the fish without washing the entire fish underwater. Change the paper towel you use frequently and try to wipe dry the fish as much as possible.
After this step, it’s time to scale the fish. This can be done using a normal fish scaler, but the recommended technique is to scale the fish using the Japanese sukibiki scaling technique. This is because using a fish scaler still leaves the pores to which the scales were attached to on the skin of the fish. Water is then sometimes able to pool on inside these pores during aging, acting as small pockets of moisture for bacteria to grow. When using the sukibiki technique, the top layer of scales and skin are completely cut off, leaving a smooth surface with nowhere for water to accumulate.
This step improves your chances of success but is not 100% necessary. The farmed salmon pictured below was scaled the conventional way and not using the sukibiki technique but we have had no problems with successfully aging salmon.
Our preference is to scale the fish before removing any of the gills or guts as the innards of the fish help maintain the shape of the fish, making it easy to scale.
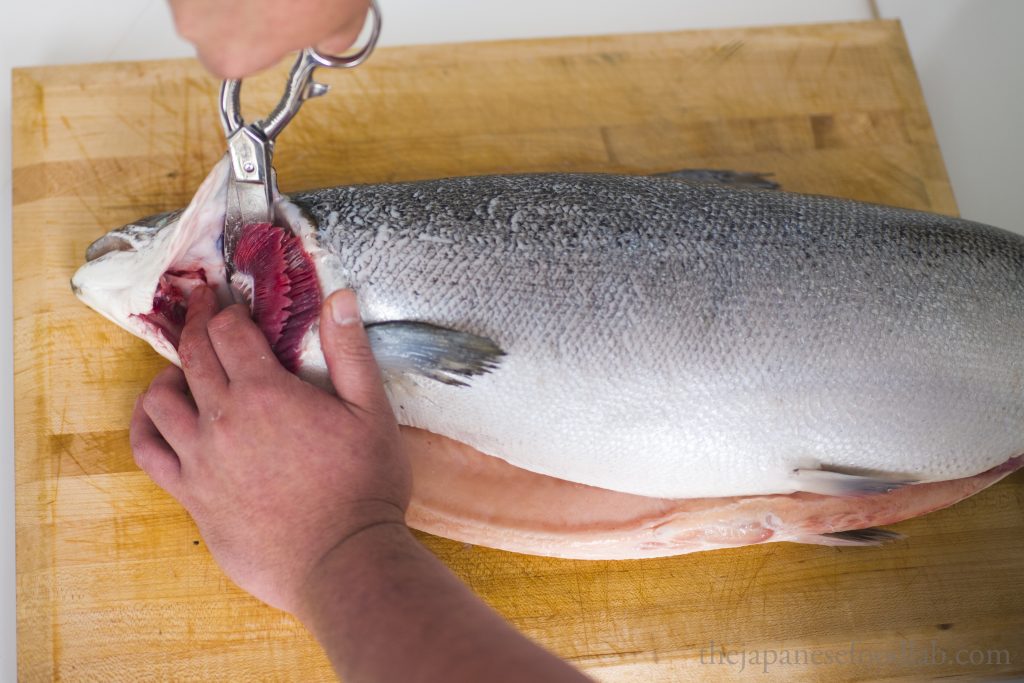
To remove the gills, use a scissors to cut away the top and bottom connection of the gills before pulling it away. Again, the farmed salmon was delivered with the innards already removed. However, an example of how to remove the guts of a fish can be seen in any of our fish preparation sushi articles.
After removing the gills and guts, it’s now time to clean the inner cavity of the fish. To us, this is the most crucial step as it determines whether the fish will age or rot. The goal here is to clean the cavity as much as possible, ideally until no blood remains. This is because any remaining blood acts as nutrition for bacteria to grow.
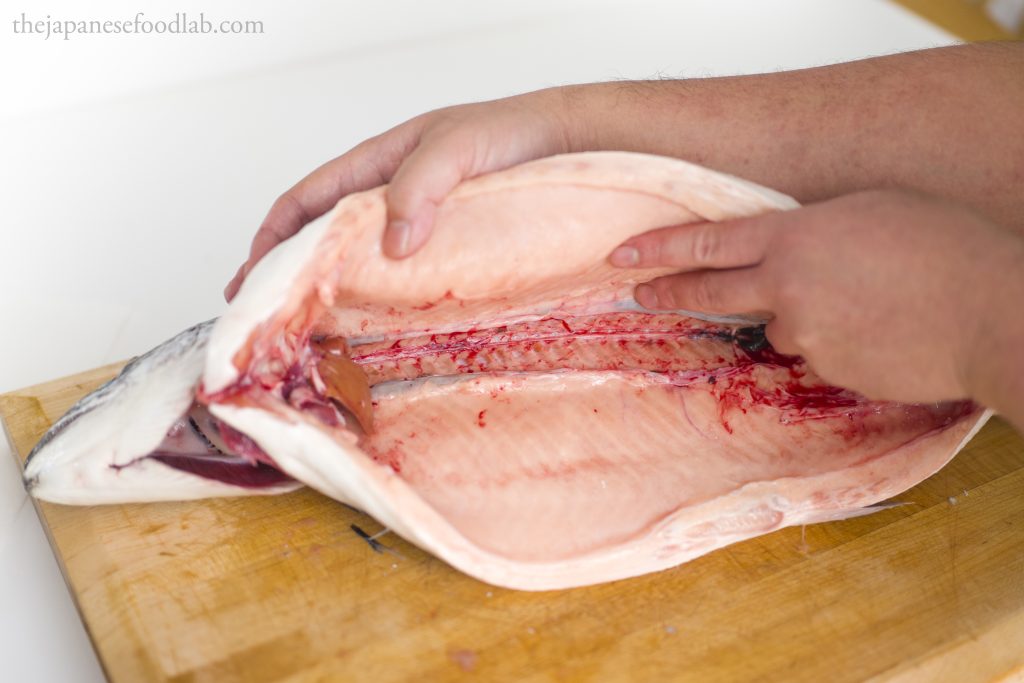
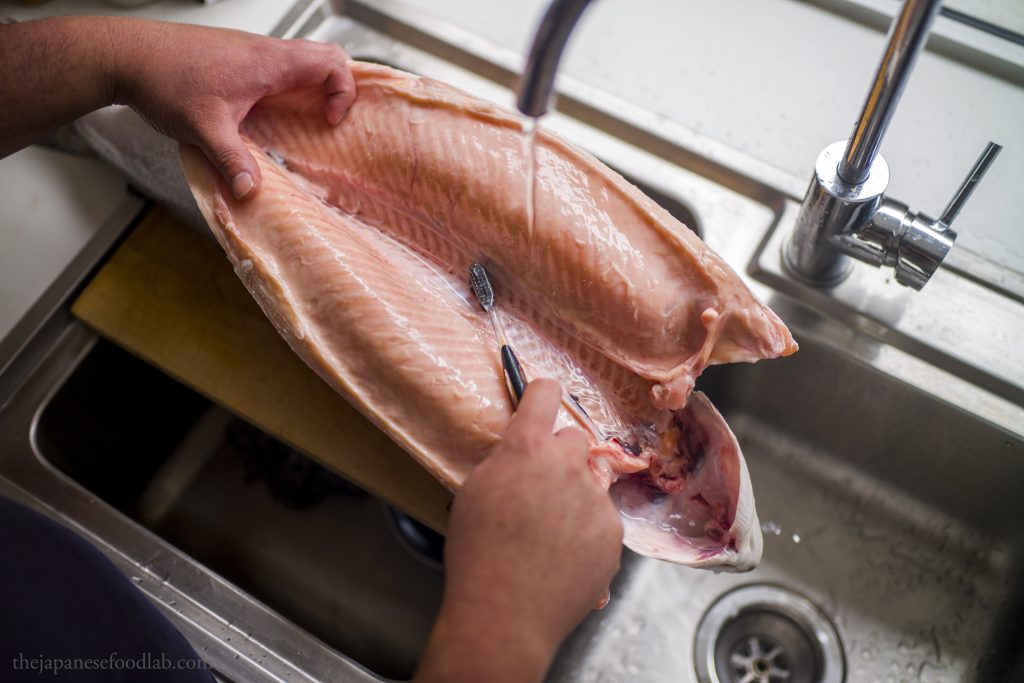
This is where our opinion differs from some of the one dry aged fish proponents. We believe that it’s best to clean the inner cavity of the fish by washing it with water, rather than the ridiculous amount of paper towel needed to wipe it clean. We also recommend gently using a toothbrush to remove any scum or dirt remaining.
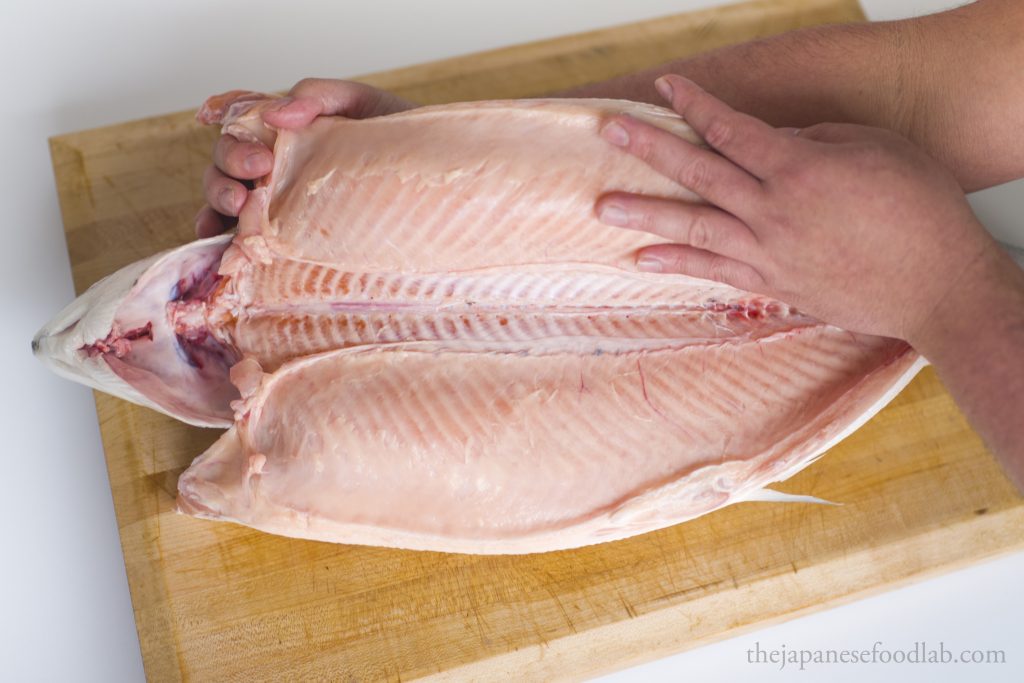
Once the inner cavity is sparkling clean, place the fish back on the cutting board and give the fish one final wipe down with paper towels, removing as much moisture as possible.
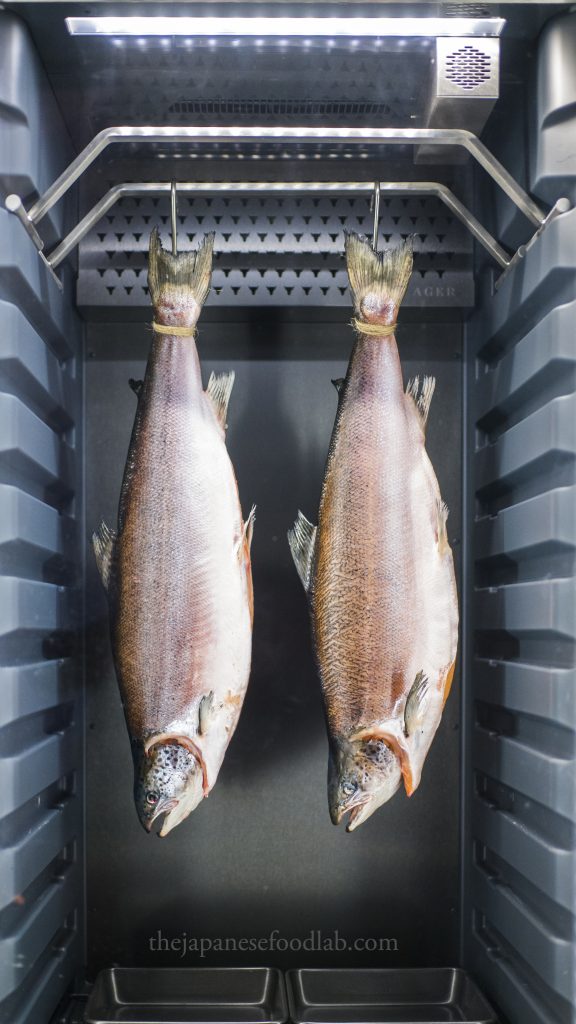
When this is done, you can now tie some string on the tail of the fish and hang it in your dry ager.
At this point, it’s up to you on how long you wish to age your fish for, but we recommend 3 days as a good starting point and up to 7 days unless you’re feeling very adventurous.
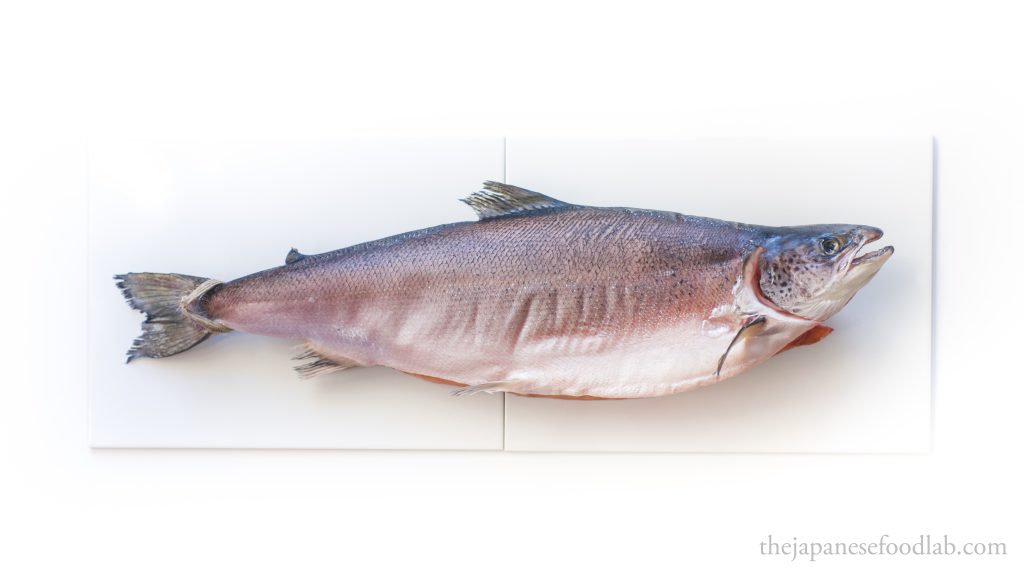
After 24 hours of aging, you’ll start to notice the skin of the fish dries out, revealing some of the flesh color underneath the skin.
At around the 48 hour mark, the skin dries out and it also starts to shrink, pulling taut on the flesh of this fish. When this occurs, the fish will take on a more contracted appearance, as though its muscles are all contracted and bulging. Even so, rest assured that the flesh inside is tenderizing.
After the 72 hour mark, you’ll notice that the skin has dried out so much that it creases easily, leaving marks on the body of the fish. The smell of the fish at this point should also be cleaner and not funky.
From there onwards, there isn’t much change in the outer appearance of the fish, but you may sometimes find fish fat dripping or flowing more easily from the fish, especially when cut.
At around the 5 to 7 day mark is when the deeper, more oxidized, nutty flavors start to develop and you can harvest your dry aged fish.

Thank you so much for this! I’ve been looking everywhere for some instruction on how I can dry age fish in my dry ager (steps, how long i should leave it in there, etc). This article gave me the most clarity!!
May I ask how do you store a dry aged fish if you are not to consume it immediately? thank you