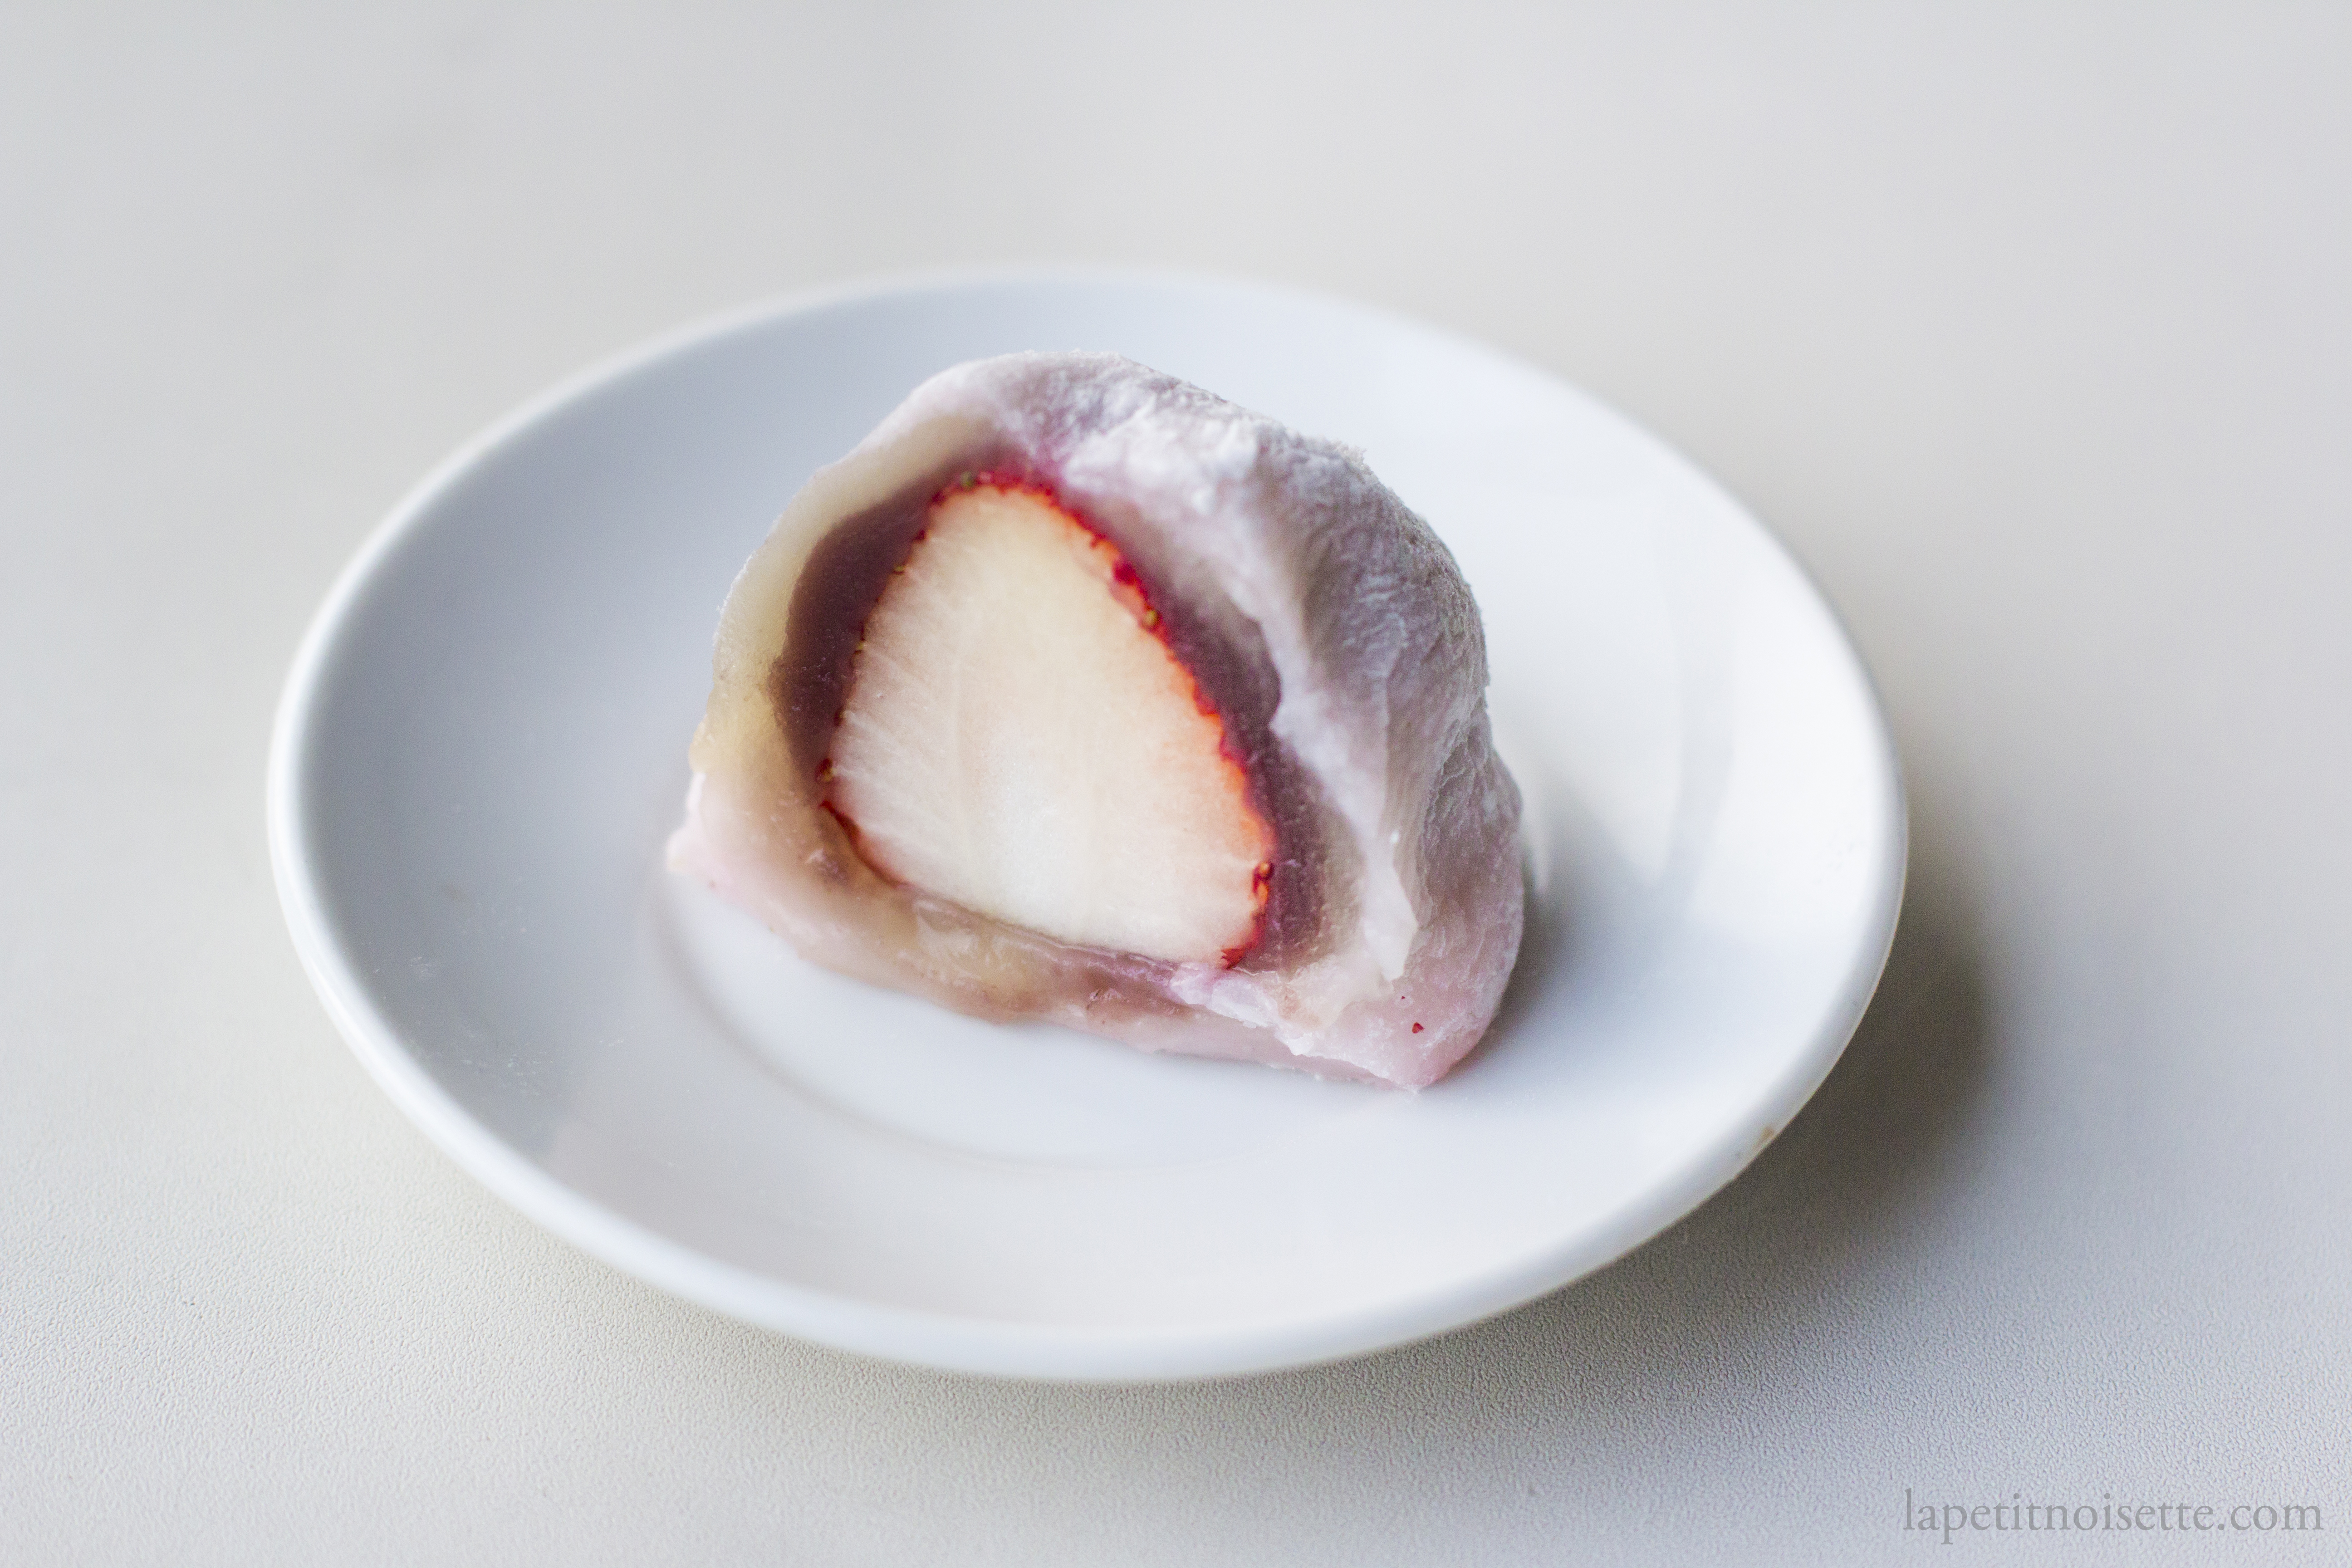
There are probably a million recipes out there already for Ichigo Daifuku, as well as making your own red or white sweet bean paste on the internet already. But for this post, I wanted to give my take on it, as well as a few aspects of making it that I discovered along the way, especially when it comes to the sweet bean pastes.
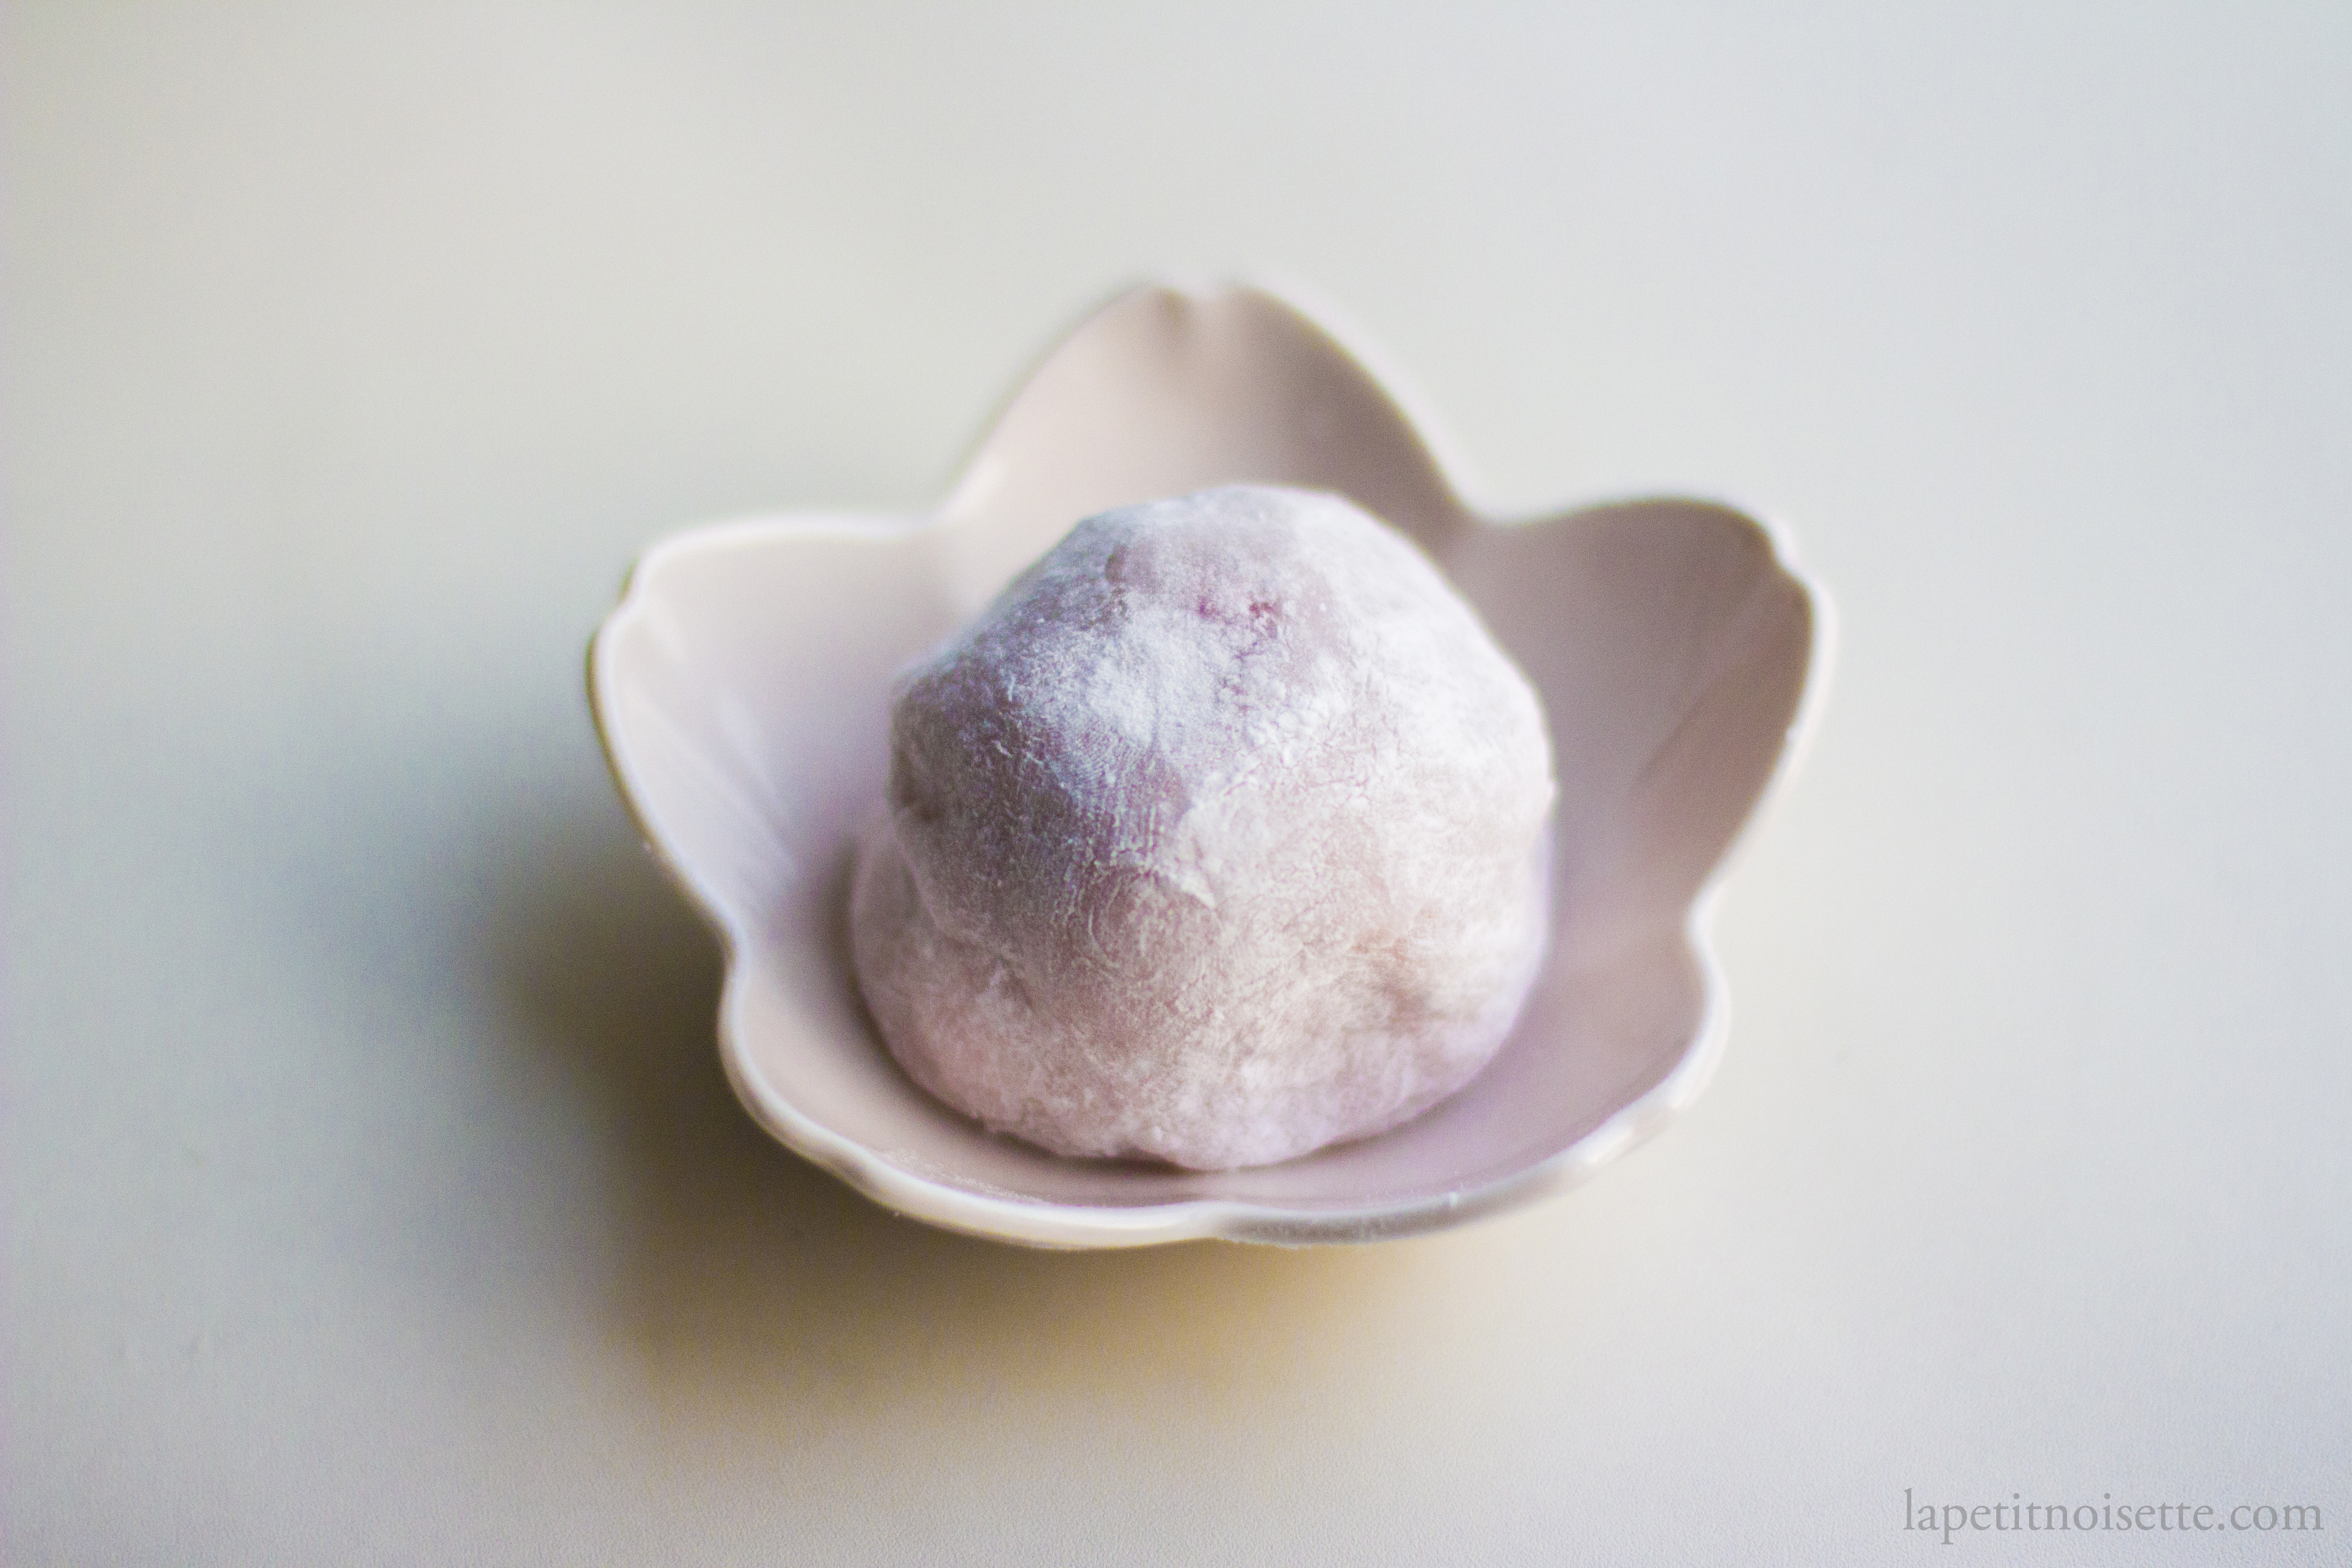
Firstly however, the word Daifuku (大福), refers to a traditional Japanese sweet made from soft mochi (もち), which is a sticky rice cake, stuffed with a sweet filling, typically Koshian (こしあん), which is a smooth sweet red bean paste. So in this case, Ichigo Daifuku (いちご大福) would be referring to strawberries wrapped in sweet bean paste and covered with rice cake. This recipe here however, is for an Ichigo Daifuku that was brought back as a gift from my friend who visited his hometown where his relatives were involved in the Japanese confectionery business.
The Daifuku was special because it had both a layer of Shiroan (white bean paste/白あん) and Koshian covering the strawberry, a combination that had me blown away as I had only ever tried the version with only red bean paste. The Daifuku’s package was tied together with a piece of string that was also used to cut it in half to be shared.
On Sweets, Bitters and Balance of Japanese sweets.
Whilst you can find these desserts at almost any shop in Japan nowadays, including Seven Elevens, Lawsons and Family Marts, there are still specialty shops that sell them so you should seek them out in Japan if you wish to try them. These shops specialise in making Wagashi (和菓子) which is the traditional art of making confectionery and sweets designed to be paired with green tea. This is where the first point of interest lies- as green tea is typically bitter, these sweets are designed to be extra sweet in order to off-set and balance out the tannins in the tea. However, if you look at the directions in which desserts have been moving towards such as in fine dining restaurants all over the world and especially at french bakeries, the trend has been moving towards more balanced subtle desserts rather than sickly sweet desserts that used to rule king. Take for example certain famous Parisian patissiers such as Sadaharu Aoki (青木 定治), who whilst was born in Tokyo, now resides in Paris and creates refined traditional french desserts with a Japanese twist, but can be best described as “not too sweet”.
In fact, while the phrase “not too sweet” may sound derogatory, this phrase is actually quite commonly used in many asian countries, particularly south-east asian countries, to describe desserts which are perfectly balanced. When attending a high end omakase or kaiseki meal in Japan, a tiny mouth size serving of an overly sweet wagashi might pair well with a cup of bitter green tea to round off the meal, but that’s because it fits into the entire aesthetic and theme of the meal. When eaten from a package at a store by the road size in Japan (especially if you’re not taking them home to pair with your afternoon tea), the sweetness can be somewhat jarring and overpowering. In short, this is a long way of saying that when you make these desserts, you might want to consider reducing the amount of sugar you use, which means making your own bean paste, so that the level of sweetness suits your personal taste.
Expensive vs Cheap vs Homemade Bean Paste
*This paragraph here is talking specifically about smooth bean paste.
So how does this tie into the bean paste you use? Well again this is where the old ingrained way of how things are done come back to haunt us. In a quest for refinement and purity, the sweet bean paste made in traditional Wagashi tends to taste of just… sugar? Red bean paste as a dessert filling isn’t uniquely Japanese, and can be found in Korean and Chinese cuisine as well. However, if you were to compare these desserts side by side, their Chinese counterparts can come across as particularly rough round the edges, with a sort of home-cooked vibe to them. Why is this the case? Google any recipe for sweet bean paste in English and you’ll find a typical recipe where the beans are soaked and cooked, with the skins sometimes removed, pureed and mixed with sugar, before being passed through a fine mesh strainer or tamis sieve to produce the smooth bean paste we recognize. If you were to google the recipe for Koshian instead in Japanese (こしあんの作り方) , you’ll find one distinct step that most English recipe omit for the sake of saving time and labour, but is true to the “traditional style” of red bean paste, which is that after the beans are pureed, they are then “washed” by being mixed with water and then allowed to settle. Once the bean puree has settled to the bottom of the mixing bowl, the water on top is poured off and the puree is washed for 2 or even 3 more times! Imagine that! Imagine making a tomato puree for a pasta sauce but then washing it with water as though to remove as much tomato taste from your tomato puree?
In a way this traditional method of making red bean paste is the most “refined”, as it’s the smoothest, gentlest tasting without any bitter elements, whilst still retaining it’s classic red colour. But if we were to look at it from another way, the process of washing the bean paste takes away any taste of beans in the paste, so instead of red bean paste, it’s more apt to be described as sugar paste dyed red with bean colouring?
To give it a test, Esme and I decided to do a blind taste test on the cheapest red bean paste we could find in Japan, vs the most expensive one we could find in a high end Japanese departmental store basement. If anything, the expensive bean paste just tasted, of well, sugar. Whilst the cheaper one actually still tasted of red beans. If anything, since I wasn’t a fan of red beans in the first place I actually preferred the more expensive one. But if you like the taste of red beans, then the expensive red bean paste basically had all the “bean goodness” taken out of it.
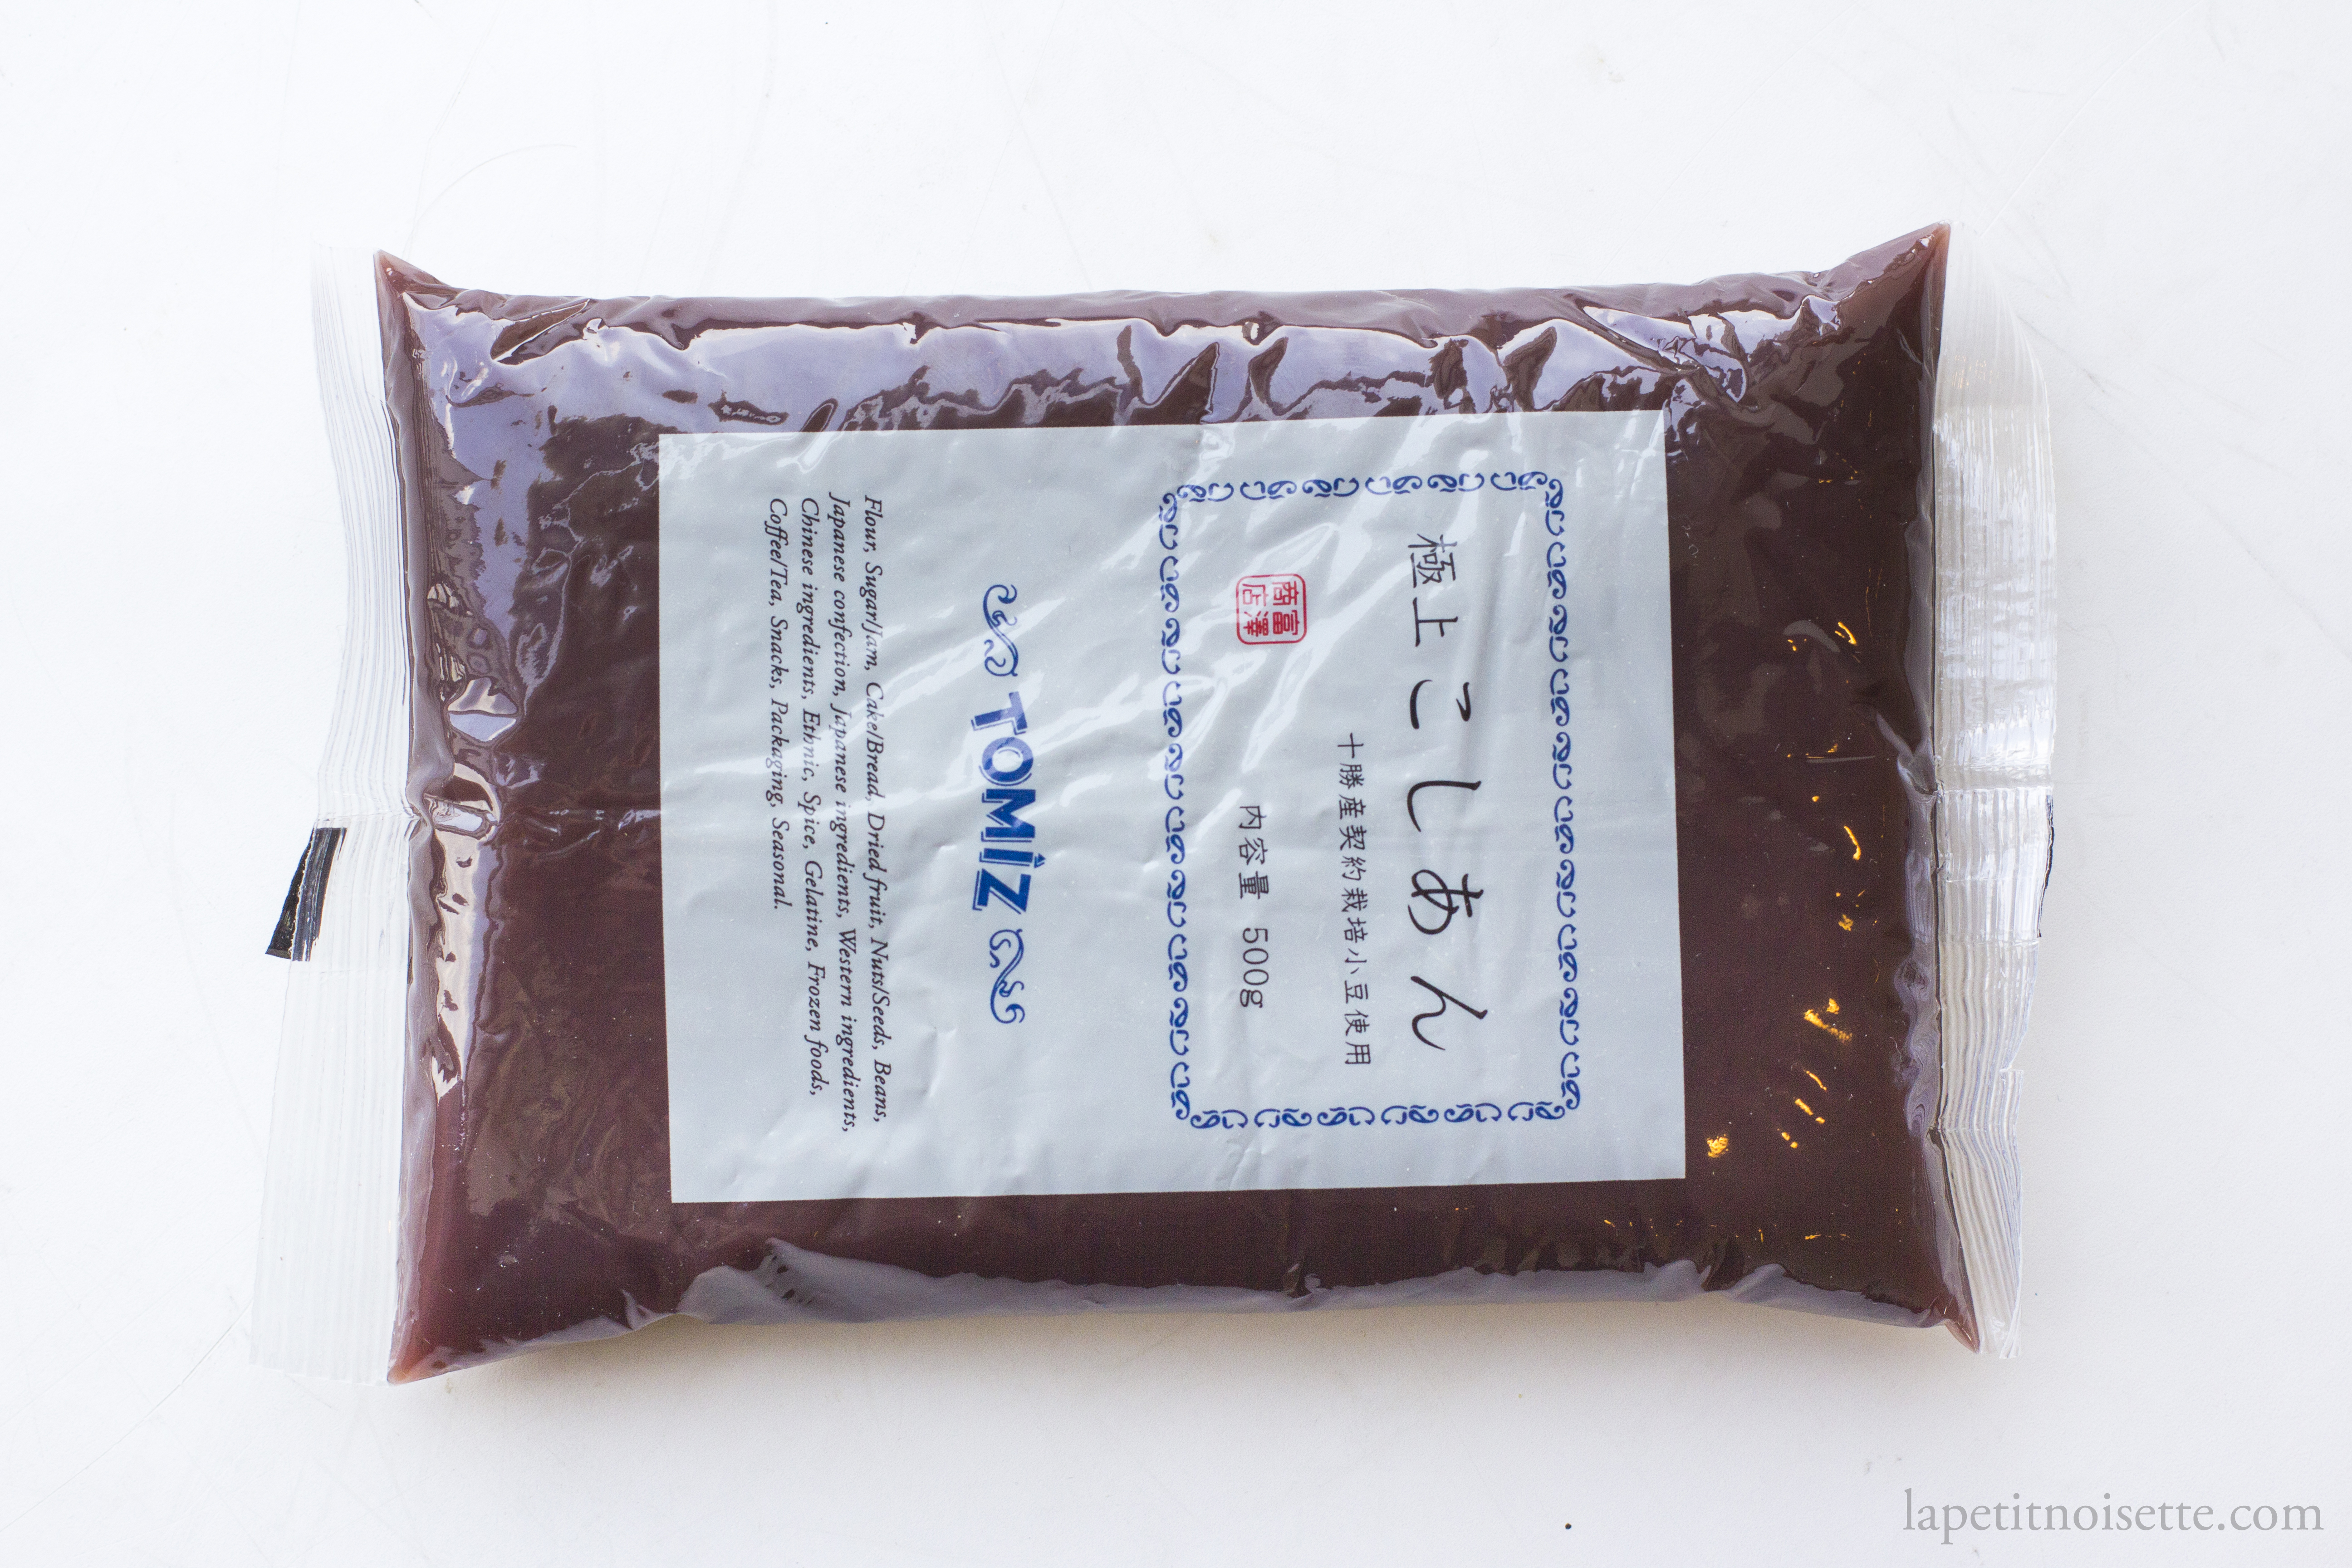
If you live outside Japan of course, you’d most likely find bean paste in your local Asian grocery store, which would either be in tins or plastic packets, and almost 100% of the time be made in China. The Chinese version of this bean paste isn’t actually bad. It’s darker in colour for sure, but it’s just as smooth as the Japanese ones and if anything has a more down to earth taste that actually tastes of red bean. However, if you want to replicate what you’d find exactly in a Japanese wagashi store, then you’ll have no choice but to make it at home yourself, and go through the labour intensive washing process yourself.
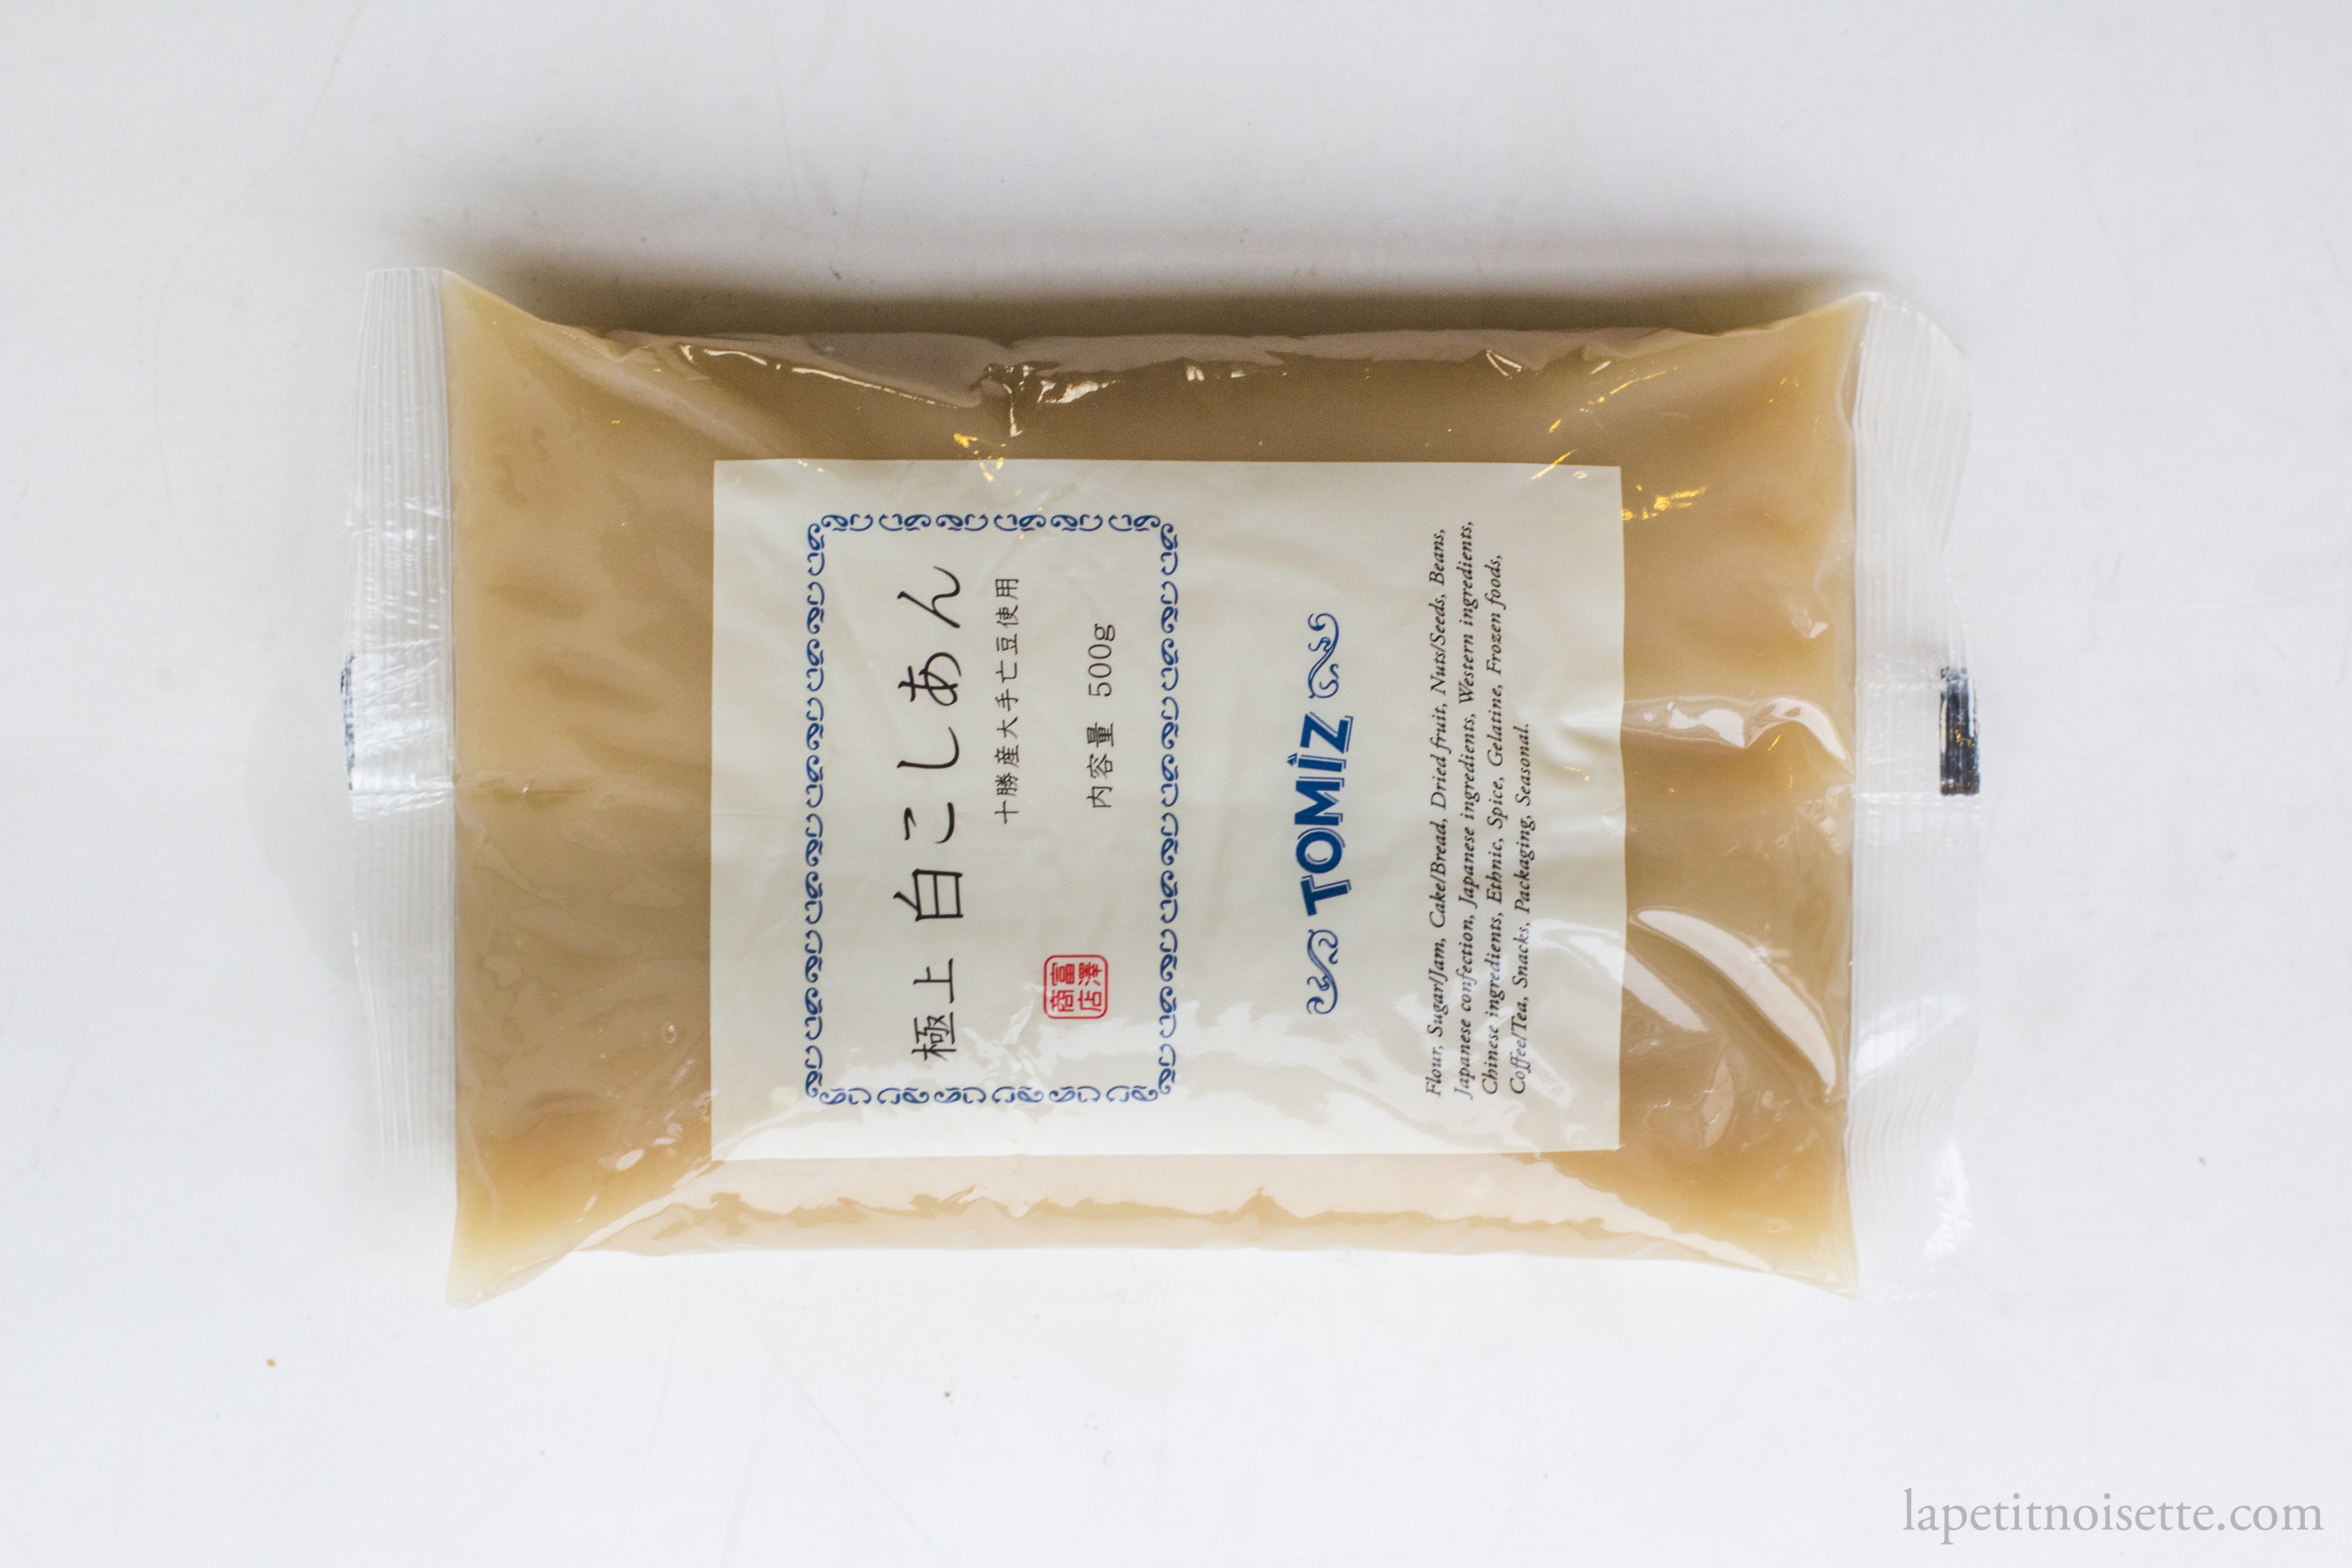
An “Authentic” Recipe On How to Make Shiroan (白あん) and Koshian (こしあん)
- 1:1 ratio of butter beans to white sugar for Shiroan
- 1:1 ratio of red adzuki beans to white sugar for Koshian
- Water
- muslin/cheesecloth
- Use butter beans if making Shiroan and red adzuki beans if making Koshian
- Wash the beans to remove any dirt.
- Soak the beans overnight with plenty of water to cover.
- Pour away the water and add the beans to a pot with enough fresh water to cover them.
- Bring the beans to a boil before pouring the beans into a colander and discarding the water used to boil the beans. Give the beans and the pot a rinse to clean as well.
- Add fresh water to cover the beans and return to a boil.
- Once boiling, simmer for around 40 minutes.
- At around the 40 minute mark. Pour in a glass of room temperature water into the pot. This step in japanese is known as “surprise water” or “startled water”.
- Bring the pot back up to a simmer and continue cooking until the beans are soft, probably around 40 or more minutes.
- Strain out the beans in a sieve and remove the skins from each bean.
- In a normal or tamis sieve, crush the beans with the back of a wooden spoon or rubber spatula. If it helps, pour some water onto the beans to make them easier to pass through the sieve.
- Once fully passed, clean the sieve and pass the bean paste through the sieve again.
- Next comes the step mentioned above. Pour twice the amount of bean paste in room temperature water over the bean paste and let it stand for around 5 to 10 minutes to let the bean paste settle at the bottom.
- Pour off water at the stop which should be milky in colour.
- Repeat step 12 and 13 again.
- Place the muslin cloth over the strainer and pour the paste into the muslin cloth.
- Gather up the muslin cloth and squeeze out as much water as possible. At this stage the bean paste is raw and known as Namaan (生餡).
- In a clean pot, add in all the sugar and ⅓ of the raw bean paste and mix well without any heat.
- Once mixed well, heat over medium-low heat and stir constantly to prevent the bottom from burning.
- Once all the sugar has melted into the bean paste and is just about bubbling, add in the remaining ⅔ of the bean paste and mix under smooth.
- As you continue to mix over the heat, the mixture will thicken as the water evaporates.
- Once the bean paste is thick and glossy like raw choux pastry dough, transfer to another container to cool.
- Store in the fridge for 5 days or freeze for a month.
So do we need to soak the beans overnight before cooking them? The answer to that is that it depends. It is a myth that soaking beans overnight speeds up the cooking time significantly. It only makes it a minute or so faster and is thus pointless from a speed perspective. What soaking the beans does here however is remove some of the earthy bean flavour from the paste. You can see here throughout the whole process we are trying to purify the taste of the beans as much as possible, so that the paste doesn’t taste of beans anymore (whether you agree with this or not is discussed above).
Butter beans are the same as lima beans. In Japan however, they use a variety of white beans which come under the umbrella name of Shiroingenmame (白いんげん豆). I used a variety of that grown in Hokkaido known as Tebomame (手亡豆/てぼうまめ).
“Startled water” (Bikkuri Mizu/びっくり水) is a technique used to supposedly suddenly lower the temperature of the cooking water so that the beans cook evenly. It’s also typically used when cooking noodles and is used to stop the water from boiling over the pot. Honestly this is another step which I don’t really see the point of but left in just for completeness. It is more commonly known as “supply water?” (Sashimizu/差し水/さしみず). This technique’s origin is most likely due to the charcoal fire of the old days where it was impossible to adjust the heat of the fire on the fly so the only water to prevent the stove from over boiling was to add cold water. Nowadays we can just turn down the fire/stove settings.
Short Grain vs Long Grain Glutinous Rice Flour
Next comes the types of glutinous rice flour out there and their differences. There are already more than a dozen articles talking about the differences between Shiratamko (白玉粉) and Mochiko (もち粉) but let’s go a bit further and elaborate on how you can make them yourselves and talk about the possibilities if you don’t have access to these flours. It’s easier to understand in point form so If you intend to make the rice flour at home yourself:
- The majority of Japanese wagashi is made from glutinous rice flour made from short grain glutinous rice.
- This rice is known as mochigome (もち米).
- The kanji for mochi is 糯 and therefore the japanese kanji for mochigome is 糯米.
- In chinese, the characters of short grain glutinous rice are 圆糯米.
- Shiratamako and Mochiko are both made from mochigome.
- You cannot replicate the japanese wagashi textures using long grain glutinous rice.
- The glutinous rice flour you find in most asian grocery stores outside Japan that are made in Vietnam or Thailand are made from long grain glutinous rice and will give you the wrong texture.
- It will be sticky and chewy instead of soft and fluffy.
- In chinese, the characters of long grain glutinous rice are 糯米.
- The glutinous rice flour you find in most asian grocery stores outside Japan that are made in Vietnam or Thailand are made from long grain glutinous rice and will give you the wrong texture.
This leads us to an important distinction when trying to buy the right rice, which is that the characters used to describe short grain glutinous rice in Japan and long grain glutinous rice in China are the same- 糯米.
This means that if the packet of rice you buy says 糯米 on it but originates from China or any southeast asian country, it’s highly likely to be long grain glutinous rice so you’d better double check before buying as it is the wrong rice to make wagashi from. Instead, what you should be looking for is rice labeled 圆糯米, with the extra character 圆 meaning round, for round glutinous rice. However, if the rice originated from the USA or Japan, 糯米 typically already refers to short grain glutinous rice.
If you do choose to use long grain glutinous rice flour to make this recipe just expect it to be extremely sticky, not in a bad way though, just not what you’d get in Japan.
Shiratamako (白玉粉) vs Mochiko (もち粉)
Both Shiratamako and Mochiko are made from short grain glutinous rice (mochigome/もち米) but have a slightly different production method which makes the resulting flour different.
To make Mochiko, glutinous rice is soaked overnight, strained and allowed to dry. The dried rice is then blended into a fine powder and sieved and is ready to be sold.
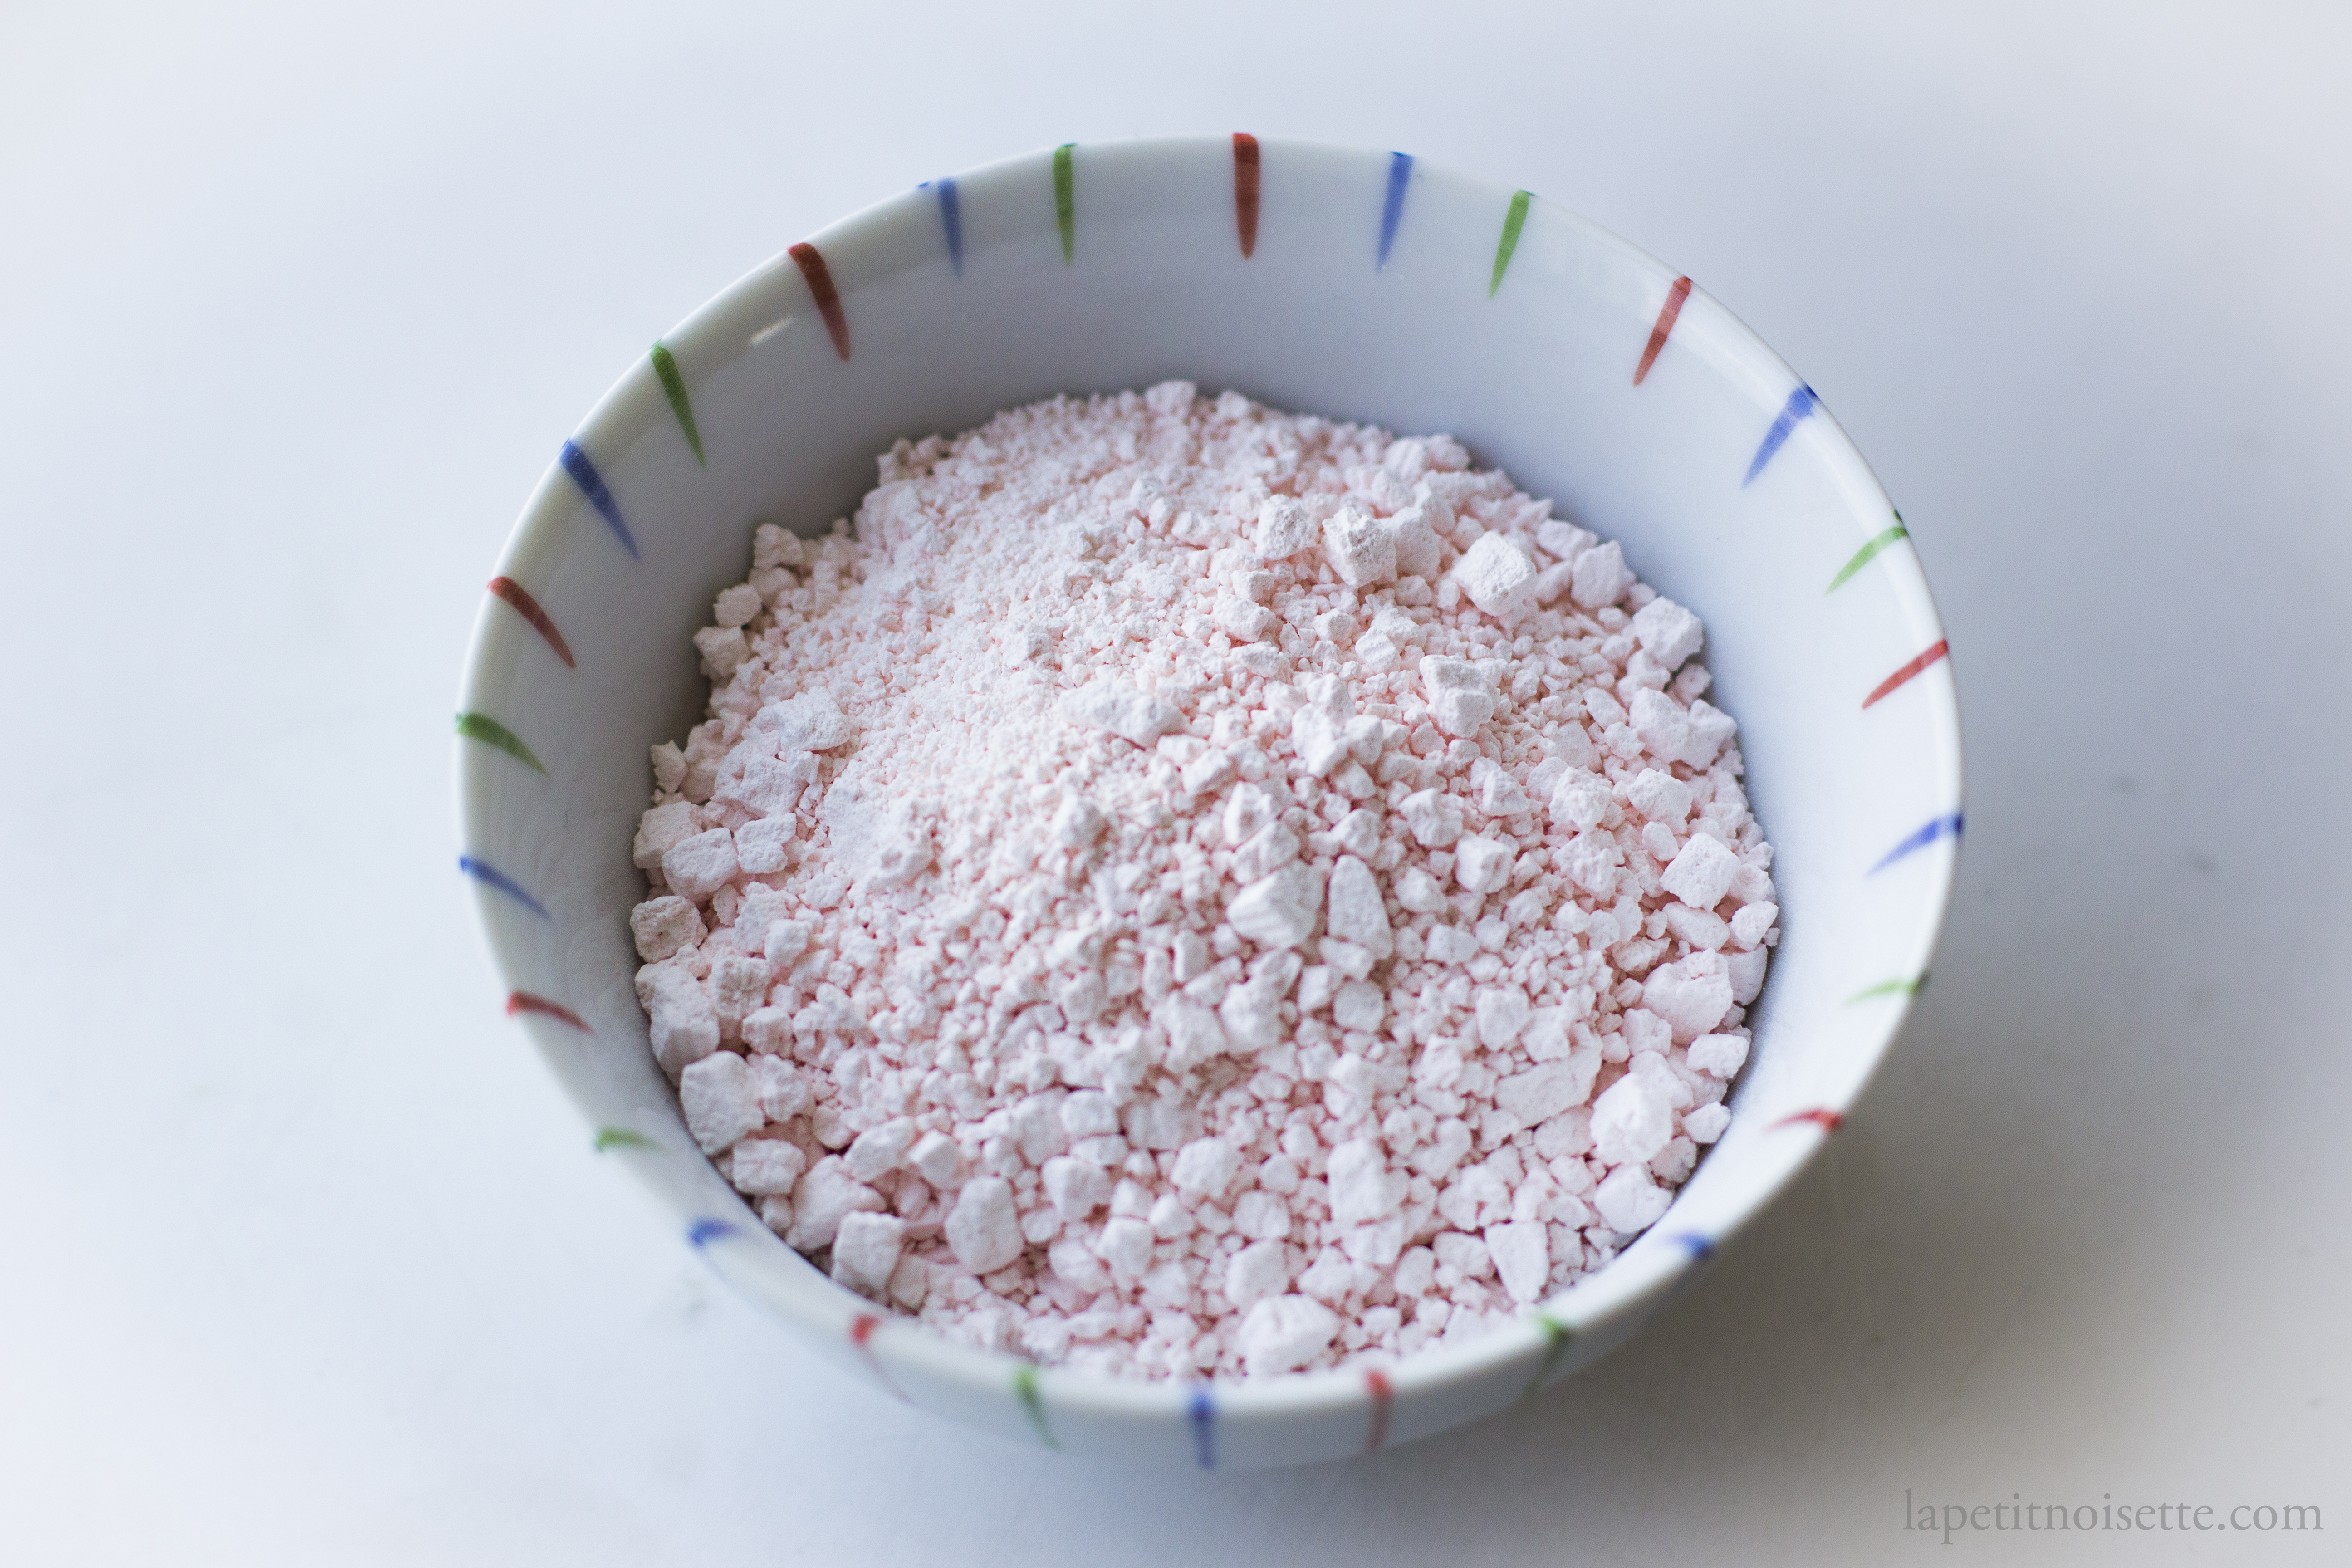
To make Shiratamako, glutinous rice is soaked overnight and strained as well, but then mixed back into water and blended into a slurry. The slurry is pressed to remove as much water as possible which leaves behind a paste that is spread out and left to dry into a cake/block. This cake is then crushed to produce granules which are ready to be sold.
Because of this you’d find that Mochiko is sold as a fine powdery flour whilst Shiratamako is sold as coarse lumpy granules which you then dissolve in water.
So what effect do these processes have on the resulting flours? Dough made from Mochiko is not as fluffy and soft, with it having a more elastic and chewy mouthfeel. If you let mochiko dough sit out for too long as well, it dries out and hardens. Dough made from Shiramatamko however, is soft and gentle on the mouth while yet being bouncy. It also can be left out for a long time whilst maintaining it’s texture.
What’s the science behind it? I don’t actually know. It doesn’t have anything to do with gluten development because rice doesn’t have gluten. It probably has to do with starch hydration however, as the process of making Shiratamako allows the rice grains to soak in water much longer.
How to make Shiratamako (白玉粉) from scratch
- Water
- Short grain glutinous rice (about 100g for 6 strawberries but I recommend you make more and keep it in an airtight container for future use).
- Muslin/cheesecloth
- Wash the rice in water until the water runs clear.
- Soak the rice in water overnight with enough water to cover the rice.
- The next day, drain the water from the rice through a sieve or colander and allow it to continue draining for 30 minutes.
- Pour the rice into a blender and pour enough fresh water to cover the rice.
- Blend the rice until all the individual rice grains have been broken up and the water is a milky colour. This may take a few minutes or a few rounds of blending if your blender is not powerful enough.
- Pour the mixture into a cheesecloth to separate the water from the rice. Remember to rinse out the blender with water and pour the water through the cheesecloth as some of the rice powder will stick to the blender walls.
- Bunch up the cheesecloth and squeeze out as much water as possible. The holes in the cheesecloth will quickly clog up at this point but keep trying to get as much water as possible out from the paste.
- Spread out the paste onto a tray and let it dry at 20-25℃ for around two days. The paste should start to crack apart as it dries.
- Once fully dried, the paste should have dried into a cake that has broken up into flakes. Transfer the flakes to a pestle and mortar and grind until broken up like granulated sugar or later.
- Store in an airtight container for later use.
Homemade Shiratamako is not as pure white in colour as store bought stuff as the commercially made stuff is usually bleached or artificially whitened.
How to make Mochiko (もち粉) from scratch
- Water
- Short grain glutinous rice (about 100g for 6 strawberries but I recommend you make more and keep it in an airtight container for future use).
- Muslin/cheesecloth
- Soak the rice in water overnight with enough water to cover the rice.
- The next day, drain the water from the rice through a sieve or colander and allow it to continue draining for 30 minutes.
- Spread out the rice onto a tray and let it dry at 20-25℃ for around 12 hours.
- Once fully dried, place into a blender and blend into powder.
- Shift the powder to remove any large fragments of rice.
- Alternatively you can do this with a lot of elbow grease in a pestle and mortar. Some people blend it in a blender first and then pour the content into a pestle and mortar and finish it.
- Store in an airtight container for later use.
As you can see in this recipe, you soak the rice overnight and then dry it out the next day. I’m actually not sure why this is the case but i’m leaving it here just because it is in the “traditional” recipe. Of course it does have an affect on the final texture of the rice cake, but I don’t know the science behind it.
The recipe for Joshinko (上新粉) is the same as the steps above, with the difference being replacing the short grain glutinous rice (mochigome/もち米) with normal Japanese short grain rice/sushi rice (uruchimai/うるち米). Joshinko flour is used to make dango, another famous Japanese rice cake.
Ichigo Daifuku with Red and White Sweet Bean Paste
Now that we have our bean pastes and Shiratamako, it’s time to assemble the dessert.
For 6 pieces:
- 100g of Shiratamako
- 20g of Sugar
- 125g of Water
- Potato Starch for dusting
- 75g of Shiroan
- 75g of Koshian
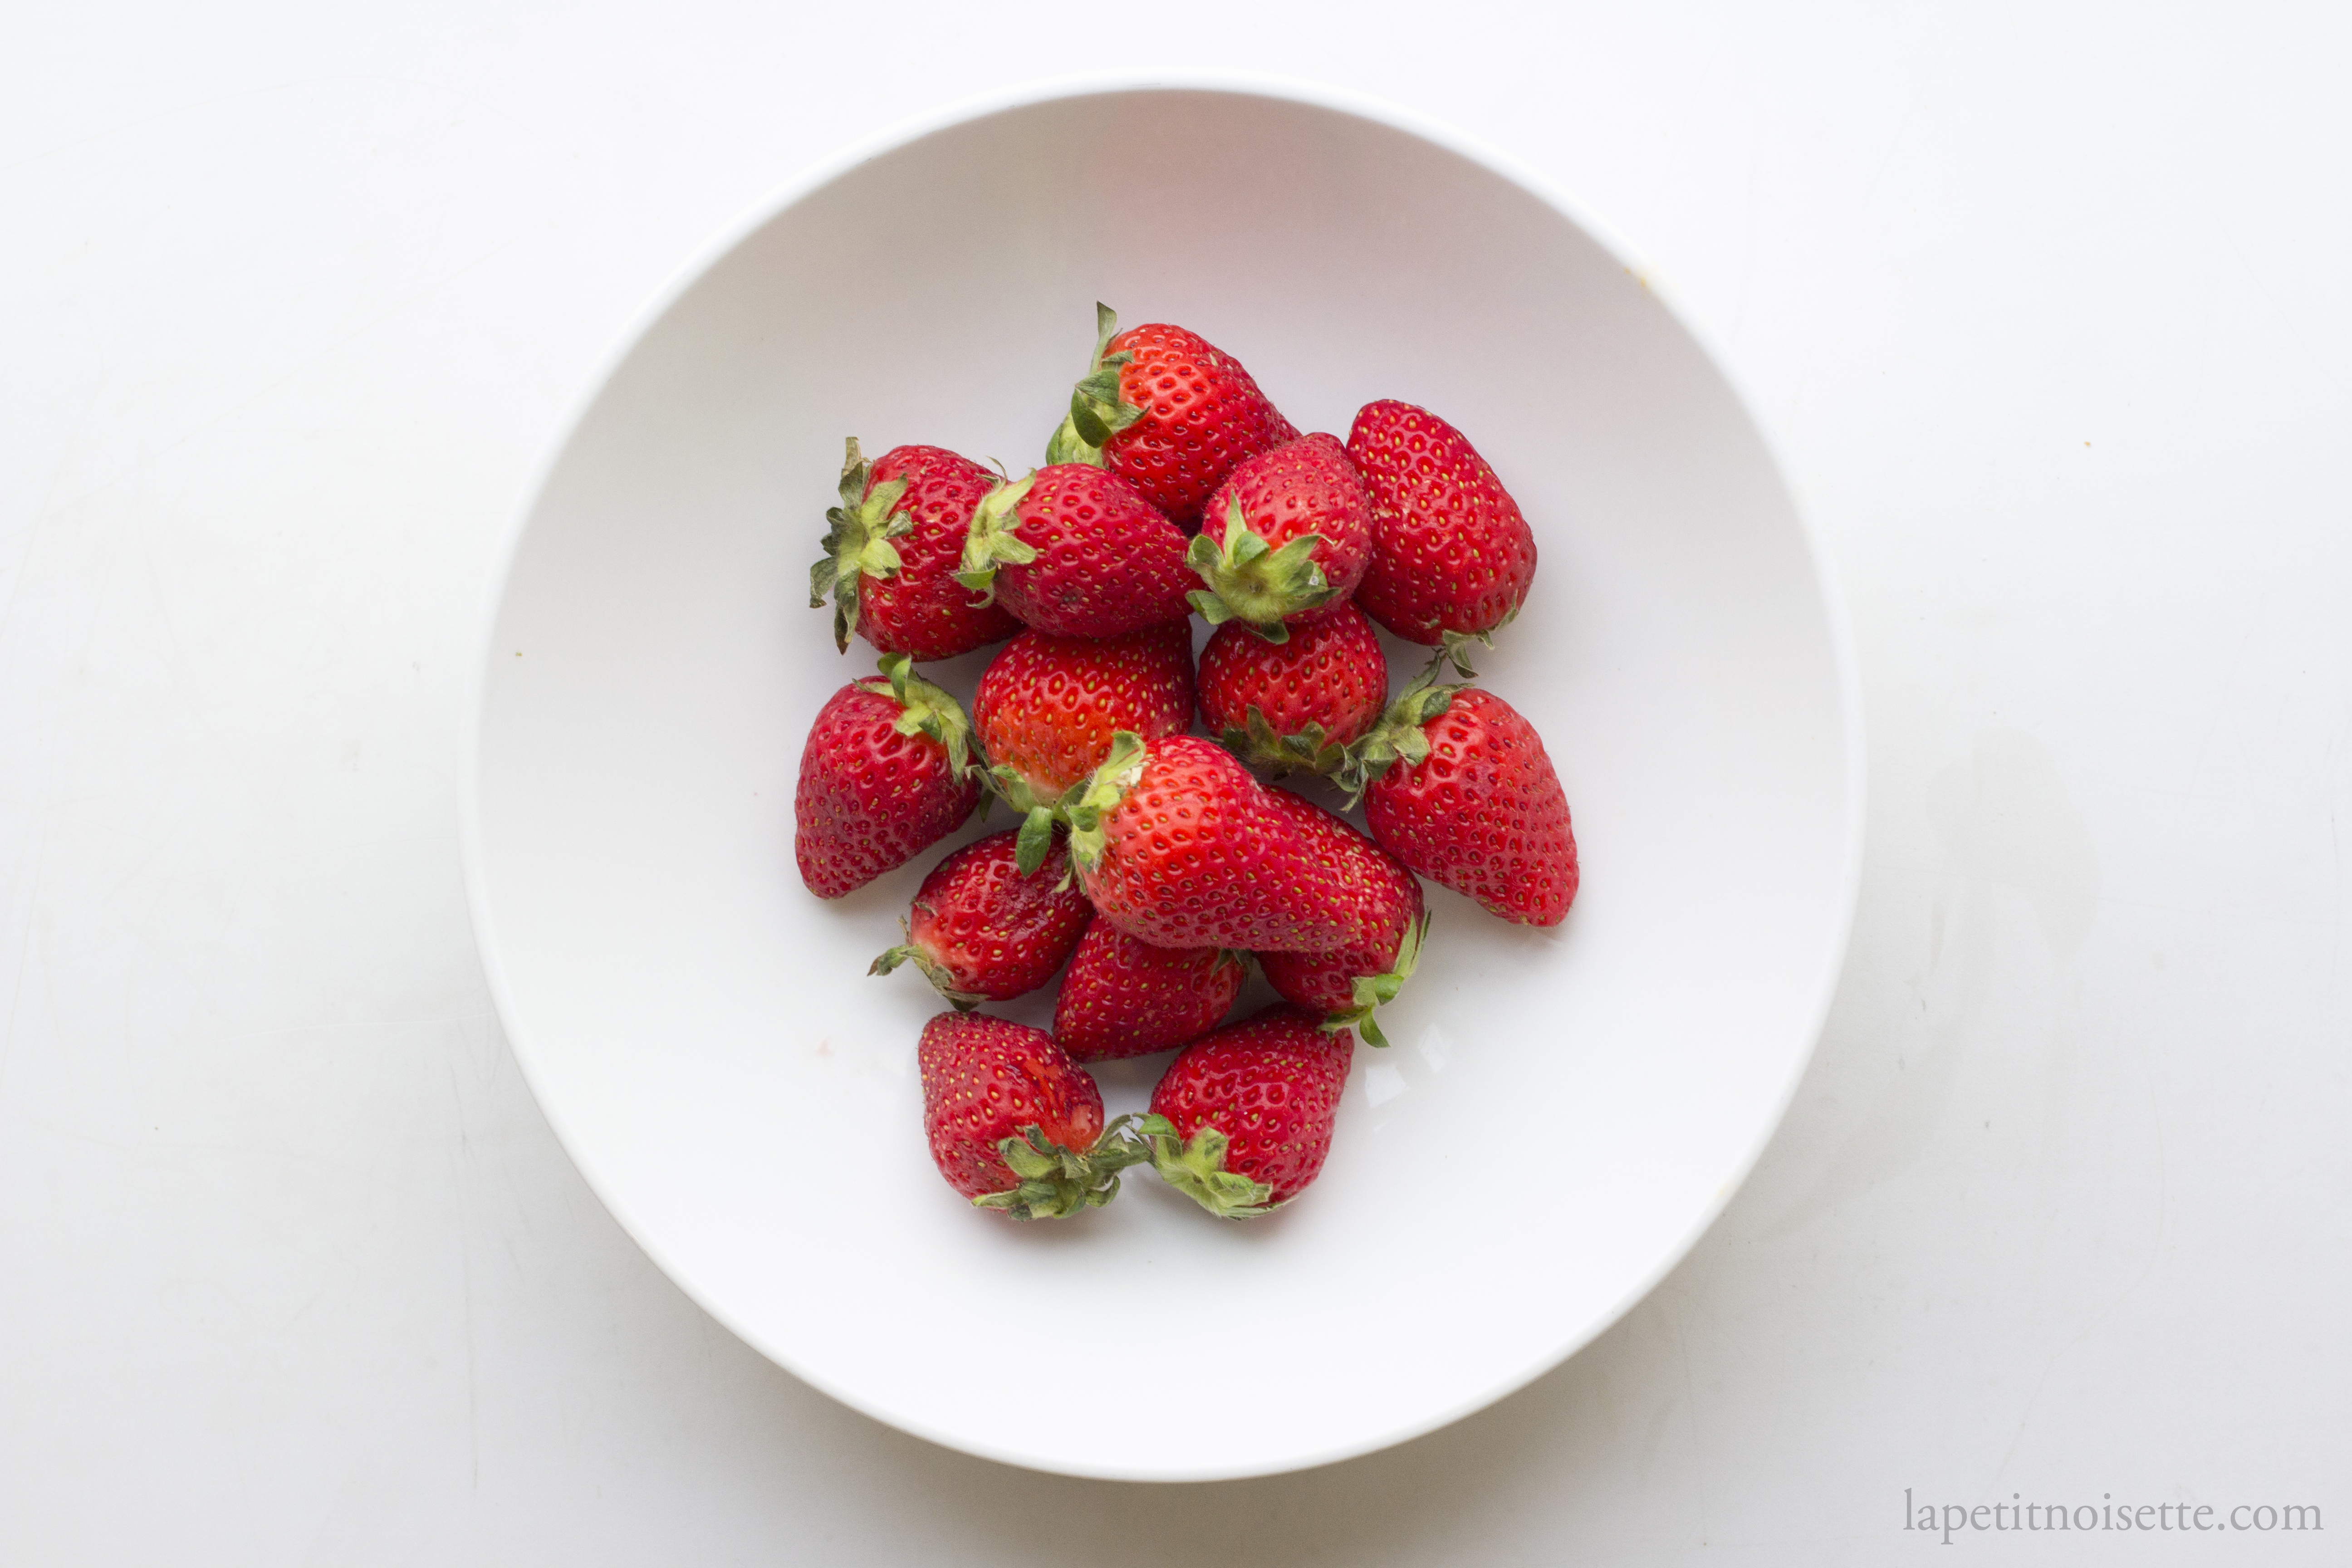
- 6 Strawberries
- Cut off the stems of the strawberries
- Dip your hands in water and split and roll the Shiroan and Koshian into 6 balls each totalling 12 balls. If the bean pastes start to stick to your hands, dip your hands in water again.
- Press a ball of Koshian into a circular disc and use it to wrap a strawberry.
- Press a ball of Shiroan into another circular disc and use it to wrap the Koshian wrapped strawberry.
- Repeat for all 6 strawberries.
- Mix the sugar and Shiratamako together in a non-metal mixing bowl before adding the water in, all the while mixing so that the water combines well with the Shiratamako.
- At this point the Shiratamako granules should start dissolving into the water. Continue mixing so that there are no flour pockets and the mixture is smooth.
- To cook the rice cake the old-fashioned way, steam the mixture for around 15 minutes on high heat before removing from the steamer and mixing well with a wooden spoon until uniform. The mochi is fully cooked when there are no more visible white floury bits and the rice cake is semi translucent.
- To cook using a microwave, at 1000W, microwave for 1 minute. Remove and stir, and repeat again for 1 minute. At this point the mochi is almost cooked and should be quite sticky. Stir again so that it cooks evenly. Microwave again for 30 seconds and stir again. Check that there are no more visible white floury bits and the rice cake is semi translucent. If not microwave again for one last time for 30 seconds.
- Liberally flour your working surface with potato starch to prevent the mochi from sticking. This part can be quite messy so you might want to do it on a baking tray instead of the tabletop.
- Pour the mochi from the mixing bowl onto the potato starch and dust more potato starch on top.
- Coat your hands with potato starch and tear the mochi into 6 even balls/lumps. Alternatively cut the mochi with a dough scraper into 6 pieces.
- Using your hands (still coated with potato starch), flatten out the ball into a circular disc. Dust off any excess potato starch on the surface of the disc and place the strawberry tip first into the disc.
- Gather the sides of the disc together over the base of the strawberry to cover the entire strawberry with mochi and then pinch together to seal. This way the seal is at the bottom of the strawberry, hiding the seal.
- Place the Daifuku back onto the baking tray and readjust the shape to your liking.
- Repeat for all 6 strawberries.
- The mochi becomes less flexible as it cools down so shape it whilst it’s warm/at room temperature.
- Store at room temperature in a covered container and consume within 2 days.
You don’t actually need the sweetest/most expensive strawberries you can find for this recipe. If anything, the sourness of the strawberries helps balance out the sweetness of the bean pastes.
The recipe testing for this recipe was done during the cherry blossom season so I used a Shiratamako that was dyed pink to add to its aesthetic appeal.
This is great article about Daifuku. I used to buy sweet called ‘mochi balls’ from asian supermarkets and loved them as they were not overly sweet as in western sweets. But since I gave up on eating refined sugar (5 years now) I am experimenting a lot with recepies including dates, date syrup and rapadura sugar(small quantities). Honey makes me feel unwell (my body cannot handle this amount of sweetness anymore even if its natural, also sweeteners like xylitol or other ‘ols’ are not good ). Dates are not problem at all. I recently made red bean paste with dates blended in. I think it is very good. Did Japan always had refined sugar? Probably not, I wonder what refined sugar alternatives they used prior the refined sugar arrival. I am gearing up to make amazake and see how I respond to this kind of sweetness. I hope to use amazake in other food recipes. I did not loose my sweet tooth but what is faintly sweet for regular person tastes great for me and what I noticed the texture plays a vital role now, that the excess amount of sugar was reduced in my recipes. I only have just found your website and find it fascinating and with a lot of good detail, thank you!
Do you recommend using white caster sugar? Or what type of sugar is best?
White caster sugar works! 🙂