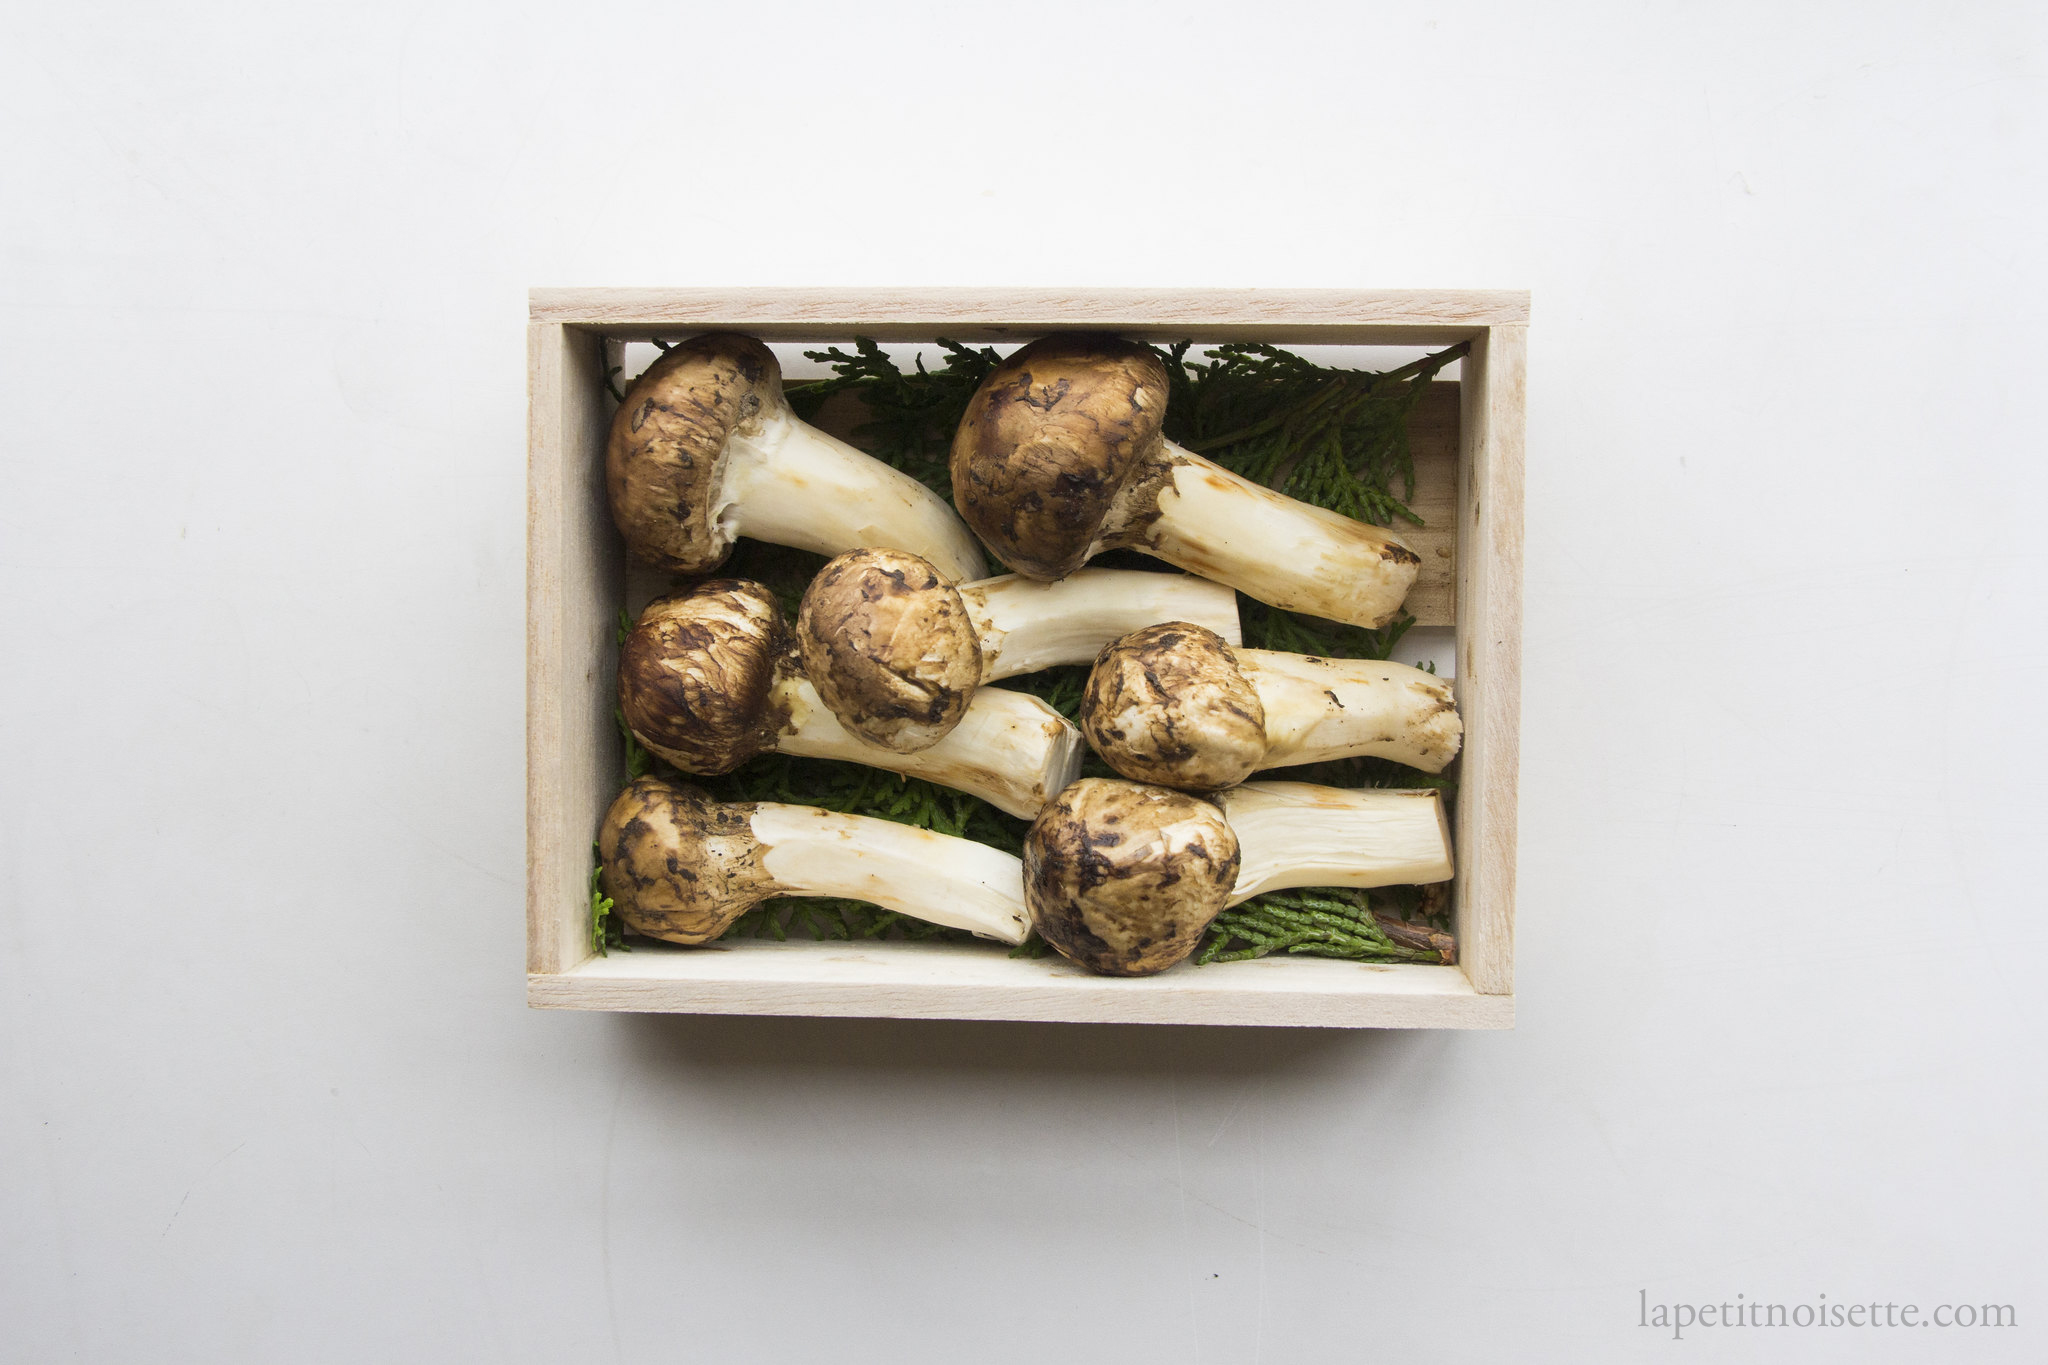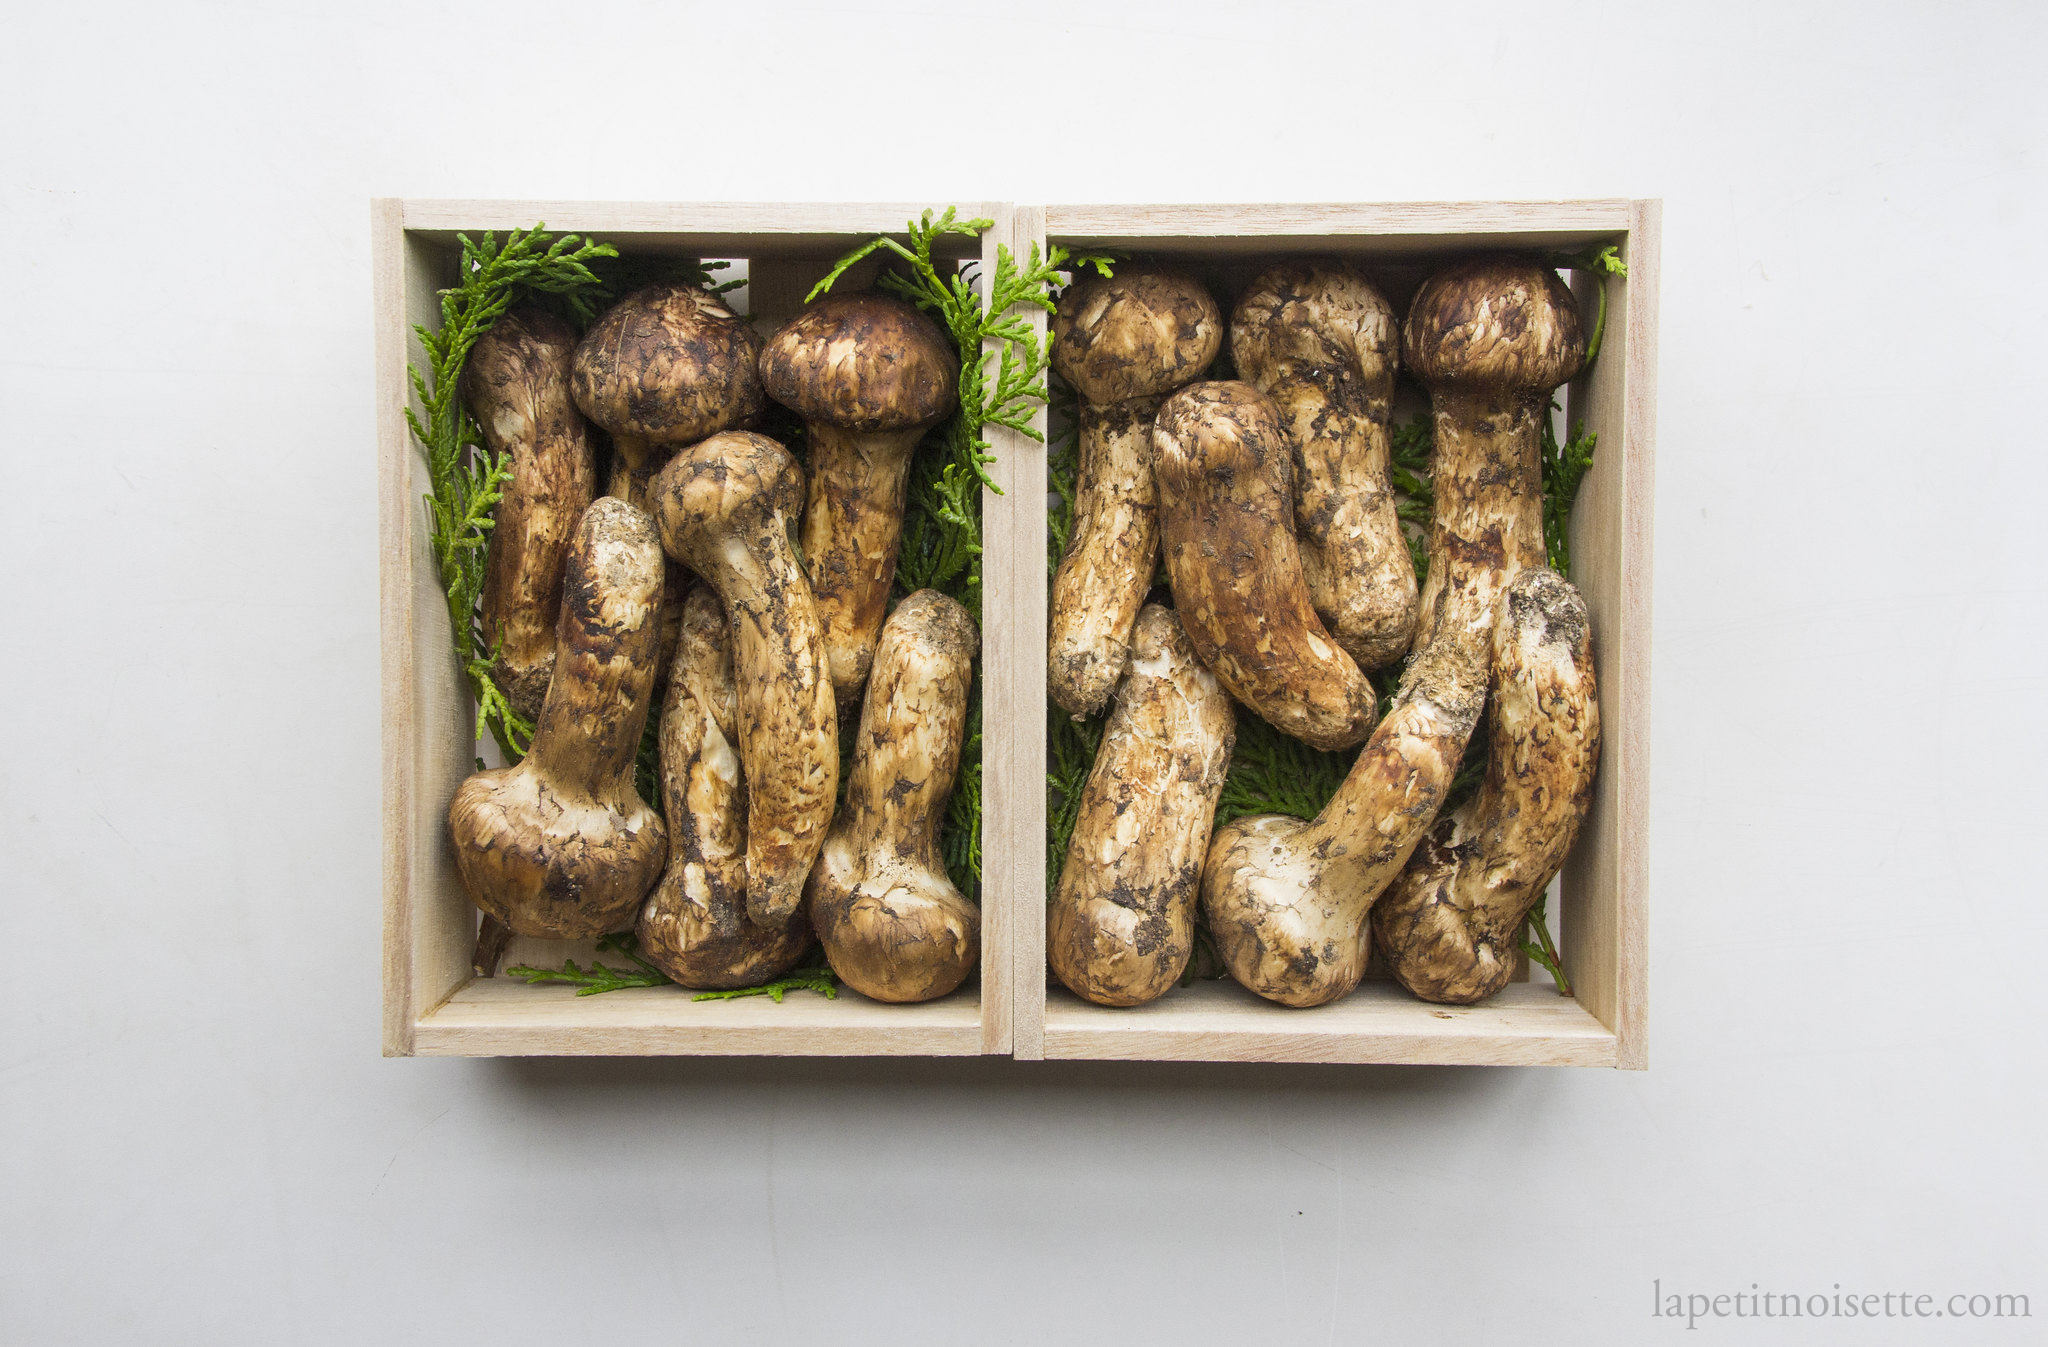
Following on from my introduction of the science behind lactic acid fermentation here. This first recipe of this series provides an in depth example on how to carry out your own homemade lactic acid fermentation. For more information on matsutake mushrooms, see my previous article post on matsutake rice. Please read my introduction into the science behind lactic acid fermentation if you wish to understand the reasoning behind certain steps we take in this recipe.
Being the most revered mushroom in Japanese culture (and expensive too), this recipe would probably come as a surprise to anyone familiar with Japanese cooking due to the fact that it is very different from the traditional preparations of matsutake mushrooms. Prized for its spicy and almost pine-like flavour as well as its crunchy texture, this mushroom is typically grilled, cooked with rice or served in a soup called dobin mushi (土瓶蒸し).
These preparations are simple and serve only to accentuate the mushroom’s delicate flavours as they do not contain many other seasonings. The mushrooms themselves are rare, only appearing for a short few weeks during the autumn, costing up to 40 000 yen per kilo, or about 10 000 for a small box.
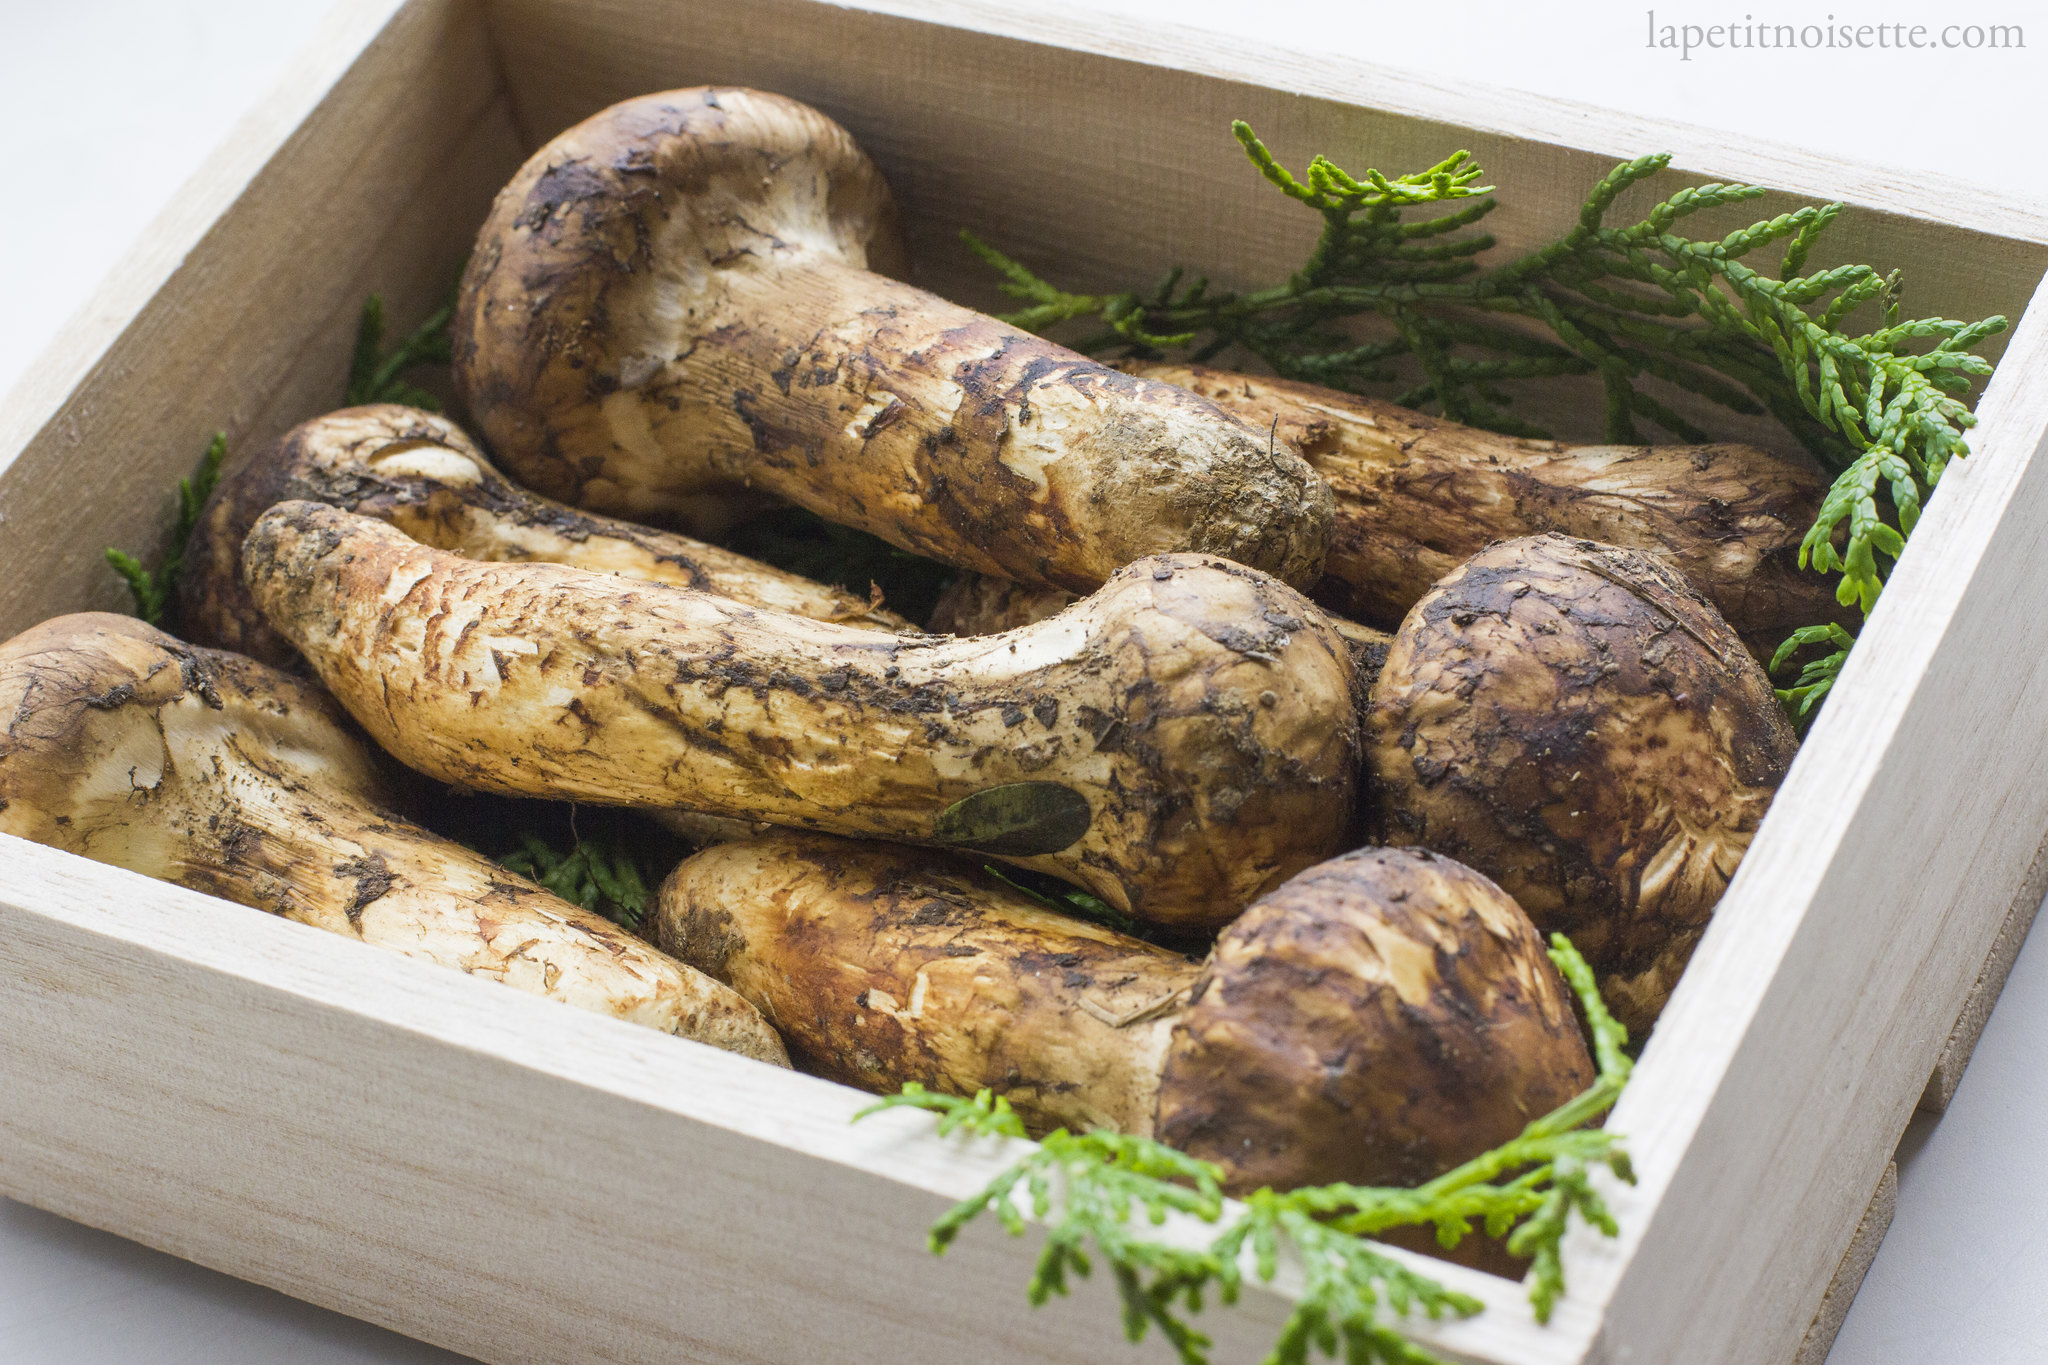
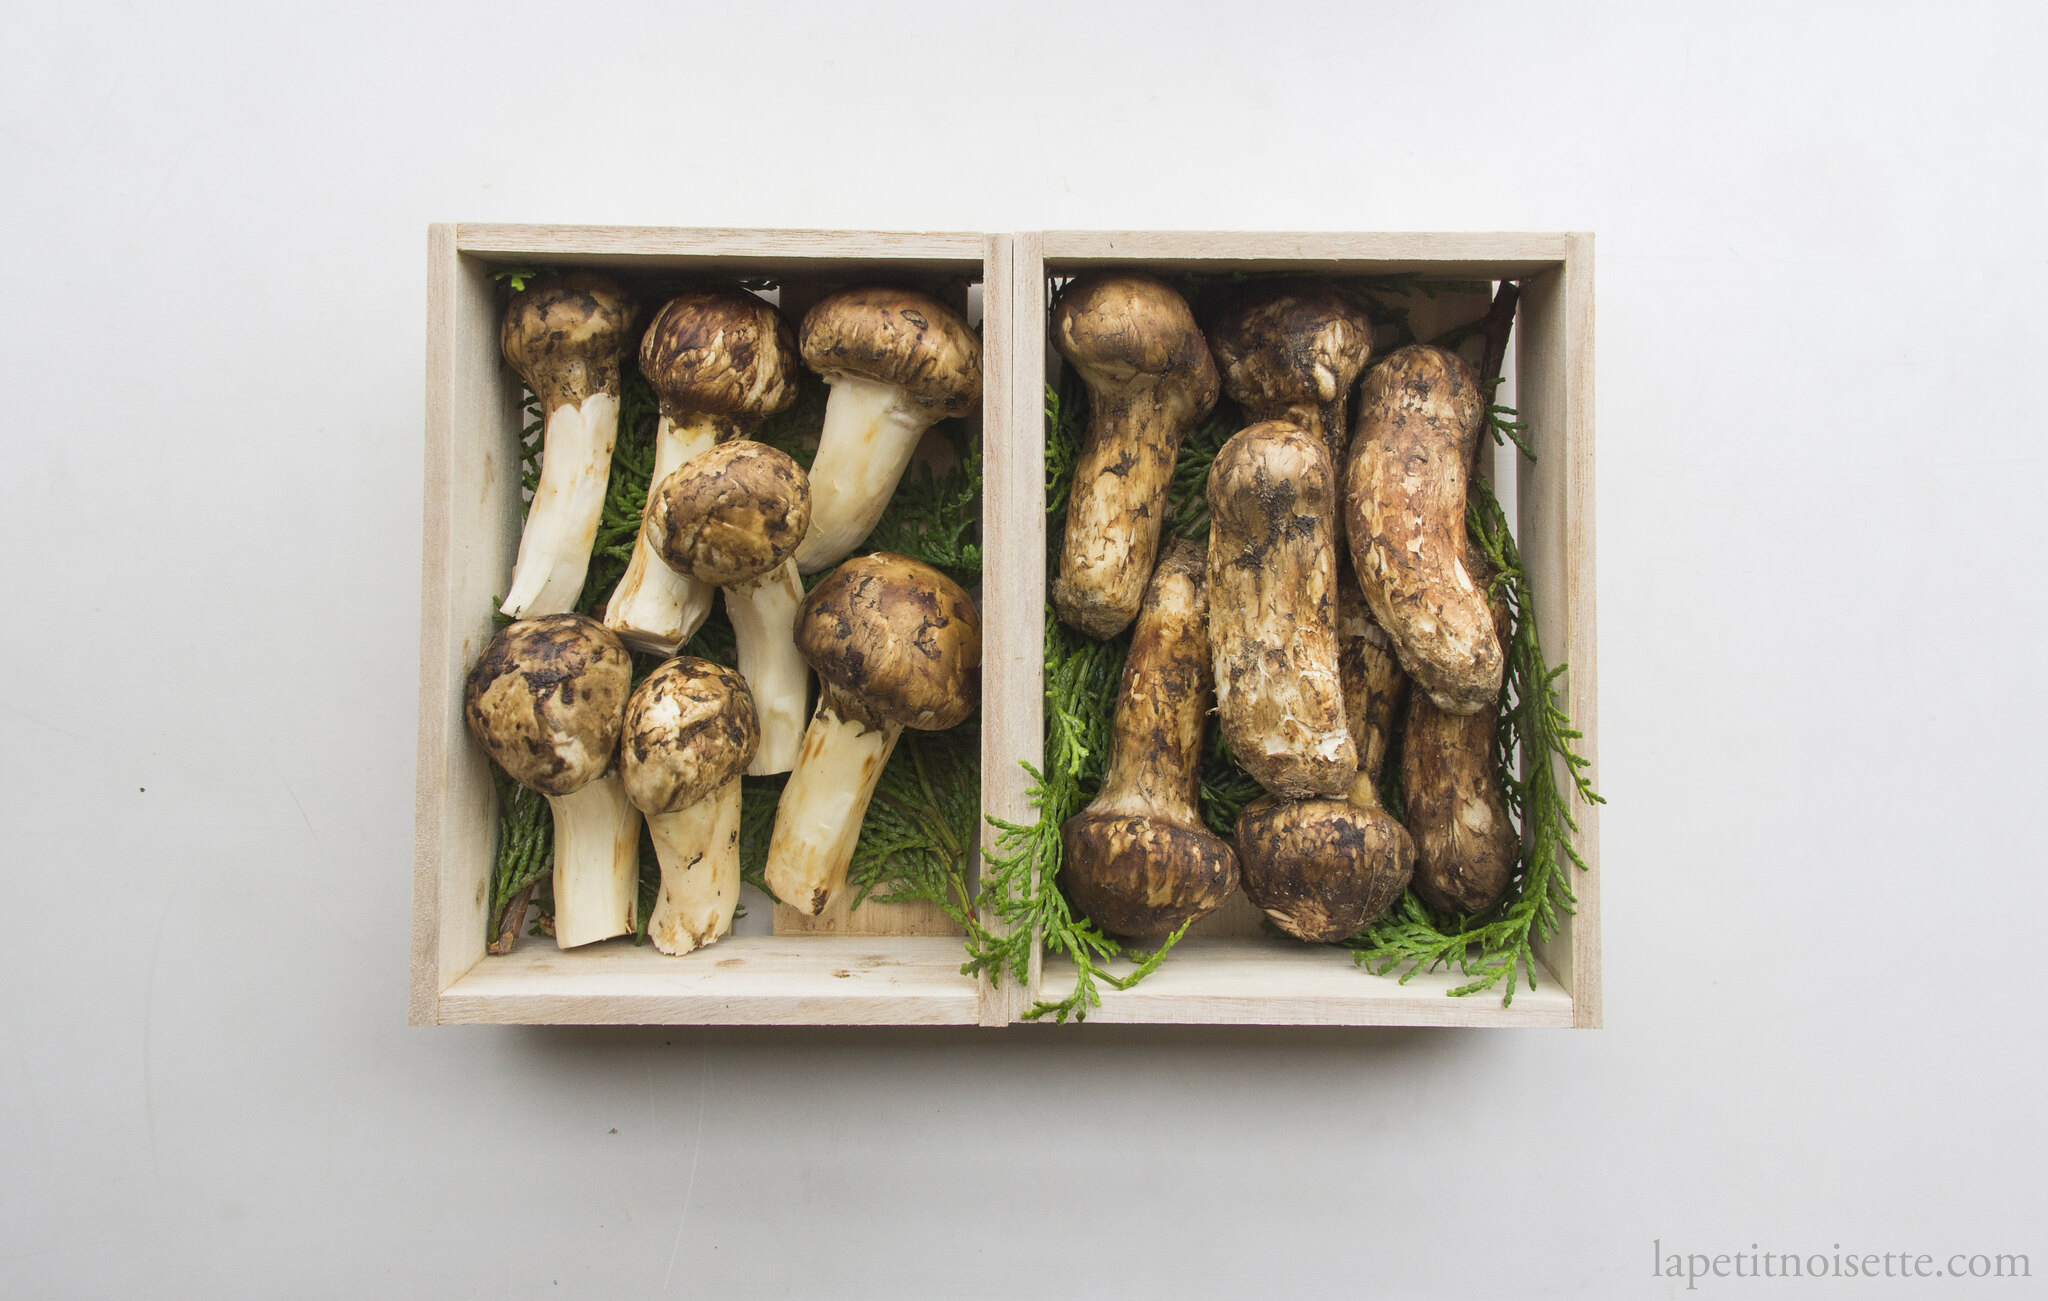
So why lacto-ferment matsutake mushrooms? This recipe was inspired by the lactic acid fermented porcini mushrooms that we used to make at Noma, which are themselves highly sought after ingredients. (This recipe is in the Noma Guide to Fermentation book! 10/10 would recommend it if you’re interested in modern takes on fermentation). The traits that make porcini mushrooms suitable for lacto-fermenting are the same as matsutake mushrooms. For one, both these mushrooms have thick stems which makes them less prone to becoming mushy once fermented. They are also quite meaty and best harvested before their caps have fully opened, again meaning that they retain their shape and texture somewhat after fermenting. This means that mushrooms of similar traits also work well like oyster mushrooms etc. You can still ferment chanterelles or your everyday button mushrooms but I find them a little softer in texture.
Another reason is that just like most mushrooms, the quality of this mushroom also quickly degrades overtime as it loses its freshness. And unlike morels and porcini mushrooms that can be dried and reconstituted to make a fabulous mushroom stock, there does not exist a tradition of preserving matsutake mushrooms in any way, even drying, so I thought it would be interesting to test out lacto-fermenting matsutake mushrooms.
In the same way we never wash matsutake mushrooms before cooking them as they very readily absorb water, we don’t want to wash them in this instance either. Instead, you can either wipe them down with a damp cloth or clean them the same way you would clean chanterelles, which is by giving them a quick turn as you would turn a carrot.

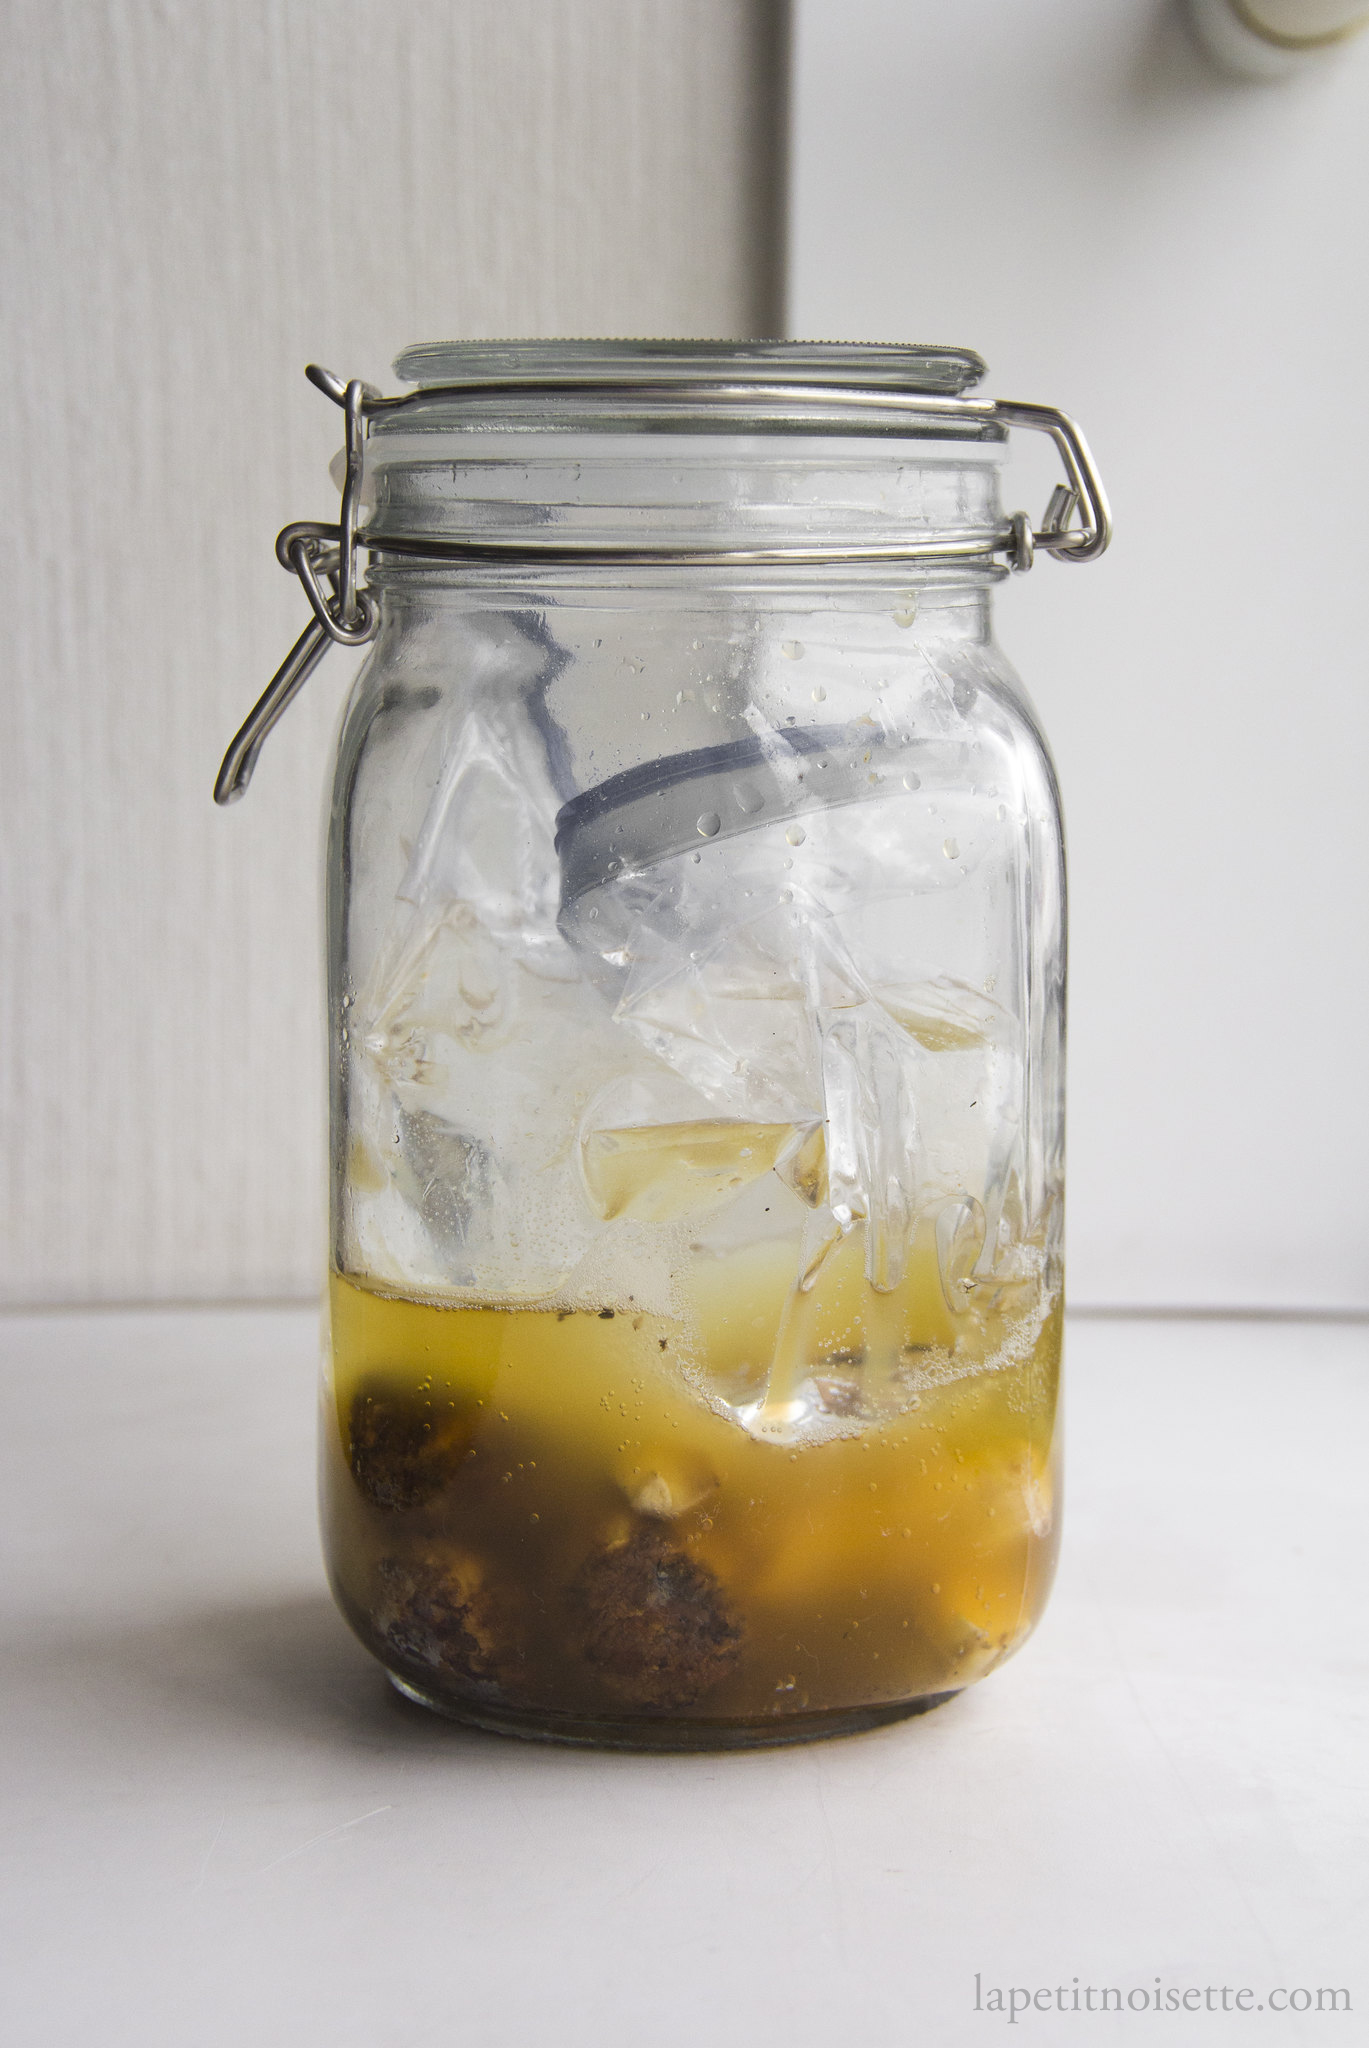
When it came to fermenting porcini mushrooms, it was always the fermented juice that came out from the porcini mushrooms that was the more sought-after product of the fermentation and not the mushrooms themselves. Whilst this is not true for all lactic-acid ferments (I remember having to discard a bucket-full of lacto-mirabelle plum juice), I feel the same goes for the juice of lacto-fermented matsutake mushrooms which is earthy and salty yes acidic and fresh, kinda like a well aged soy sauce mixed with sudachi juice. Because of this, I personally feel that it goes amazingly well on chawanmushi or sashimi, or as recommended in the Noma Guide to Fermentation book, on monkfish liver or on sea urchin (uni) as a way of balancing out their rich flavours.
This gives us two options when it comes to this ferment, where you either ferment the matsutake mushrooms fresh, or freezing them first before fermenting them. By freezing the mushrooms first, the expansion of water in the mushroom’s cells due to ice crystal formation ruptures their cells, causing them to release much more juices when fermented. Therefore, if you’re after the juices to use as seasoning, I recommend freezing the mushrooms. You do not need to defrost the mushrooms before starting to lacto ferment them.
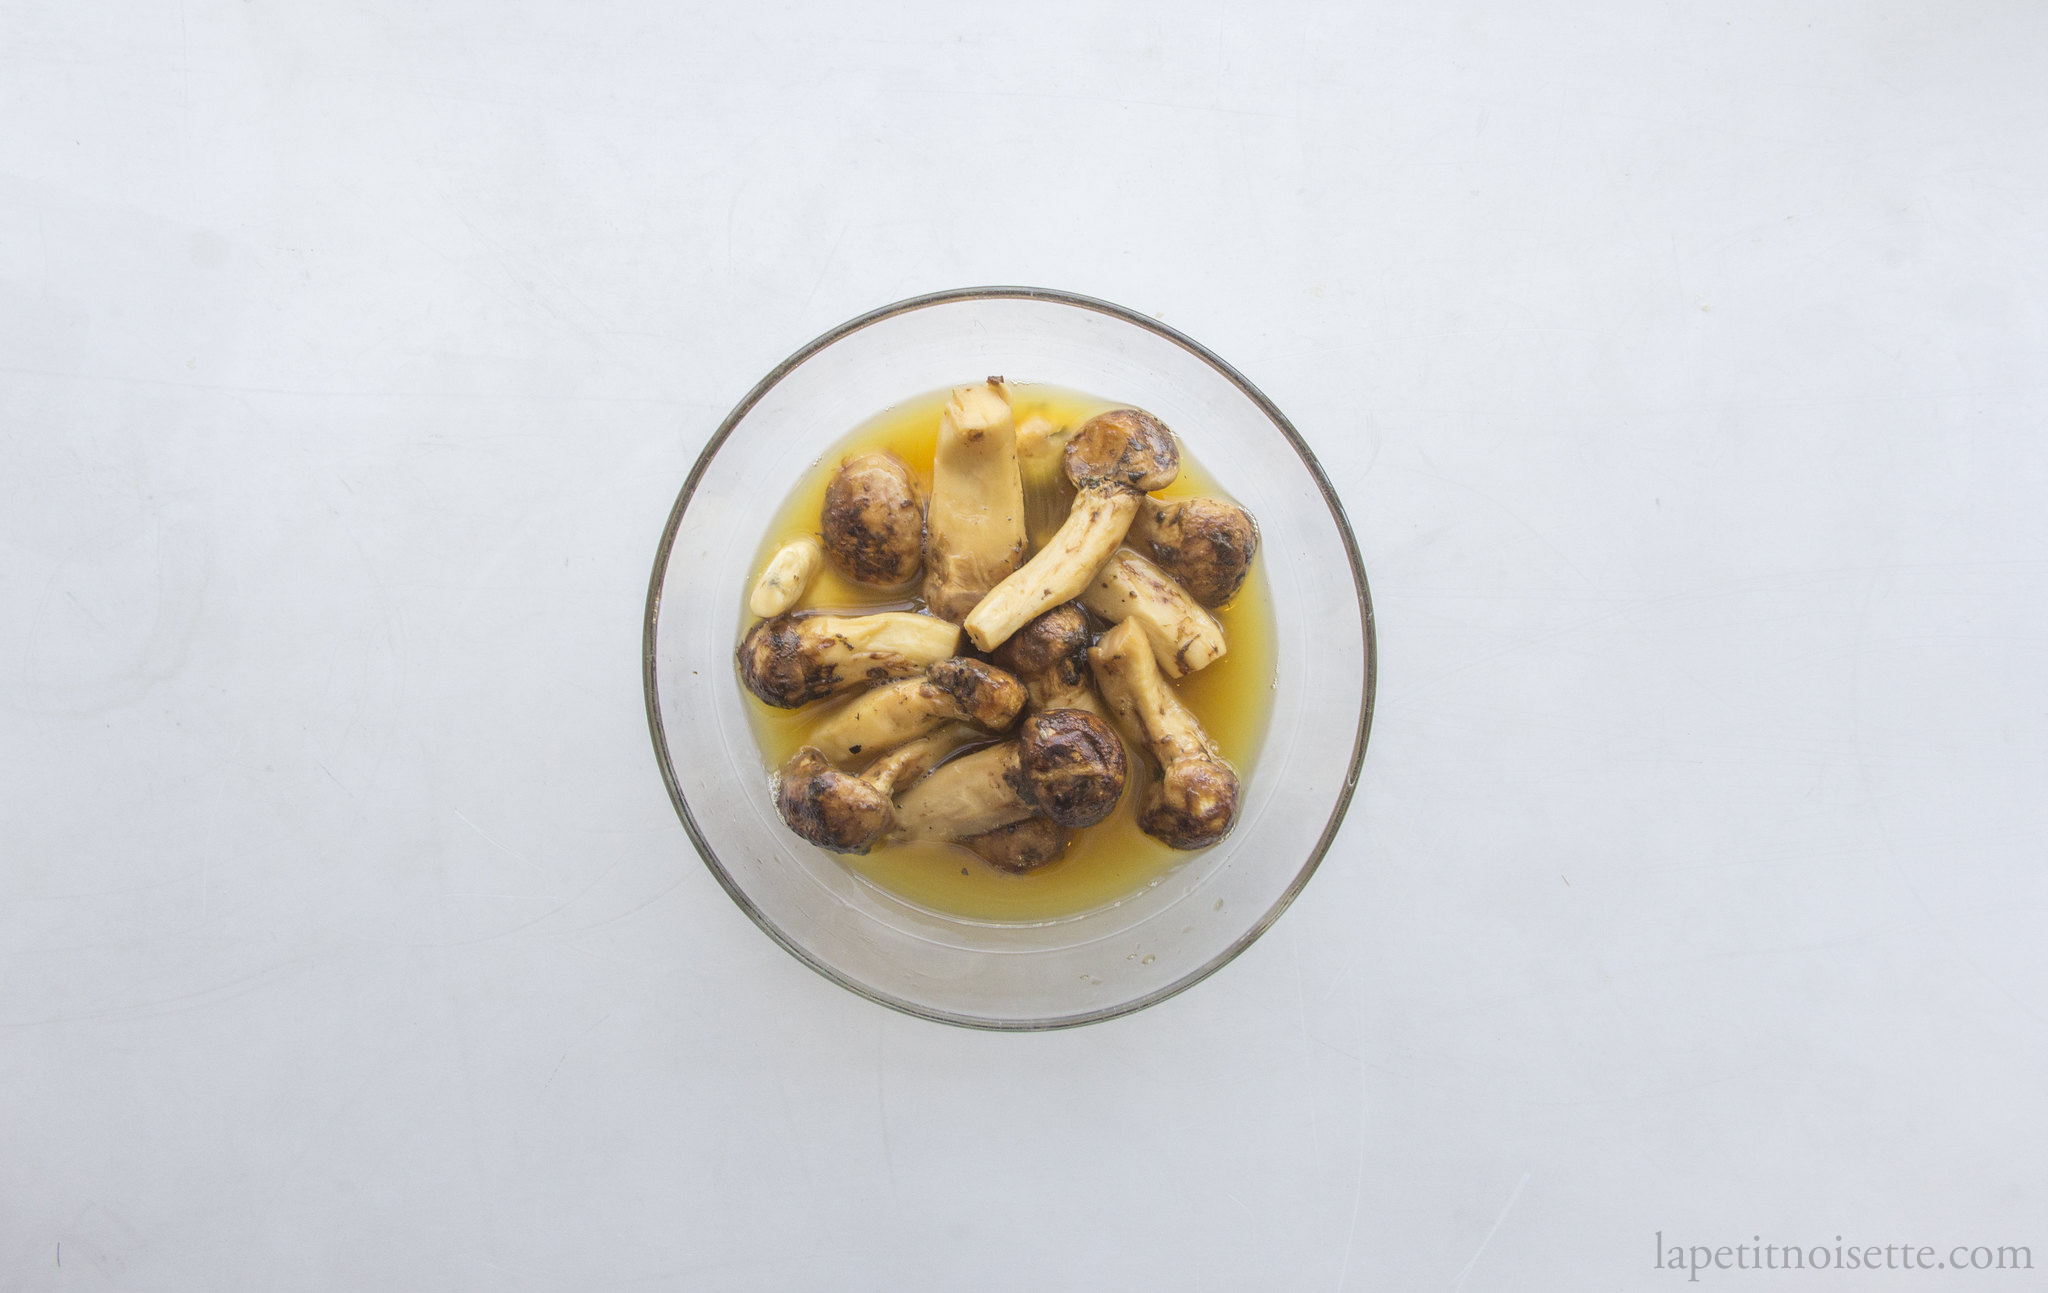
Lacto-fermented matsutake mushrooms
Ingredients:
- Matsutake mushrooms
- 2% of the matsutake mushrooms’ weight in sea salt (non-iodized as iodine kills LAB)
- Fermentation Jar
- Fermentation weights/a ziplock bag filled with water
To create an anaerobic environment needed for lacto-fermentation in this recipe, we can either use a jar with weights or a vacuum sealed plastic bag. Brining is not an option for this recipe as we do not want to dilute the juices released by the mushrooms.
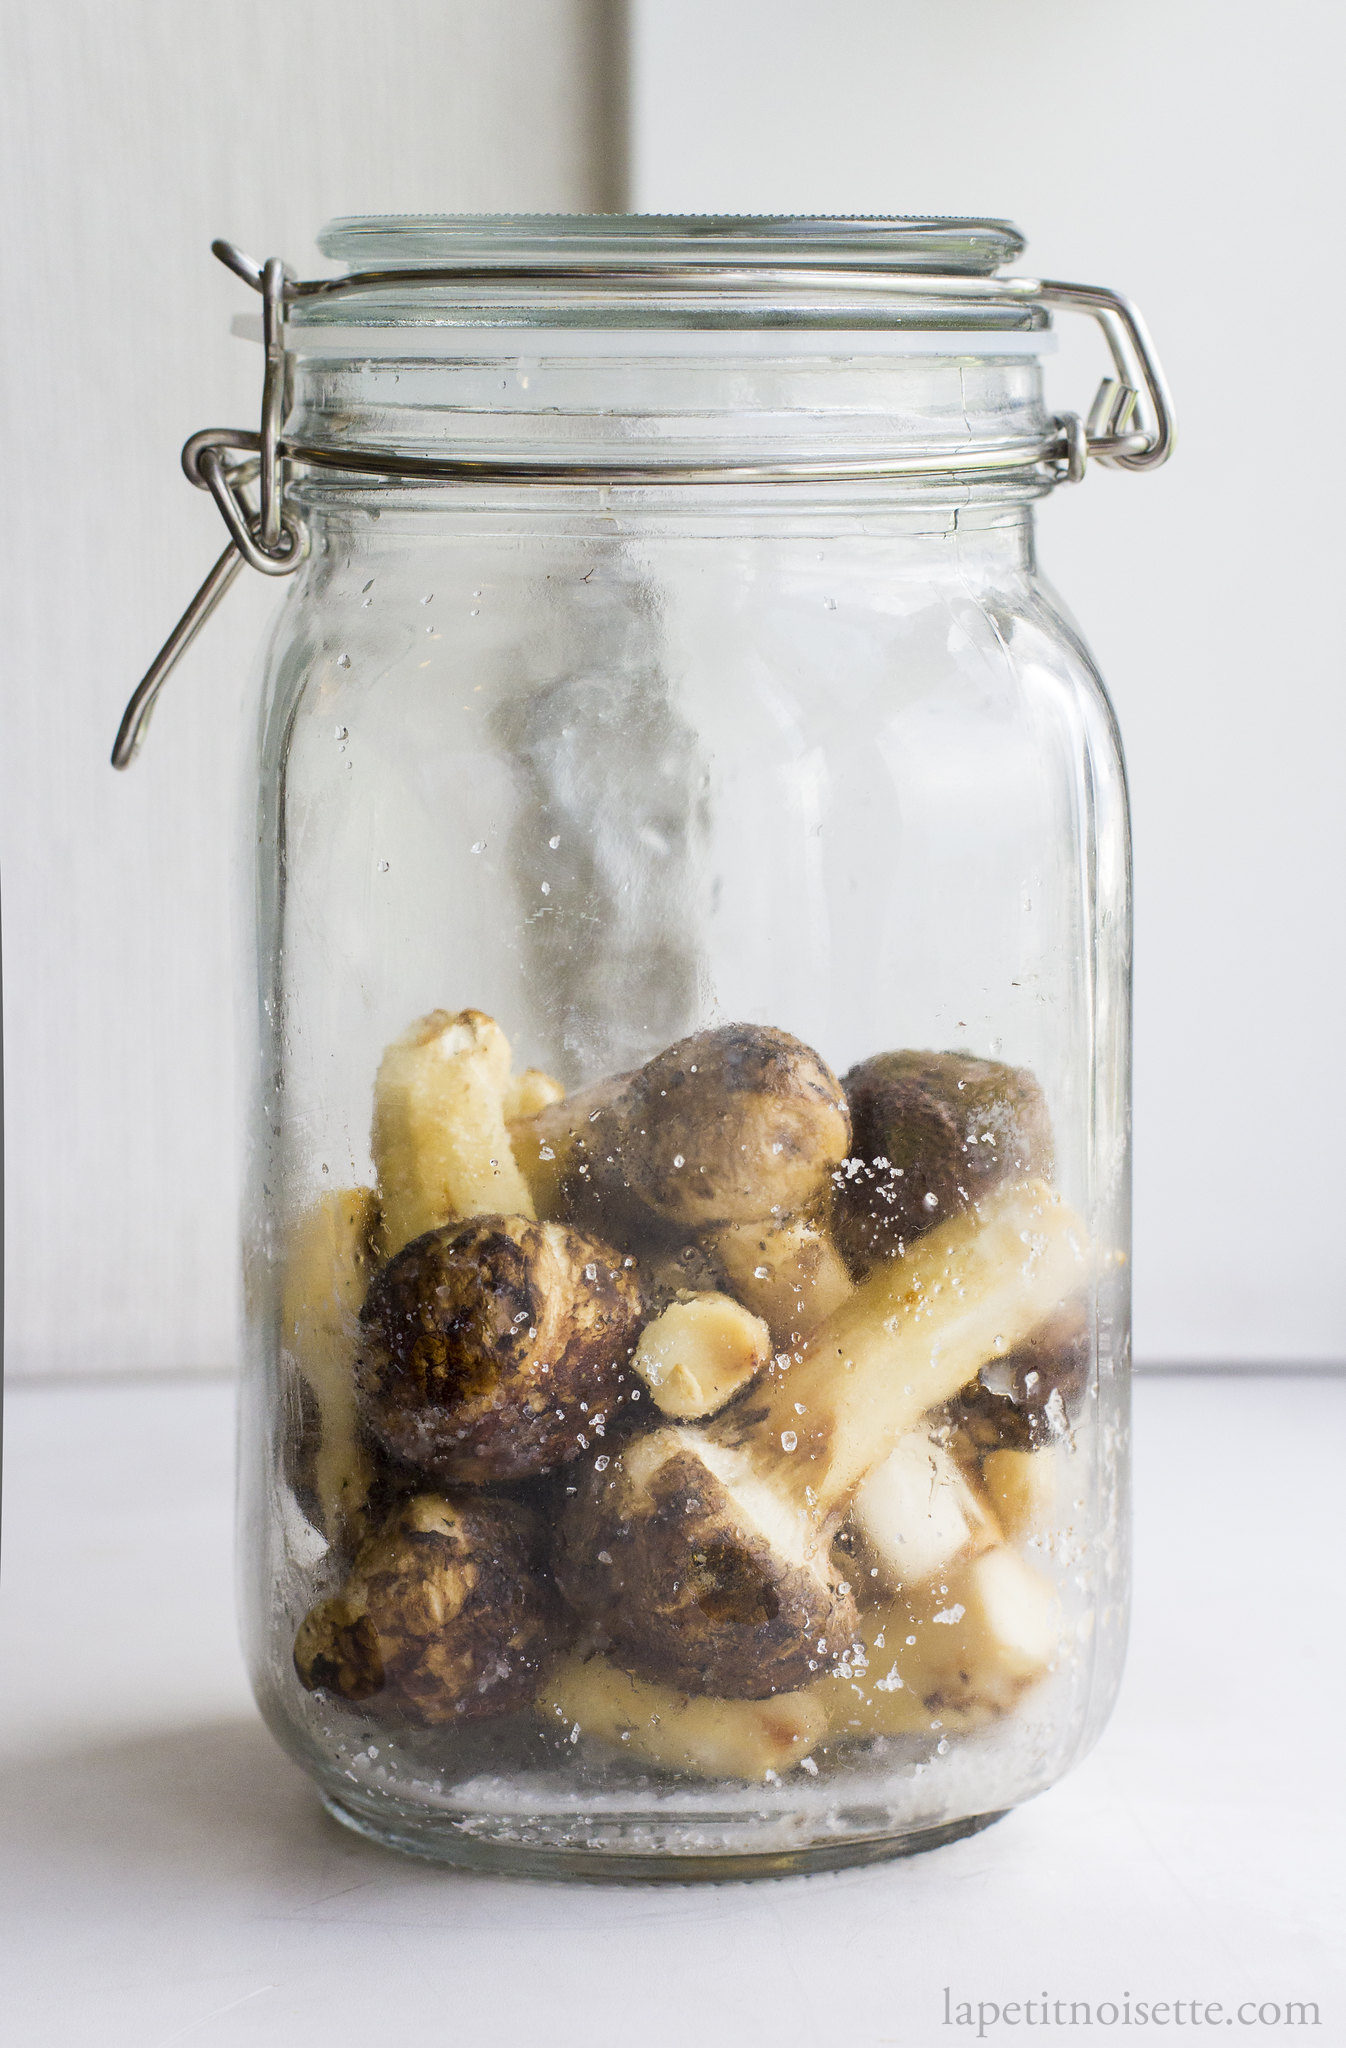
To ferment in a jar with weights
- Clean the matsutake mushrooms by giving them a quick brush or wipe with a damp cloth or by giving them a quick turn as you would turn a carrot.
- Weight out the mushrooms. Measure out 2% of the mushroom’s total weight in salt.
- In a large mixing bowl, mix the mushrooms and salt together. This is done in a bowl rather than straight in the fermentation jar itself as it allows for a better distribution of salt.
- Transfer the mushroom and salt into the fermentation jar, making sure you transfer all the salt from the mixing bowl. Fermenting at 2% salt means that every single bit of salt matters as it’s already a small amount to begin with.
- Weight down the mushrooms with a fermentation weight or just a ziplock bag filled with water and seal the lid of the jar. If using a screw top jar, don’t fully tighten it as it’ll allow excess carbon dioxide to escape. (see notes) This weight will keep the mushrooms submerged in their own juices that they release overtime, protecting them from other bacteria.
- Allow to ferment at room temperature for 7 to 8 days if your room temperature is around 25°C/77°F or around 5 to 6 days if it’s around 28°C/82°F.
- This being said, start tasting after the first 3 or 4 days, and everyday going forward. There should be a hint of sourness when you taste it that starts going stronger day by day until you feel that it has reached the level of sourness you want it to be at. Try to taste a bit of the mushroom itself as well as the juice.
- If you notice any while wispy/creamy substance growing on the surface of your ferment, your ferment has a kahm yeast infection. Don’t worry it’s completely harmless but if left to grow will cause off flavours in your ferment therefore use a spoon to carefully remove it without mixing it into the liquid.
- Once your mushrooms have reached your desired level of acidity, they are done and are ready for “harvesting”. Remove the mushrooms from the fermentation vessel and store in a container in the fridge for up to a week.
- Strain the remaining juice to remove any mushroom bits and store in a bottle or container. The juice can also be kept in the fridge for up to a week before it starts to change in flavour.
- Both the mushrooms and their juices can be frozen (see notes).
- Your lacto-fermented matsutake mushrooms and their juices are now ready to be consumed!
To ferment in a vacuum sealed bag or ziplock bag
- Clean the matsutake mushrooms by giving them a quick brush or wipe with a damp cloth or by giving them a quick turn as you would turn a carrot.
- Weight out the mushrooms. Measure out 2% of the mushroom’s total weight in salt.
- Add the mushrooms and salt into your bag, close the top of the bag with your hands and give the bag a gentle shake to distribute the salt evenly.
- Place the bag back down on the table and arrange the mushrooms nicely side by side. Whilst this isn’t a necessary step, it helps with the consistency of the fermentation.
- Seal the vacuum bag at 100% vacuum as close to the opening as possible, leaving plenty of empty space in the bag for carbon dioxide to gather. If using a ziplock bag, submerge the ziplock bag in water until just the opening is exposed in air. You’ll notice the water squeezing out all the air in the bag. Seal the ziplock bag.
- Allow to ferment at room temperature for 7 to 8 days if your room temperature is around 25°C/77°F or around 5 to 6 days if it’s around 28°C/82°F.
- As the fermenting starts to ramp up, you’ll notice your bag start to inflate like a balloon as carbon dioxide produced by LAB starts to accumulate in the bag (around day 3 to 4). At this point you’ll need to release the excess gas by snipping the corner of the bag on the side that you sealed it to vent the excess gas. Gently press out the carbon dioxide from the bag and then reseal it with your vacuum sealer (or the same water-immersion method if using a ziplock bag). If you’re using a vacuum sealer that has options, you might want to reseal it at 80-90% vacuum as the mushrooms would have started to lose their texture and you don’t want to crush them.
- Coincidentally, by the time your bag needs venting, it is also around the same time that you should begin to taste your mushrooms. Since you’ve already cut open the bag to release excess gas, you must as well take the opportunity to taste the progress of your ferment. Try to taste a bit of the mushroom itself as well as the juices. There should be a hint of sourness when you taste it that starts going stronger day by day until you feel that it has reached the level of sourness you want it to be at.
- Ideally you’d want to be tasting the mushrooms daily as they get closer and closer to your desired level of acidity.
- This very rarely happens when vacuum sealing but if you notice any while wispy/creamy substance growing on the surface of your ferment, your ferment has a kahm yeast infection. Don’t worry it’s completely harmless but if left to grow will cause off flavours in your ferment therefore use a spoon to carefully remove it without mixing it into the liquid.
- Once your mushrooms have reached your desired level of acidity, they are done and are ready for “harvesting”. Remove the mushrooms from the fermentation bag and store in a container in the fridge for up to a week.
- Strain the remaining juice to remove any mushroom bits and store in a bottle or container. The juice can also be kept in the fridge for up to a week before it starts to change in flavour.
- Both the mushrooms and their juices can be frozen (see notes).
- Your lacto-fermented matsutake mushrooms and their juices are now ready to be consumed!
Notes
- If you’re using a ziplock bag filled with water as a fermentation weight, you might want to bag the first ziplock bag in a second ziplock bag (double bag it) to ensure that water doesn’t leak out and dilute the salt concentration in your ferment. Especially the cheaper ziplock bags you can buy from the 100 yen store tend to break very easily at the seal.
- Mushrooms tend not to ferment as vigorously as fruits that contain more sugar. Therefore your ferment might not release comparatively as much as and your vacuum sealed bag might not inflate. Nevertheless, you should start to taste your ferment after 4 to 5 days.
- After your ferment is done storing it in the fridge will drastically slow down any fermentation but does not completely stop it. So whilst you can keep it in the fridge for up to a week without the taste changing, any longer and your mushrooms will start to become noticeably more and more acidic. To prevent this, you’d want to freeze them the same way you individually freeze dumplings. Line the mushrooms on a tray without contact with one another and them. After freezing individually, remove the mushrooms off the tray and store all of them into the same ziplock bag in the freezer.
- Kahm yeast infections are rare in ziplock bags but more common when fermenting in a jar so be more vigilant if using a jar. This is because your ferments are forced into complete contact with their acidic juices during the vacuum sealing and all oxygen is removed from the bag.
- The longer you let your fermentation go for without “harvesting” it, the more and more sour it will get, and soon you’ll lose the flavour of the original ingredient you were fermenting.
- If fermenting in a ziplock bag, the carbon dioxide released by the LAB can sometimes dissolve back into the juices or into the mushrooms themselves as the gas has nowhere to go. This will cause your ferment to have a slightly fizzy/sparkly character like champagne which is completely harmless. It’s actually the same process you go through during the secondary fermentation used to make champagne sparkling, just that this is not done deliberately.
- If you’re fermenting in a hermetic jar instead of a screw top jar, that is one that uses a rubber seal and a metal clip to close, you’d want to remove the rubber seal before closing the jar so that the seal isn’t airtight and carbon dioxide can still escape. In the pictures on this blog, I did not remove the rubber seal as mushrooms do not ferment as vigorously as sugar rich fruits.
- The reason we seal the vacuum bag as close to the opening as possible to so that we have room to reseal the bag after venting it.
