Red Vinegar Pickled Gari Chunks (新生姜の甘酢漬け)
Gari (ガリ), sometimes known as sushi ginger, is young pickled ginger usually served alongside sushi at both high end and low end sushi restaurants. You’d most likely know it as the thinly sliced yellow-pinkish slivers on the side of your plate. This article isn’t about that kind of artificially coloured batch processed ginger but the real homemade stuff. I’d already written a previous article on making pickled ginger, but that was exploring thinly sliced pickled ginger that turns naturally pink when marinated.
Now if you’ve been lucky enough to eat at many of the most famous converted sushi establishments in Japan, you’ll notice something interesting, which is that not all of them serve their pickled ginger in the thinly sliced form. Instead, some restaurants serve them cut up into small chunks cut using a technique known as butsugiri (ぶつ切り) which is very similar to the french oblique or roll cut.
This form of pickled ginger is fairly rare in the high end sushi making world and requires a slightly different technique to make it which will be covered in this article. This is one of those articles for a preparation that is slowly getting harder and harder to find, but is simply delicious and can now only be found in specific restaurants.
The two theories I’ve heard regarding why ginger is eaten alongside sushi is that there were no hand towels to clean your finger between each piece back in the day, so ginger’s antibacterial properties were a way to clean them. The second theory was that ginger served as a way to moisten your fingers so that you could hold the sushi without the rice sticking to them. Whether either theory is true or not, in the end, pickled ginger is still a great palate cleanser between pieces of sushi and is down right delicious on its own.
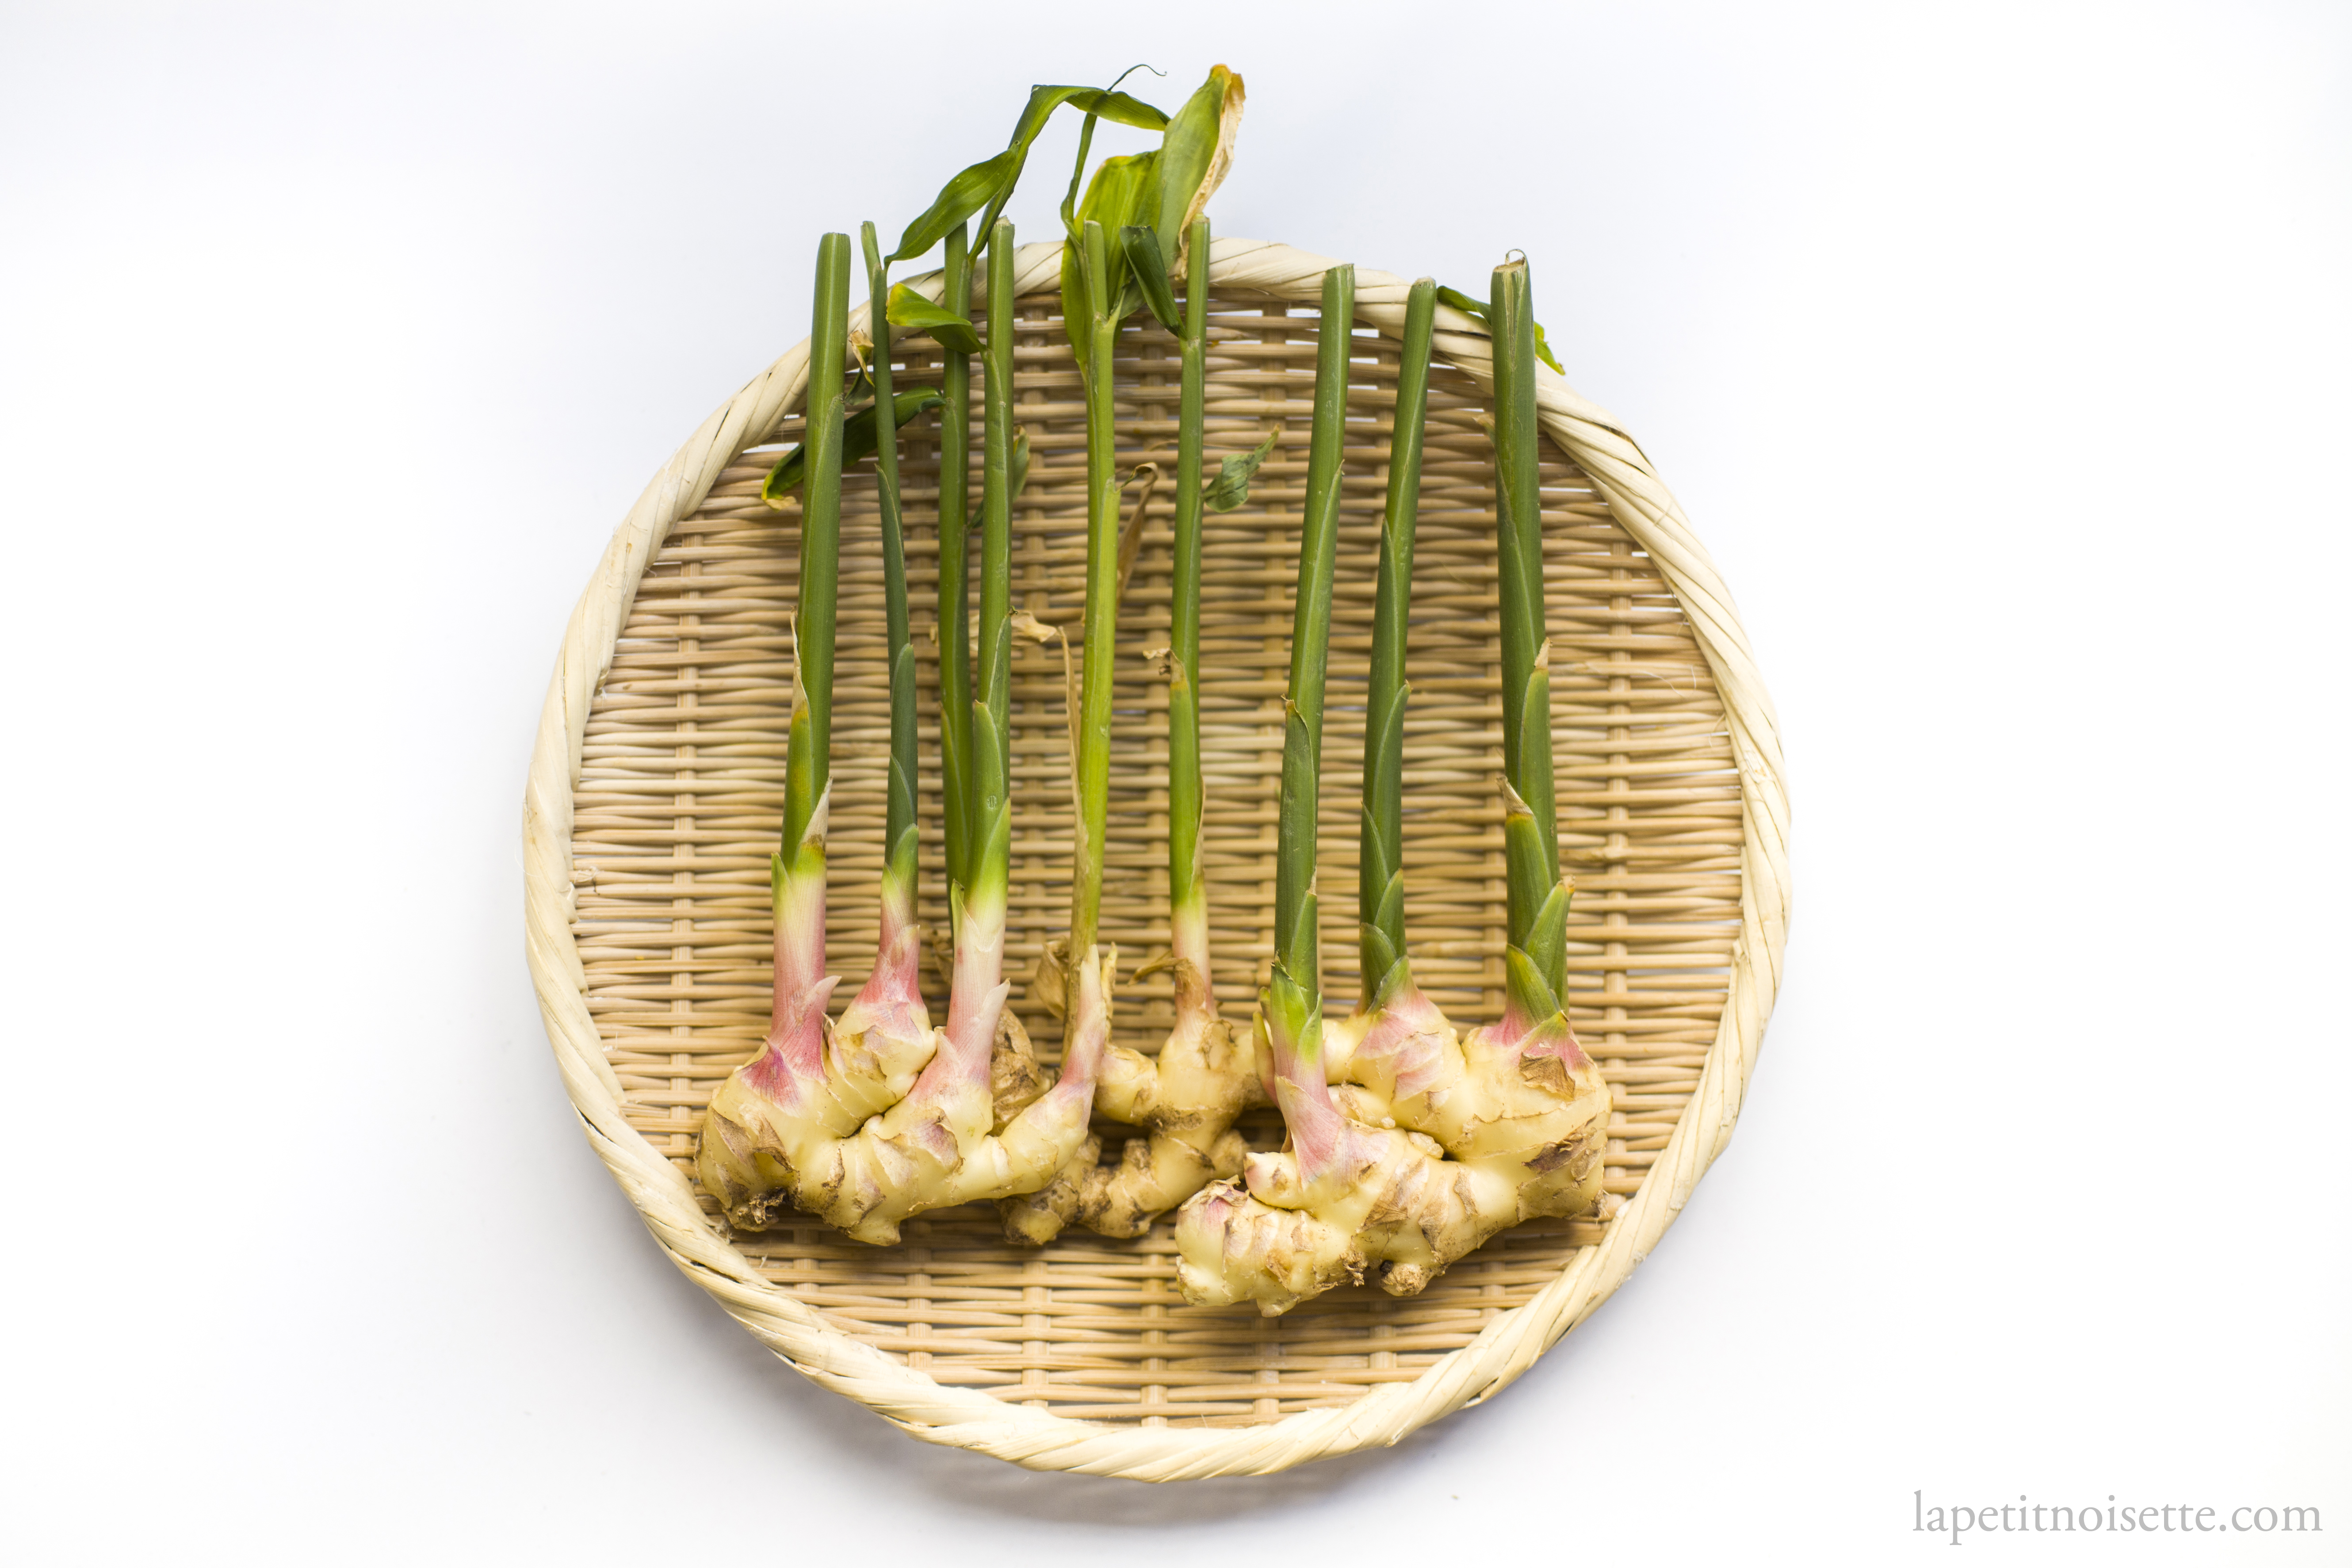
Only new season ginger is used to make traditional pickled ginger. It is harvested near the spring and summer and is a light yellowish-white in color characterized by pink tips. This is the ginger that all high end sushi establishments use to make their pickled ginger (gari/ガリ). It’s harvested before the ginger starts to become fibrous and thus is soft to chew, with a mild spiciness that blends well with the acidity and sugar from the pickling liquid. Older ginger on the other hand is too spicy to balance out by pickling.
This type of ginger is typically seasonal though you can sometimes find new ginger that has been stored so that it can be supplied to restaurants all year round, but is seldomly seen in grocery stores as they slowly lose their characteristic pink tips and thus lose their visual appeal to customers. That doesn’t matter in restaurants where the ginger is peeled, cooked and processed before consumption. This ginger is not usually sold with the stem or leaves attached unless you buy them directly from farmers. You’re looking to buy ginger rhizomes that are not too thick, but are more uniform in diameter around the thickness of your little finger. Any larger and the resulting cuts of ginger will not be of the optimal size and cutting them to an optimal size will cause more wastage.
To start preparing the ginger, we begin by cleaning it. Peeling ginger with a peeler always leads to more than necessary waste, which is why the best strategy is to use a spoon to scrape the surface of the ginger. For hard to reach nooks and crannies between bulbs, I recommend using an old toothbrush to clean away any soil or dirt stuck there. Otherwise, feel free to cut off the part to make it easier to clean.
Whilst less spicy than older ginger, even young ginger is still spicy and to mellow it out, we boil the young ginger whole. In recipes for thinly sliced pickled ginger, the ginger is sliced, before hot water is poured over the slices (or the slices are briefly blanched). This technique works for thinly sliced ginger because they’re so thin that the spiciness can be tempered with just a quick splash of hot water. When processing the young ginger whole however, we need to boil them for 7 to 10 minutes depending on the thickness. I’d even go for 12 minutes for ginger that might be as thick as a marker pen and maybe 7 minutes for ginger slightly thicker than a pencil.

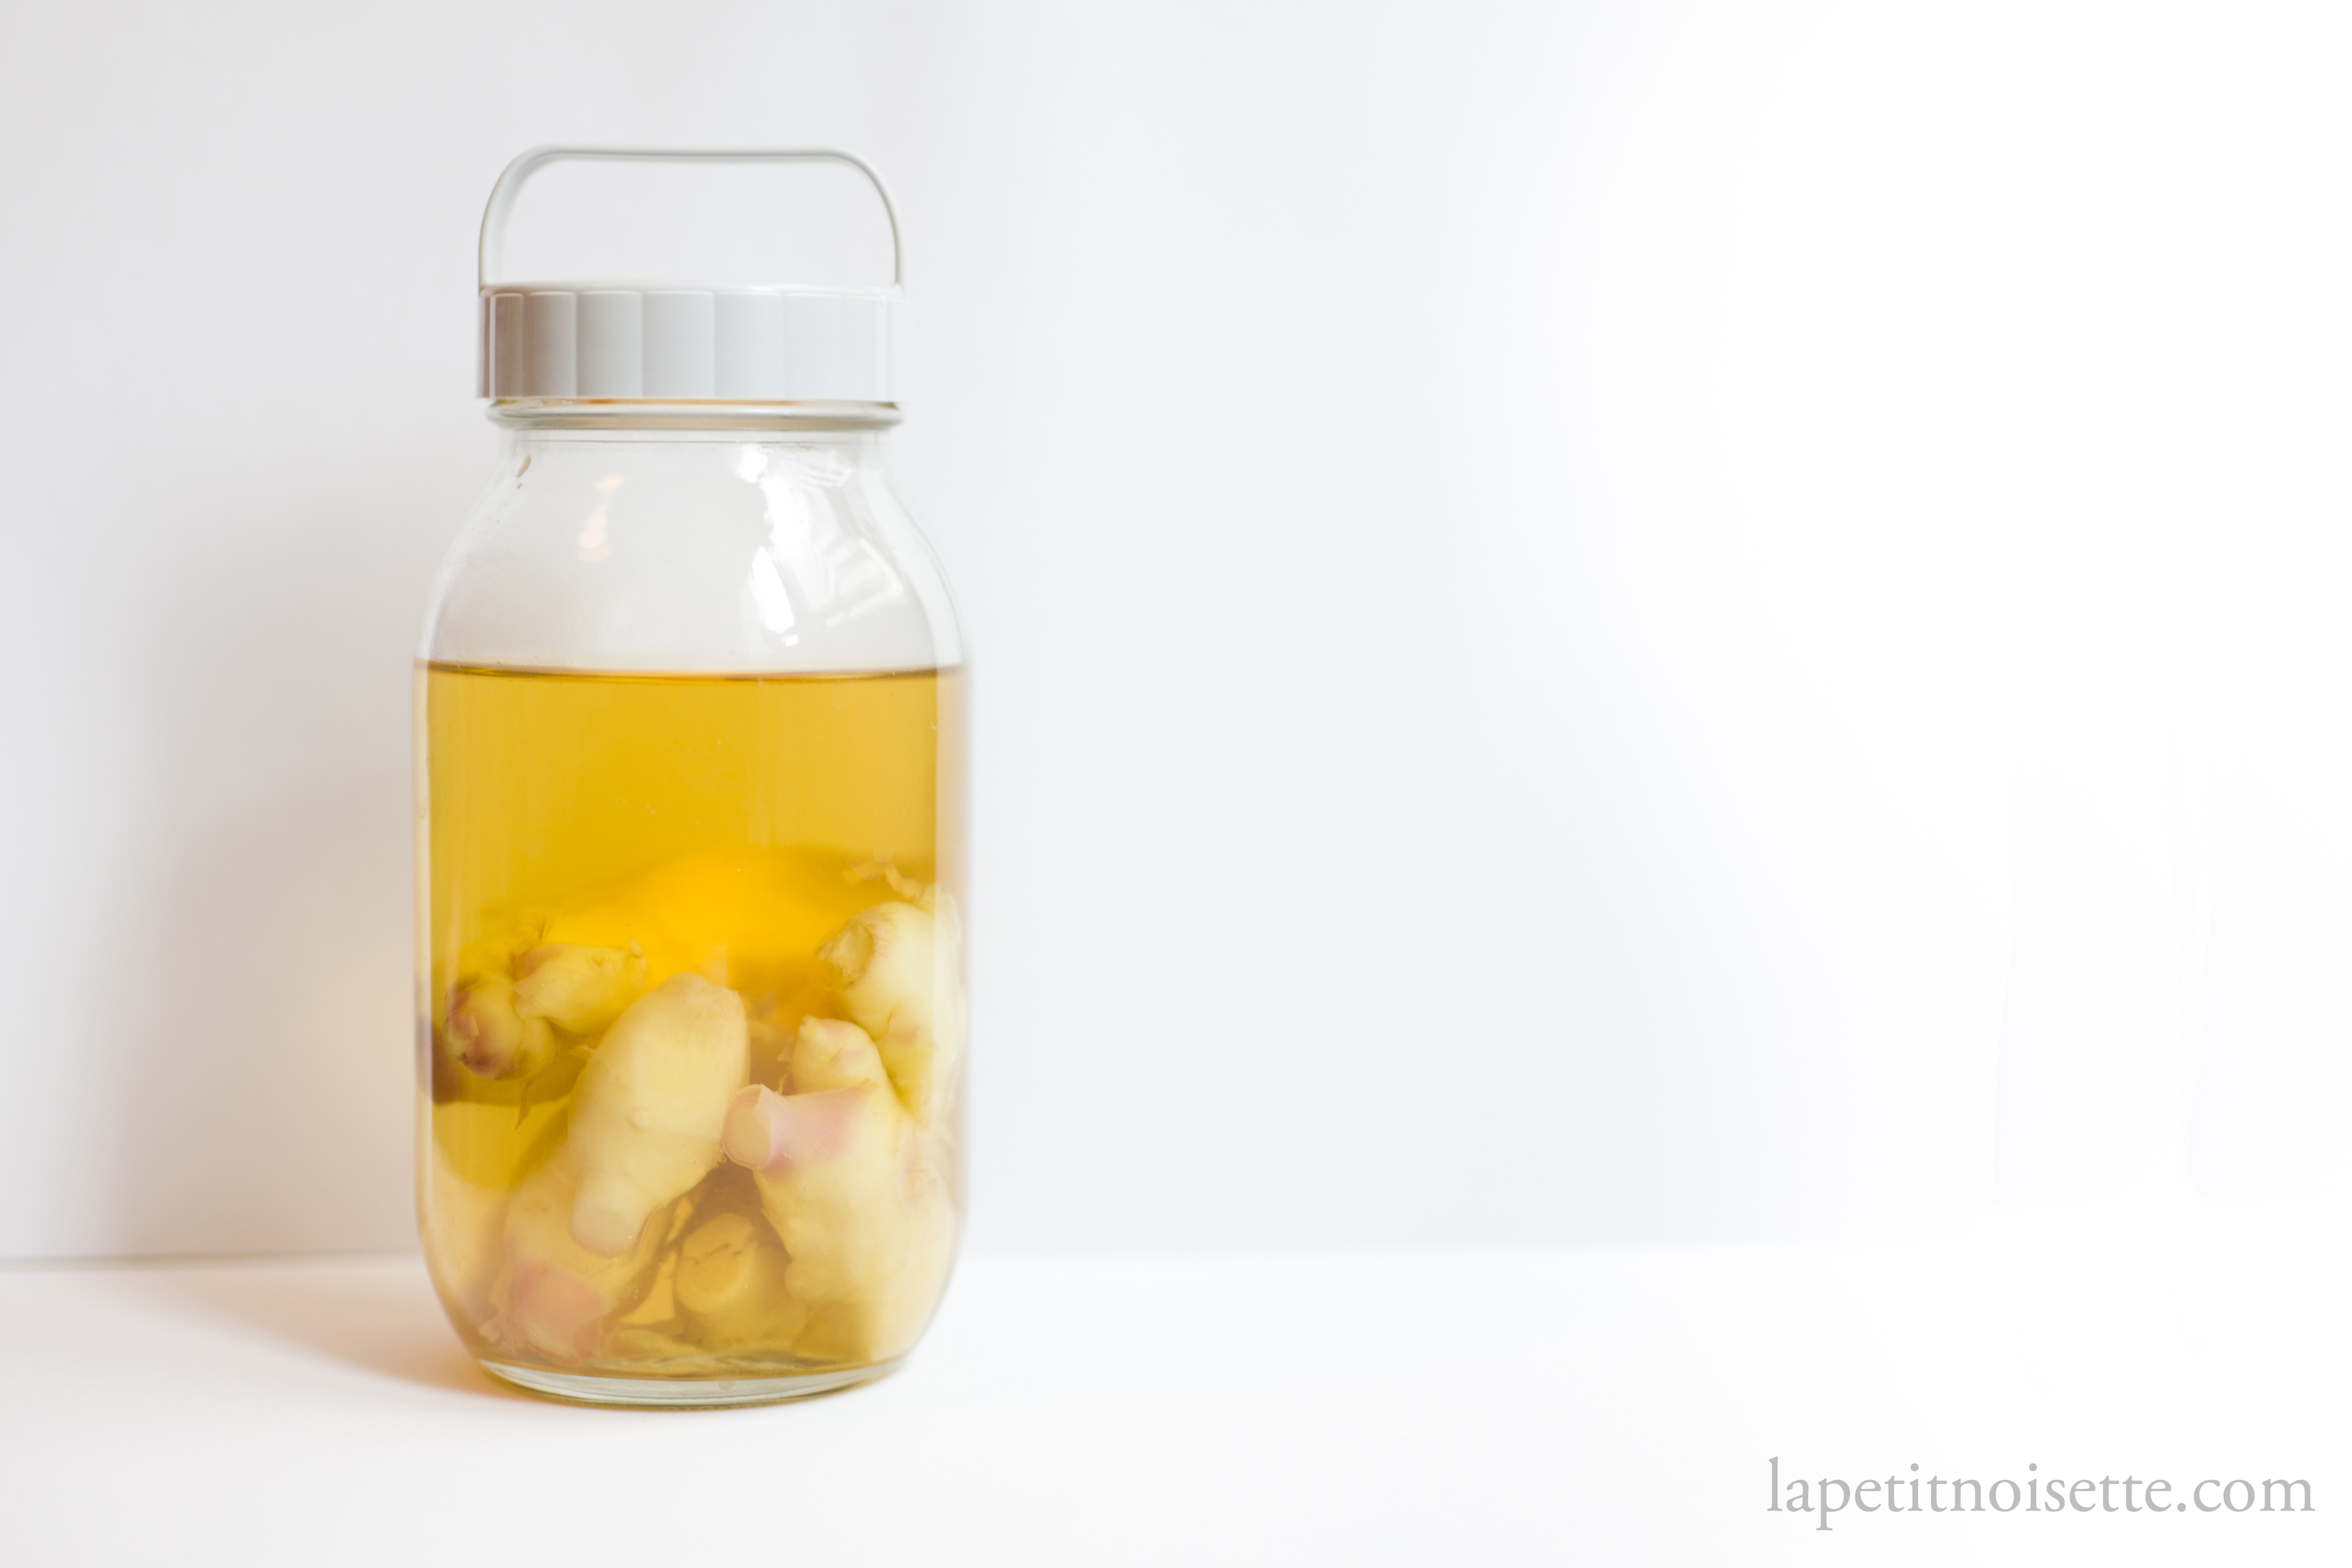
For the marinade, the restaurant I worked at used Akasu red vinegar to pickle the ginger mixed with a small amount of sugar and salt, similar to the mix that is used for our sushi rice. You don’t need too much sugar because the savouriness of the sake lees vinegar is enough to tame the spiciness of the ginger. Of course, doing this can be rather expensive, since vinegar made from sake lees can be quite expensive and it’ll be hard to justify using it as pickling liquid. Other restaurants I know use high quality rice vinegar instead. I personally recommend using a little additional sugar when pickling it using rice vinegar. I’d also recommend adding a small square of kombu into your pickling juice to bump up the savoriness of it.
How to make Japanese akasu sushi ginger (赤酢漬けガリのがり)
*this recipe is not suitable for freezing
- 300g of young ginger
- 300ml of water
- 200ml of Akasu red vinegar
- 50g of sugar
- 10g of salt
- 5g sheet of kombu
- To make the pickling liquid add the water, vinegar, sugar and salt to a saucepan and bring it up to a boil.
- Stir to ensure that all the sugar and salt have dissolved and turn off the heat.
- Add in the kombu and set aside to cool.
- Cut off the stem and leaves remaining on the ginger and peel the ginger by using a spoon to scrape off any dirt. For hard to reach places use an old toothbrush to remove any stubborn soil or either cut the ginger into smaller pieces to make it easier to clean.
- Bring a pot of water up to a boil before adding in the ginger and boiling between 8 to 10 minutes depending on the thickness.If you prefer your ginger less spicy, boil your ginger for an additional minute or two.
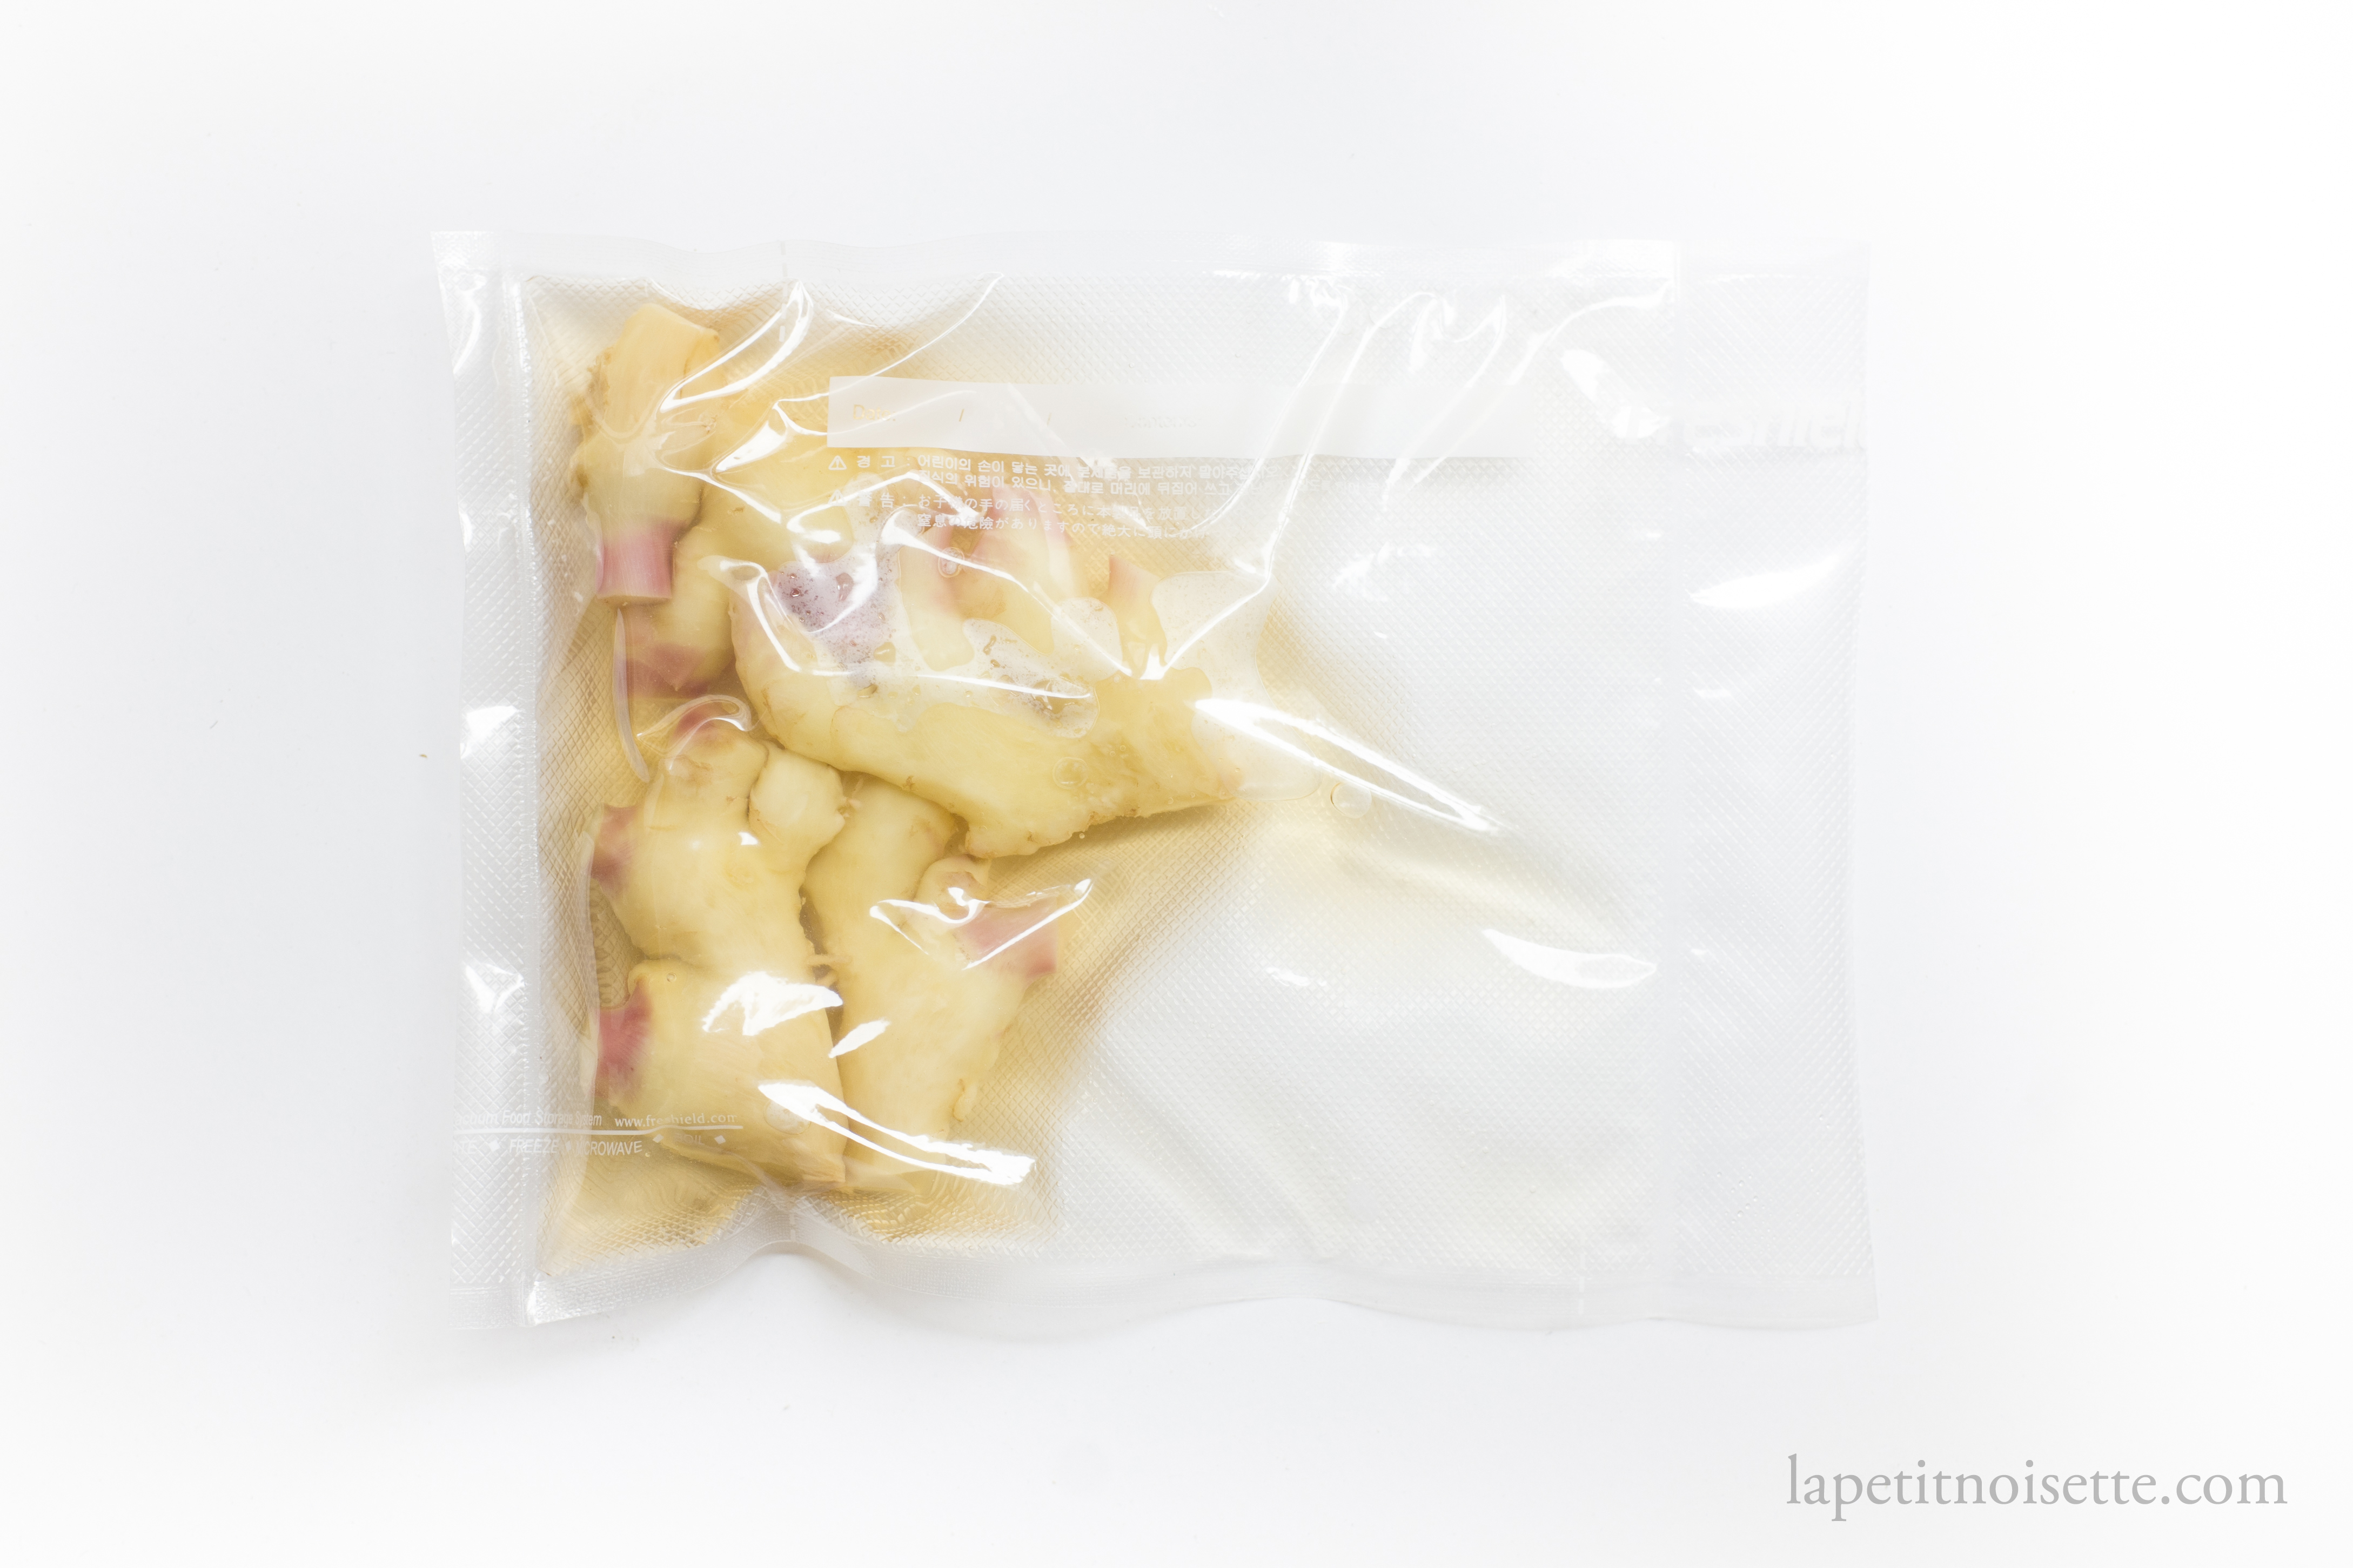
- Once boiled, strain out the ginger and cool down in an ice bath or in running water.
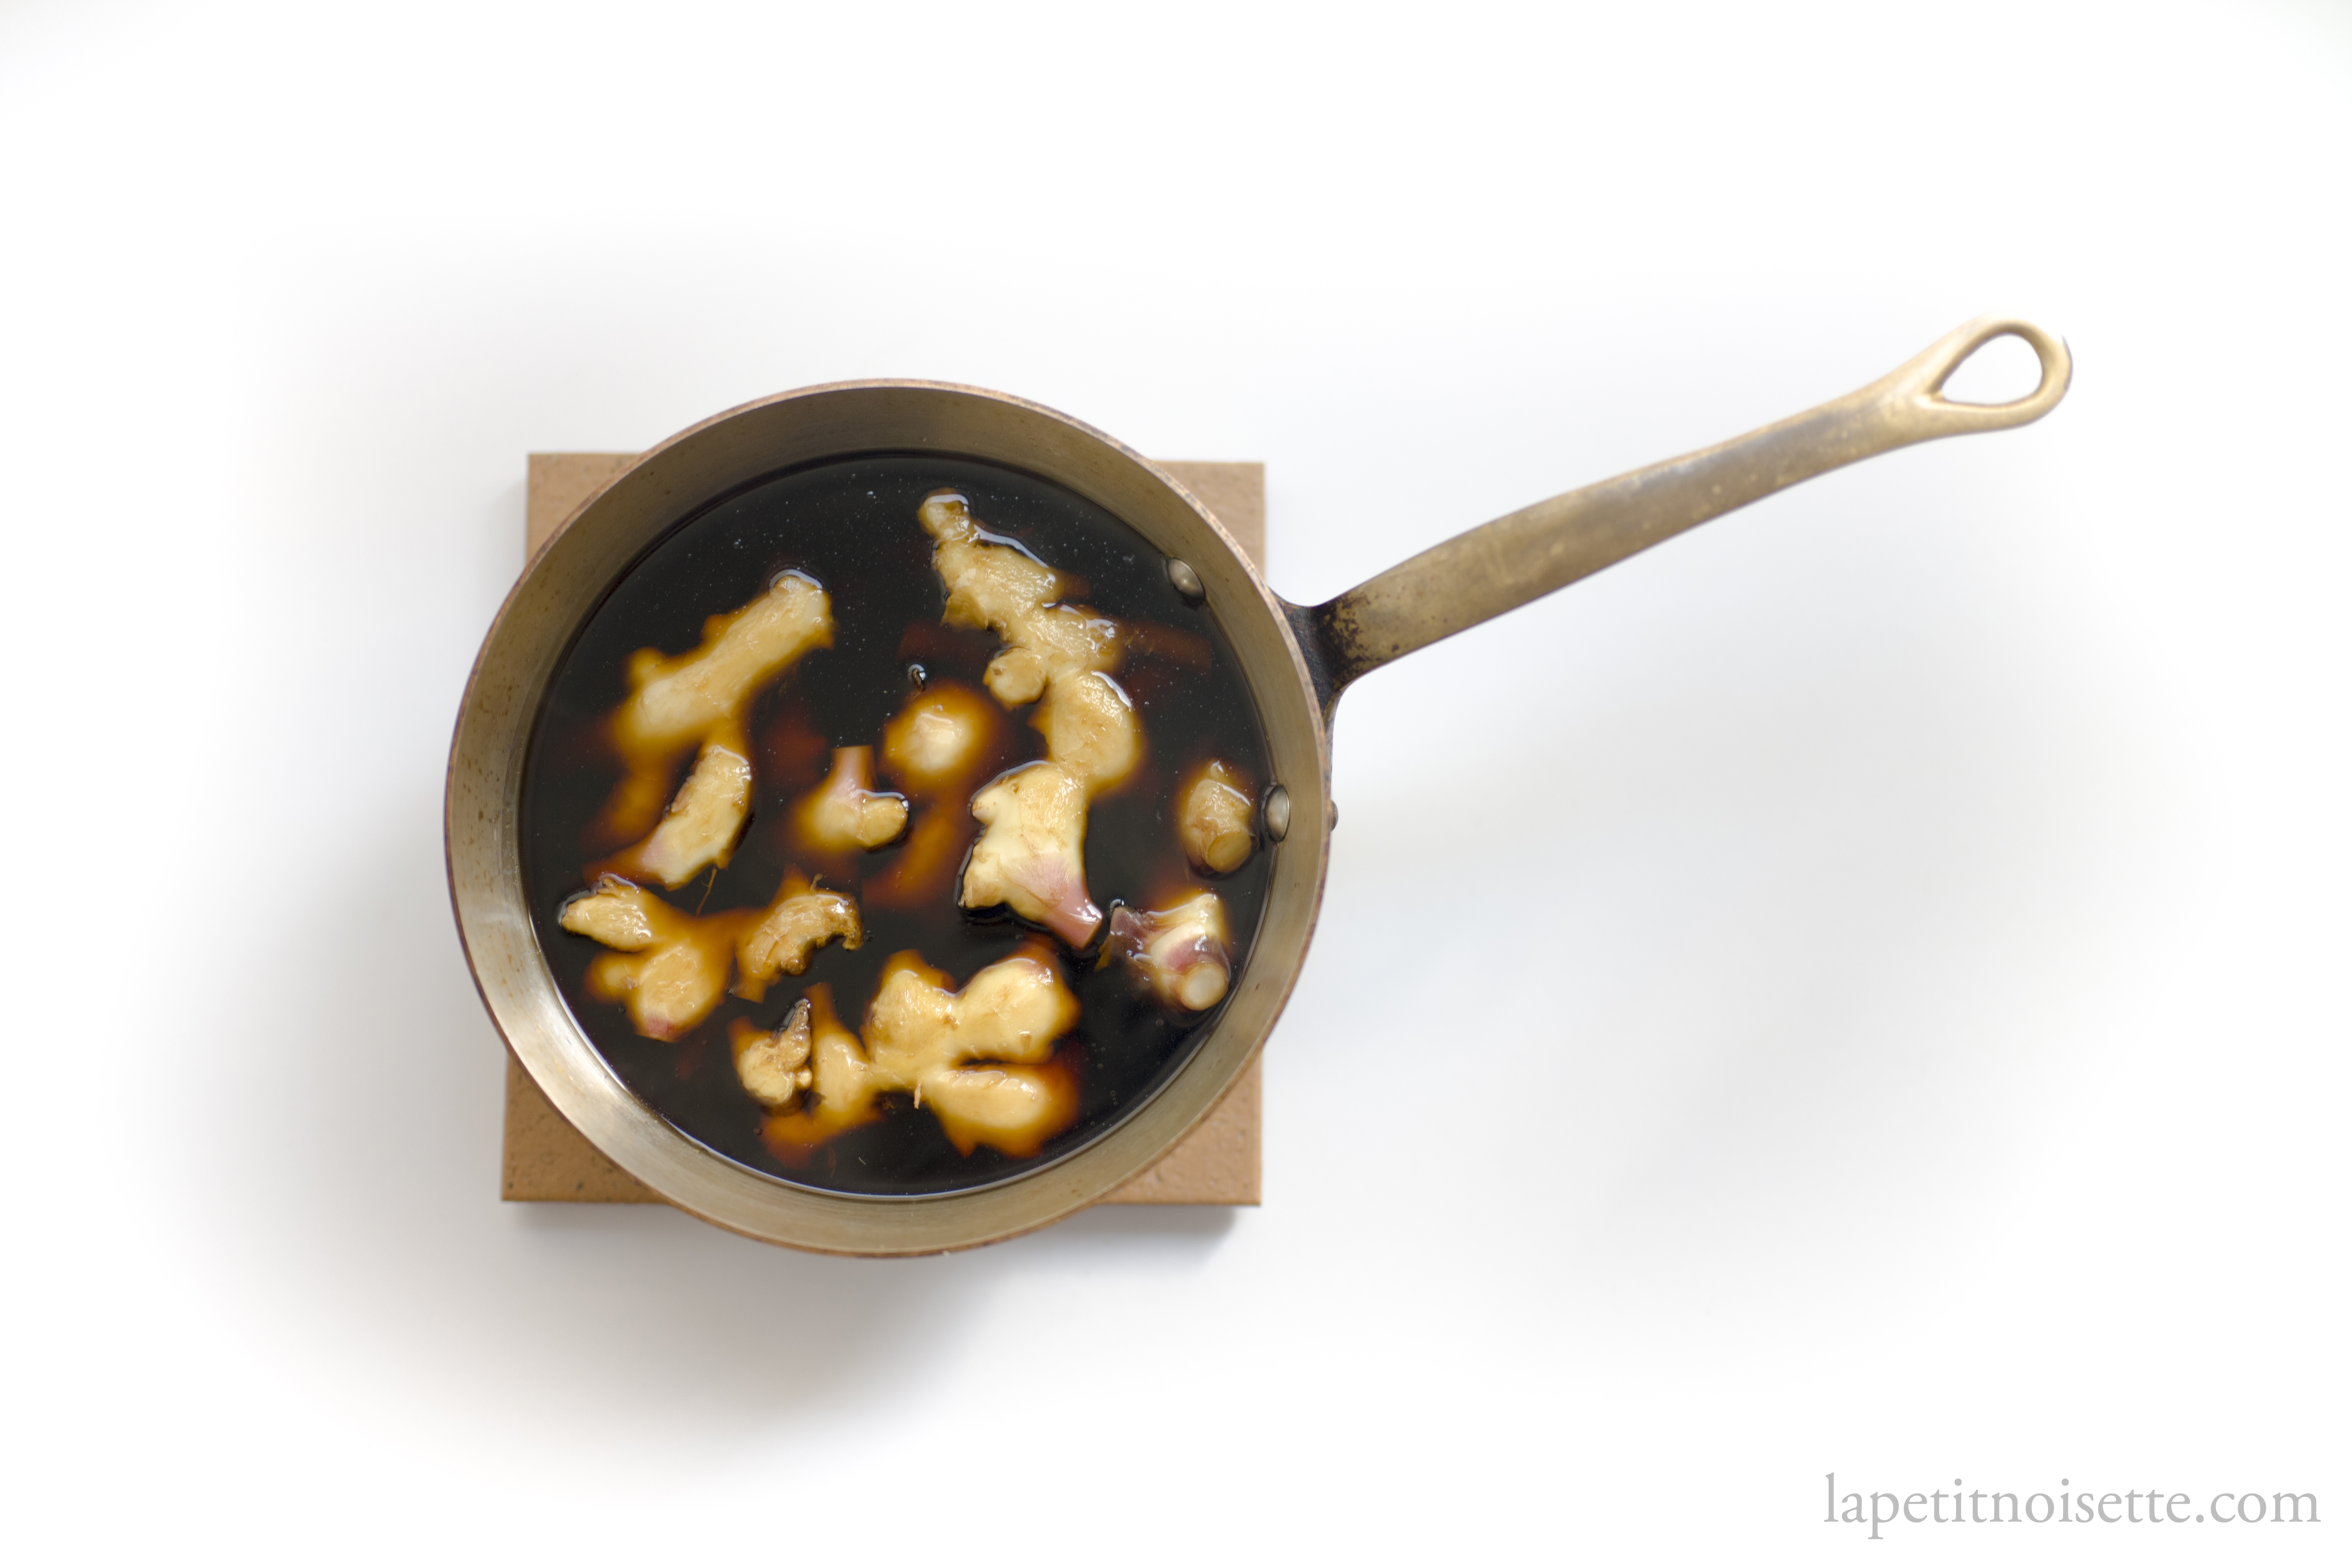
- Place the ginger and cooled pickling liquid in a jar and pickle for at least 24 hours. Alternatively, the ginger and pickling liquid can be vac-packed to save space.
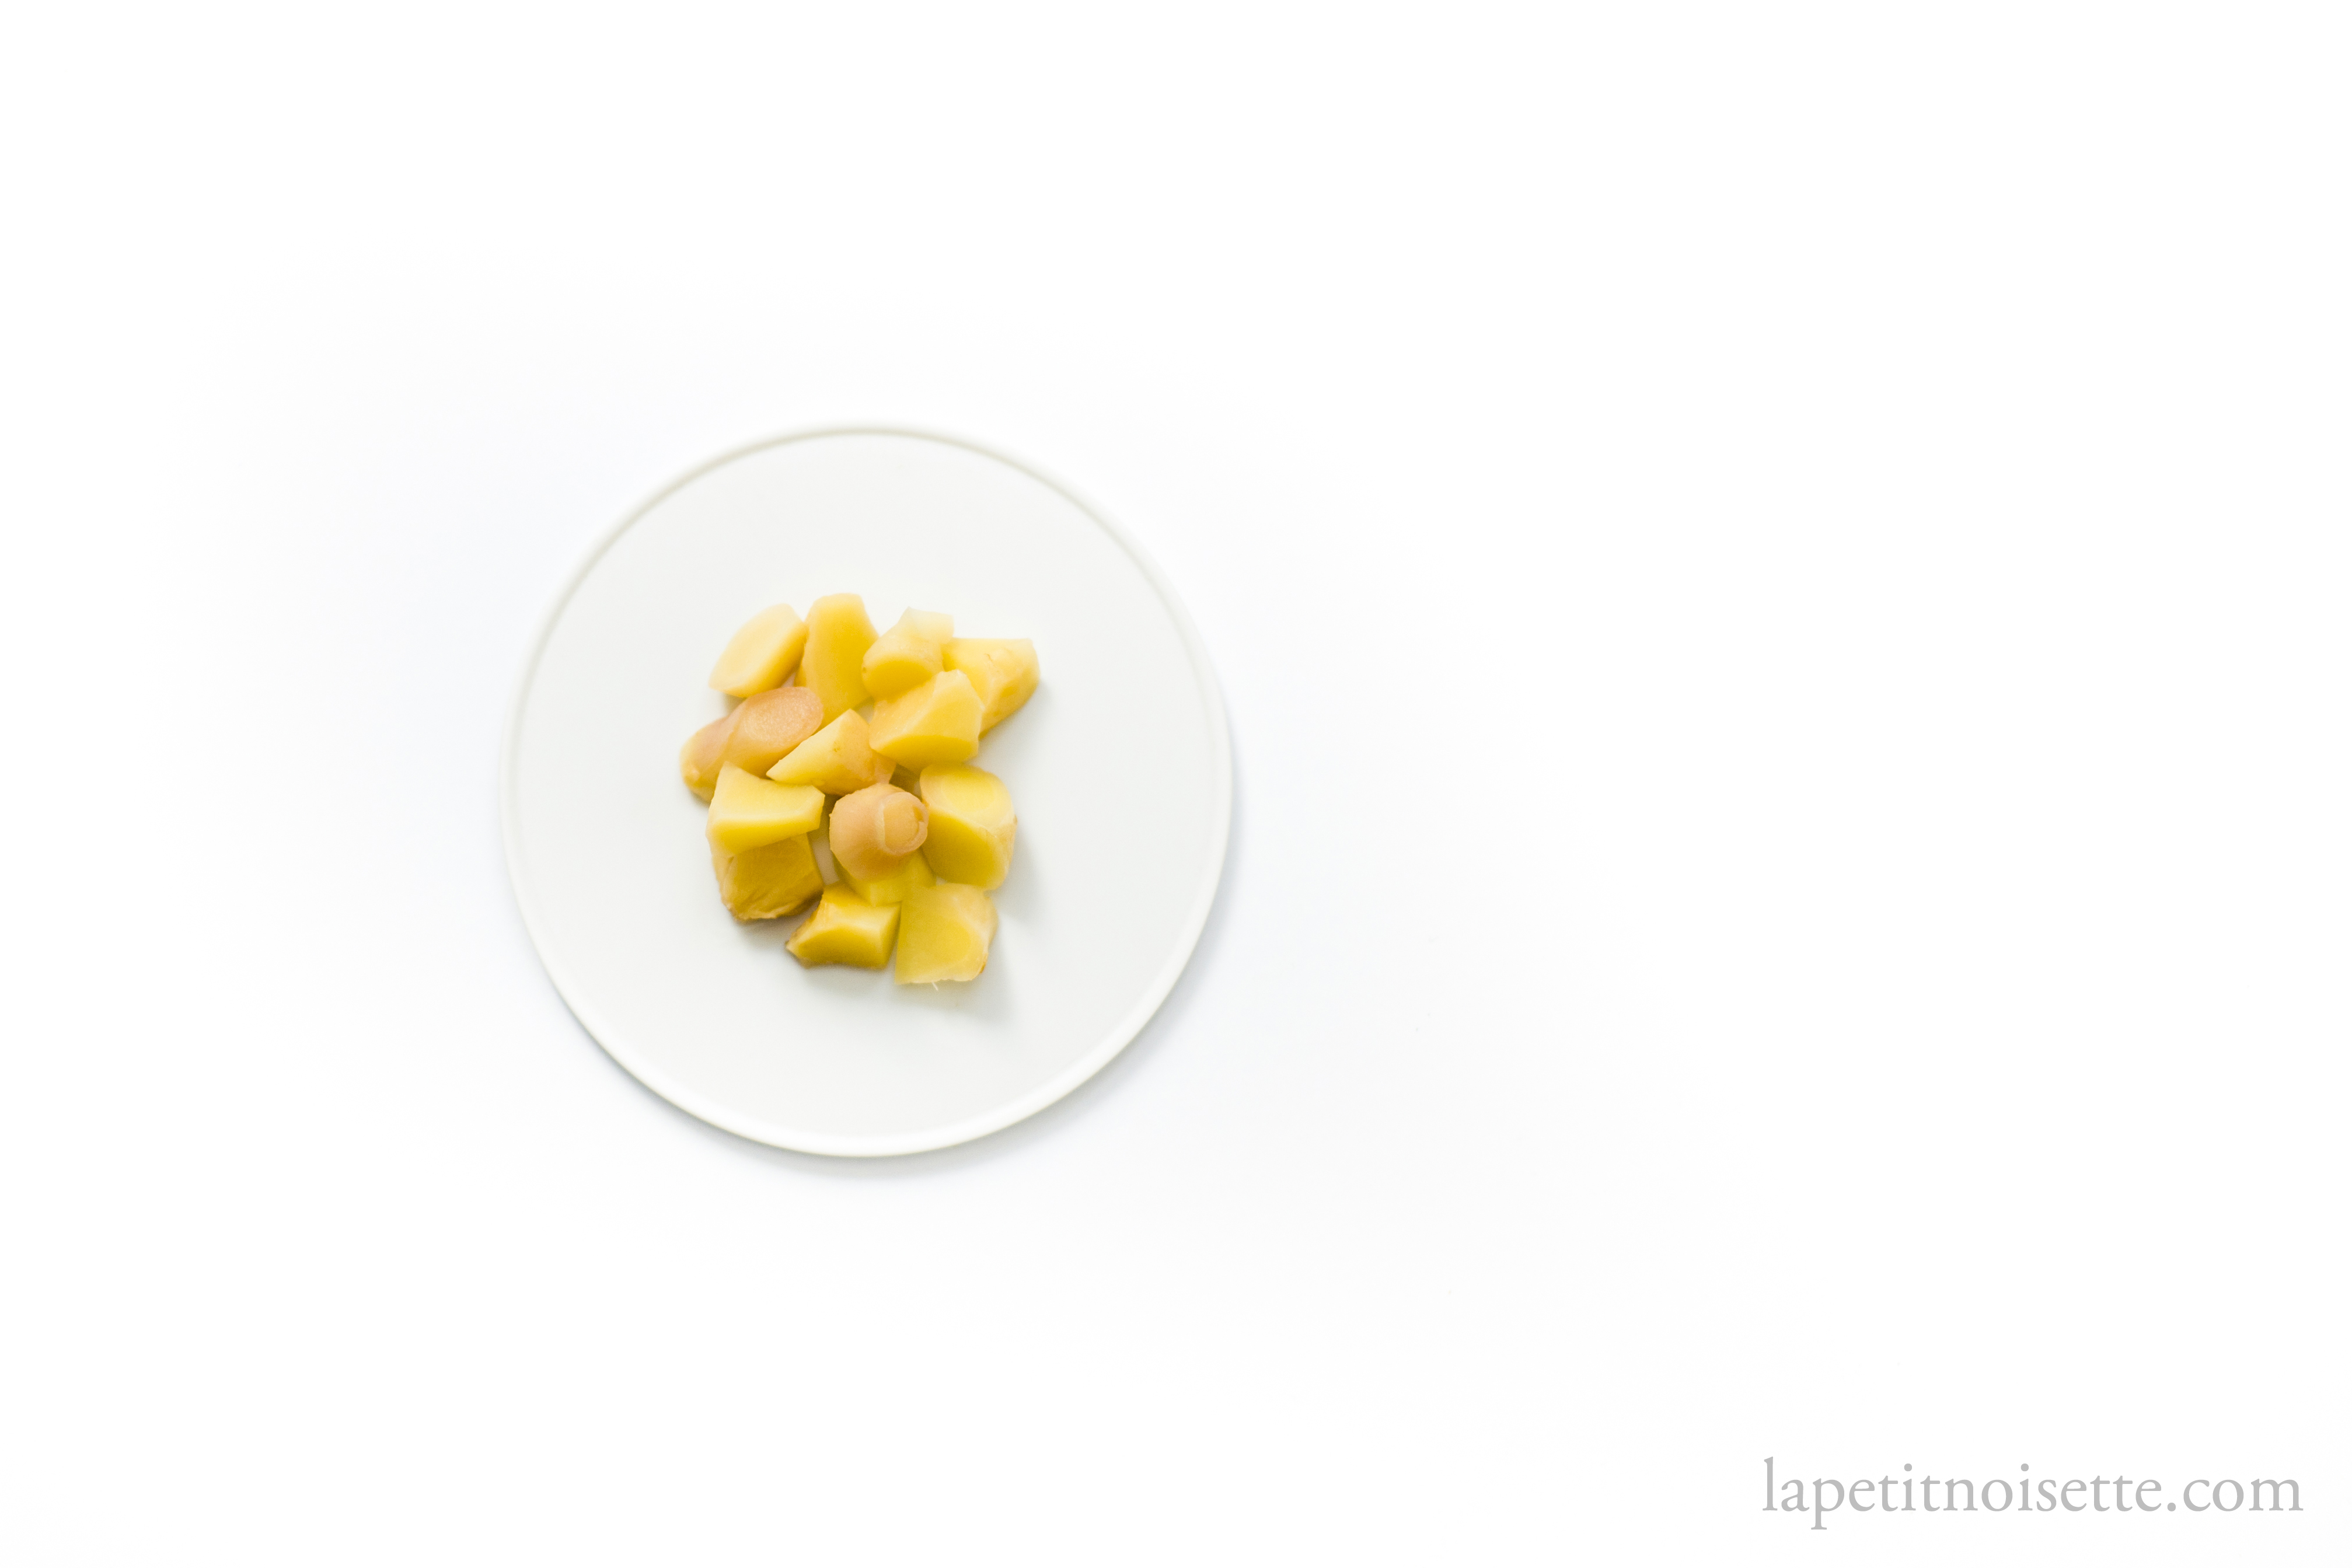
- Once the ginger has been pickled, cut the ginger into chunks using the french oblique cutting method (google or YouTube it). It’s much easier to cut it this way on a piece of ginger with a nice uniform rhizome. Most ginger pieces have bits and pieces sticking out of them which you should cut off first, before cutting the main body. These bits can still be served and cut into chunks. If you make the first cut and the center of the ginger is still white, this means that the pickling liquid has not fully penetrated into the ginger so return it to the pickling liquid for another day.
I recommend cutting the ginger into chunks just before serving it. At the restaurant, we would cut a week’s worth of ginger into chunks before turning the chunks into the pickling liquid. However, if you’re going to be storing the ginger for long, some sushi restaurants will initially pickle their ginger in the pickling liquid for a few days, before changing it over to straight vinegar to prevent bacterial growth.
The alternative recipe for making this using white rice vinegar is below. The process is the same:
- 300g of young ginger
- 300ml of water
- 200ml of high quality rice vinegar
- 75g of sugar
- 5g sheet of kombu

Hello,
Thank you for posting this recipe.
This recipe is very interesting and I have some amazing baby ginger grown organically here by a local farmer. I also have some good quality authentic Akasu from iio jozo.
I’m eager to try it out.
I have a few questions…
Could we do a hybrid of the Akasu and rice vinegar pickling liquid? And if so, what ratios would you suggest?
Once pickled, you suggest transfering it to vinegar for longer storage. Would this be pure rice vinegar?
And finally, wpuld this be stored in the fridge I presume? Or shelf stable? Could this be hot water canned for example?
Thanks for your input.