How to make traditional Japanese miso
The recipe below is for red miso or aka miso (赤味噌). Whilst this is by no means a one size fits all miso, it’s a good one to start off with as it covers all the basics you’ll need to learn how to make other miso. Whilst it has a long fermentation time, it’s a much more stable and predictable recipe to attempt compared to sweet misos and thus one that is beginner friendly. In this series, this recipe will serve as a master recipe from which other traditional Japanese miso recipes will be derived from.
The term red miso is actually a broad general term that covers all misos that are red to dark brown in colour, varying from sweet styles all the way to the most earthy of misos, hatcho miso. However, more and more red miso is used as a generic term for standard salty miso sold outside of Japan, typically aged for around a year. These misos take after a style of miso produced in Miyagi prefecture (宮城県) known as Sendai miso (仙台味噌). So whilst the recipe below is actually a recipe for Sendai miso, it’s also the same recipe for what’s more commonly referred to as red miso outside of Japan.
Equipment Preparation
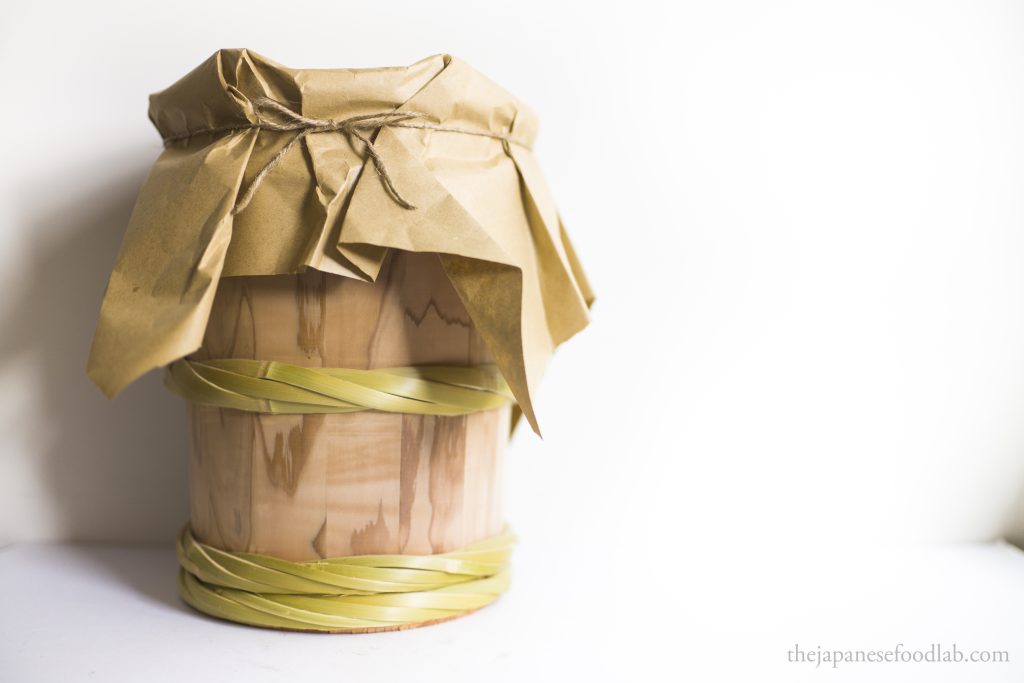
The most important decision you’ll need to make before starting to make your miso is what fermentation vessel you’ll be using. For a more in-depth discussion read our article on choosing a fermentation container. Firstly, you’ll want to make sure that you’re using a food safe non-reactive container. Glass and plastic are great for starting out, with wood being more advanced as it requires more care. When making miso, the general rule of thumb is that the larger volume you make in one go the more delicious miso you’ll be able to harvest. This is because you’d want a smaller surface area to volume ratio that’s exposed to the outside. If using a non-porous container such as glass or plastic, we’d recommend it ideally having a capacity to store at least 3 litres of miso. If using wood or a porous ceramic, 5 litres of miso capacity at a minimum is recommended as the total exposed surface area is larger as air can permeate through the walls. Don’t forget that this means your container needs to be taller than 3 or 5 litres, as you need some room for the inner lids and fermentation weights.
Next, you’ll want a way to mash your soybeans such as a food processor, meat grinder, potato masher or mortar and pestle. You’ll also want to prepare an inner lid for your miso. Traditional ones include sake lees, sheets of kombu, magnolia leaves, older miso from another batch or even paper. If not, you can simply use butcher’s paper, undyed and untreated cloth, cheesecloth or cling wrap.
This is followed by fermentation weights to place on top of the inner lid, such as washed rocks, ziplock bags or jars filled with water. You’d just want to make sure that your fermentation weight is non-reactive as you don’t want anything leaching into your miso.
Optionally, you’d want to cook the soybeans in a pressure cooker if you want to speed up the soybean cooking process. However, if your pressure cooker manufacturer recommends adding a tablespoon of oil to your soybeans to prevent the ventilation pipe from clogging, I recommend against it as the oil will go rancid in the miso. Instead, be sure to cook the soybeans in freshwater instead of the water used to soak the beans. If you find this too troublesome, feel free to boil your soybeans instead in a large pot.
Ideally, all the equipment and utensils you use should be cleaned or washed with hot water to prevent the risk of mould infection in your miso.
Ingredient Preparation
Firstly, it’s worth noting that as a baseline, the deliciousness of the resulting miso is directly correlated with the quality of the ingredients you use. Whilst good ingredients do not substitute for inadequate fermentation practices, even highly experienced and skilled miso makers cannot make good miso with quality ingredients. Luckily for us, the cost of ingredients to make miso is already very low, especially if you choose to grow your own koji. If you wish to grow your own koji, you can follow the instructions in this series here. Otherwise, the recipe below can be adapted for fresh or dried store bought koji. The ingredients we need and their corresponding amounts to make miso from 1kg of cooked soybeans are:

These values are given based on a two assumptions given below:
- We’re assuming that soybeans roughly doubled in weight when cooked. This is not always true so always weigh out your soybeans after cooking. When buying dried soybeans to make miso, a good rule of thumb is that soybeans at a minimum double in weight when cooked so you only need to buy half the weight in soybeans listed in this table.
- When using fresh koji instead of dried koji, you need to multiply the amount by 1.144.
- Because fresh koji has more moisture than dried koji, we only use 60% of the mixing liquid compared to dried koji.
The recipe above yields 2058g of miso if using fresh koji, or 2220g of miso if using dried koji. It is the minimum amount of miso that we are confident in recommending you try out making. Any less and the resulting miso can be slightly unreliable.
Traditional Sendai Miso Recipe (仙台味噌の作り方)
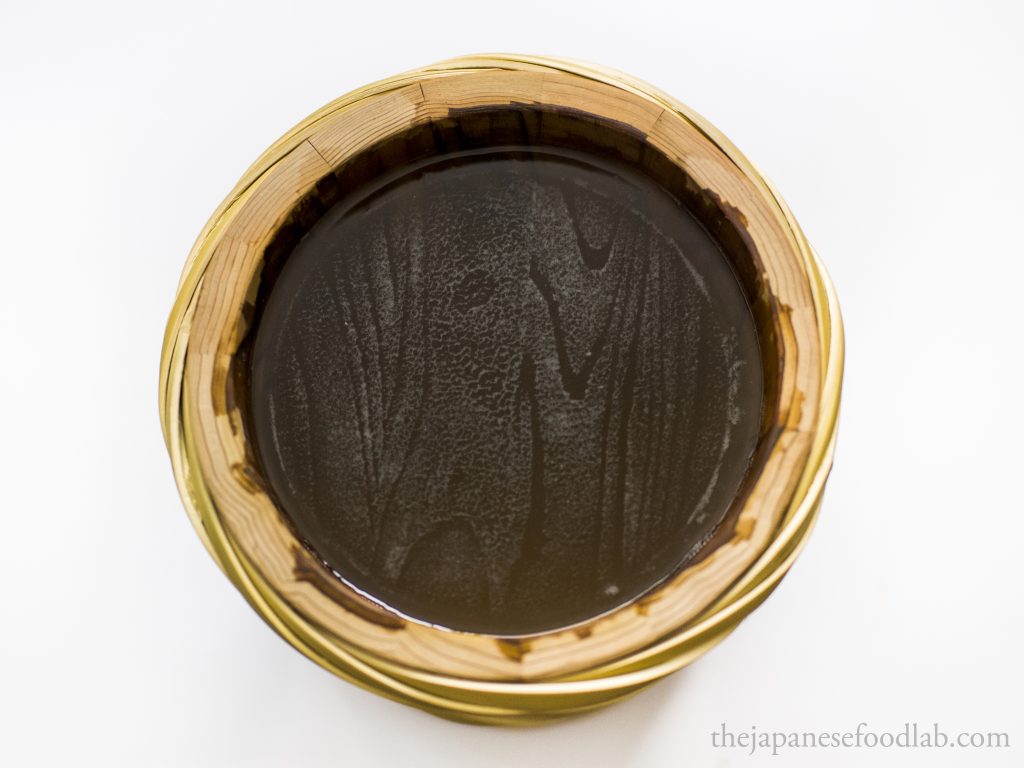
A day before making the miso, you’d want to give the beans a quick wash in water before soaking them in at least twice their volume of water. You want to soak your soybeans for at least 12 hours at a minimum. If soaking overnight or more than 12 hours, soak the soybeans in the fridge. You’ll know the beans have finished soaking if when you split them in half, the inside of the halves are flat and not curved inwards. If using a wooden barrel to ferment your miso, we’d also recommend filling it up with water overnight to make sure the wood fully expands and seals up any gaps that may have appeared.
After soaking the soybeans, you can cook them in one of two ways. The first is to boil them in a large pot of water for 4 to 5 hours. You’ll want to have plenty of water covering the soybeans as if too much water evaporates, the soybeans at the bottom of the pot will start to burn, giving your miso a burnt taste. Boil the soybeans in the same water used to soak them. Start on high heat to bring the pot of soybeans to a simmer. Once simmering, turn down the heat to maintain a simmer with the lid on and simmer for 4 hours. As it’s coming up to a simmer, skim away any scum or foam that forms as this will cause the pot to bubble and overflow. You’ll want to skim the pot occasionally to stop this from happening whilst also checking that not too much water has evaporated. If the water level looks too low add in some more boiling water. At the 4 hour mark, check if the beans can easily be crushed between two fingers, if not, continue cooking the beans and checking every 15 minutes until they’re done. If using an instant pressure cooker, you’ll want to cook them for 25 to 27 minutes on high pressure after the water starts boiling/the pressure has built. We then recommend a natural release of pressure compared to a manual release as it keeps more flavour in the beans. If using a commercial pressure cooker with a gauge, you’d want to cook the beans at 15psi/1bar for 25 minutes or at 10psi/0.75bar for 30 minutes and then allow a natural release of pressure.
After cooking the soybeans, it’s extremely important to allow the soybeans to completely cool to room temperature before proceeding to the next step, or at least 40°C/104°F,. Drain the soybeans from their cooking liquid but reserve the cooking liquid. The soybean cooking liquid will be used at a later step. Weight out the soybeans so that you have the amount specified in the recipe (Checkpoint! Make sure you’re weighing out the cooked soybean weight, not the dried soybean weight). Grind 60% of the weighed soybeans to your desired level and mix together with the remaining 40% of soybeans.
In a large mixing bowl or pot, weigh out the required soybean cooking liquid (Checkpoint! Make sure you adjust the weight of the mixing liquid depending if you’re using fresh koji vs dried koji). If there’s not enough soybean cooking liquid left, make up the weight with room temperature boiled water. Alternatively, if you are choosing not to use the soybean cooking liquid, weight out room temperature boiled water as the mixing liquid. Dissolve the salt into the mixing liquid but reserve some to sprinkle and the bottom of the fermentation vessel later. Next, mix in the seed miso if using.
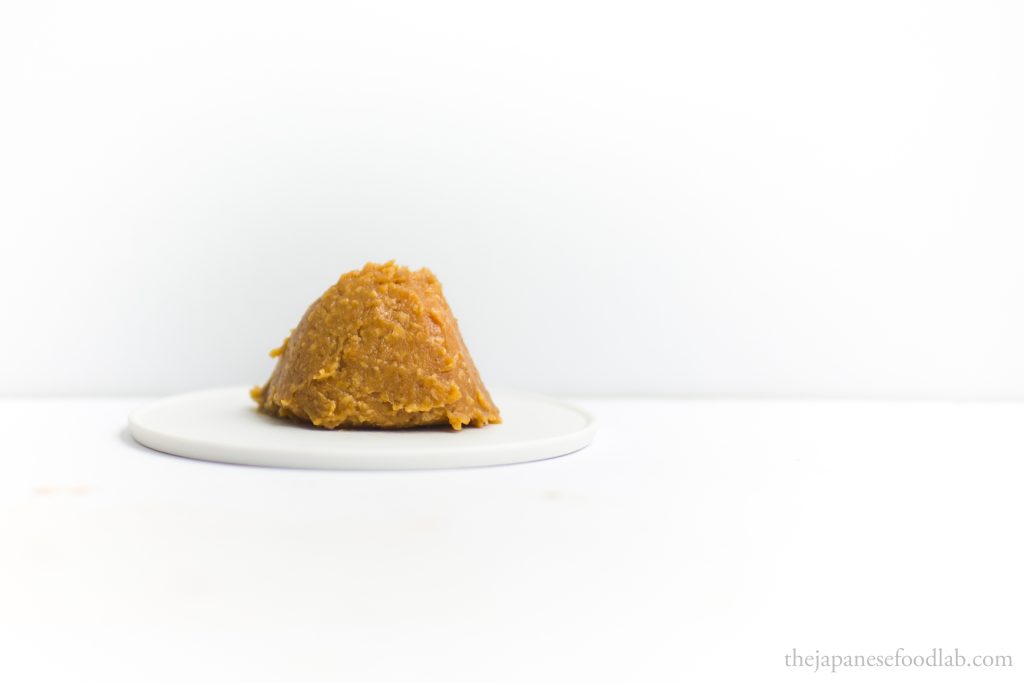
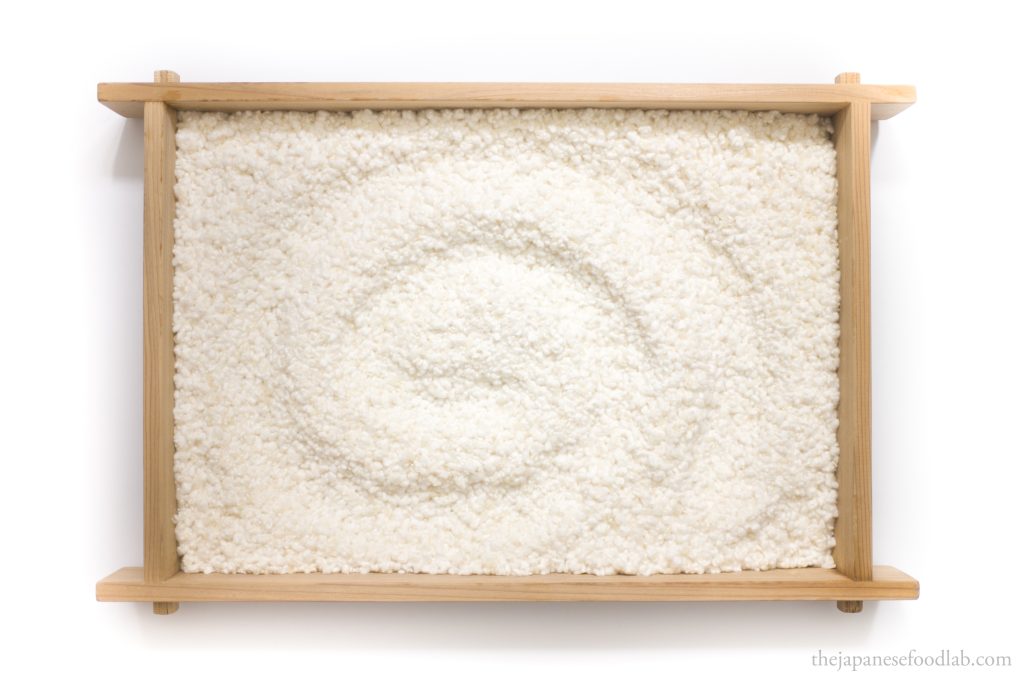
Using your hands, crumble up your koji into grains as best as you can and then stir it into the mixing bowl (Checkpoint! Make sure you’ve adjusted the koji weight for dried vs fresh koji). Add in all the soybeans and mix together. This is the part where you’d want to get really hands on. Feel free to wash your hands and crush, squeeze and mix up the miso by hand (use gloves if you want to be 100% safe). This is a good point to check the moisture of your miso; it should have a consistency similar to store bought miso.
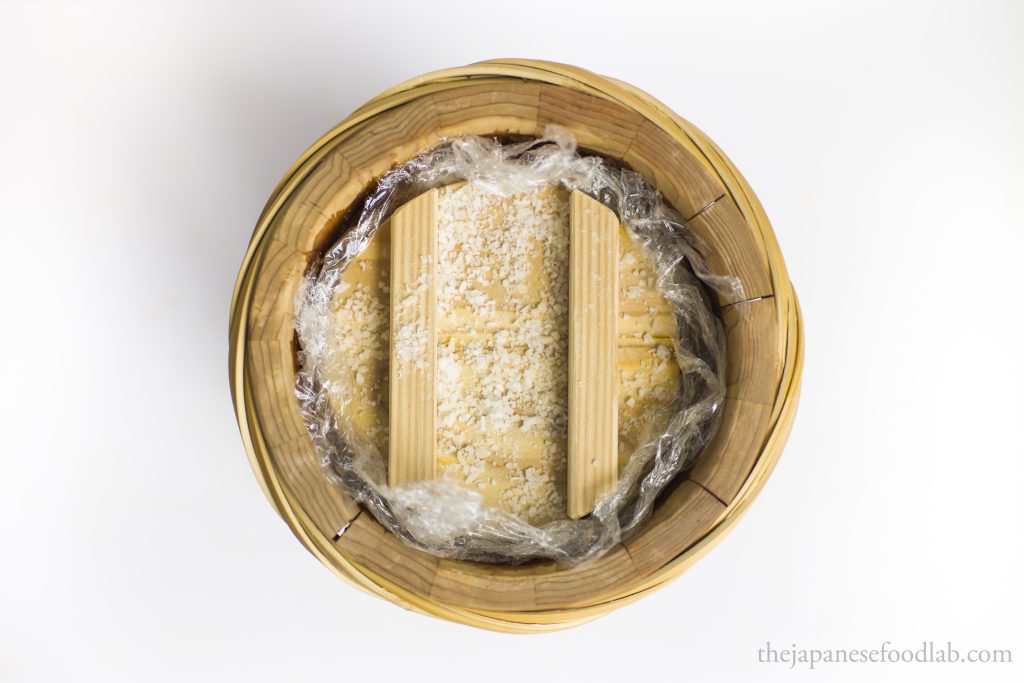
In your fermentation vessel, sprinkle some salt at the bottom of the vessel and rub some salt along the sides of the wall. Pack the miso into your fermentation vessel as tightly as possible, pressing it down using your hands or the back of a spoon to make sure as much air is pressed out of it as possible. Sprinkle some salt over the top and then cover with your inner layer of choice. In the images below, we use a layer of sake lees to directly cover the miso, followed by some plastic wrap. Wipe the remaining exposed inner walls of the container clean now as they’re the easiest part to grow mouldy. If you have some sake or shochu lying around, we recommend using a paper towel with sake to wipe down the walls. Add on the fermentation weights on top of your inner lid before covering the top of the container with cheesecloth or muslin cloth tied down with string or large rubber bands. If you don’t notice any liquid tamari being pressed out of the miso collecting in the top layer after 4 to 5 weeks, you’ll probably need to increase the amount of weight on the miso. If there is too much tamari being pressed out, remove the tamari to use as a soy sauce substitute and then reduce the amount of weight on the miso. Finally, be sure to note down the day you made the miso as well as the type of miso you’re making so that you can keep track of it.
If fermenting naturally, choose a spot that is not exposed to the elements, is not under direct sunlight, but most importantly has good ventilation. If using a wooden fermentation container, you’ll want the bottom of the container to be lifted slightly off the floor, either on a wire cooling rack or in between two pieces of wood or brick. For this recipe, the miso can start to be eaten after 6 months of fermentation but we recommend at least 12 months. It’s worth tasting the miso every few months after the first 3 months to understand the evolution of its flavour. When tasting the miso, peel back your inner lid, make a hole and scope out some miso from the inside to taste. Remember to press and flatten out the miso into an even layer before replacing the lid. Don’t unnecessarily expose the fermenting miso to the outside, so there’s no need to dig extremely deep or completely remove the whole inner lid.
If using a temperature controlled fermentation temperature, ferment at 27°C/81°F for 6 months and begin your tasting after 1 month.
