*find out more about traditional vs modern miso. Otherwise you might be interested in the science of miso. This recipe uses the one for red miso (赤味噌) as a base as thus is a good read as a primer for this recipe.
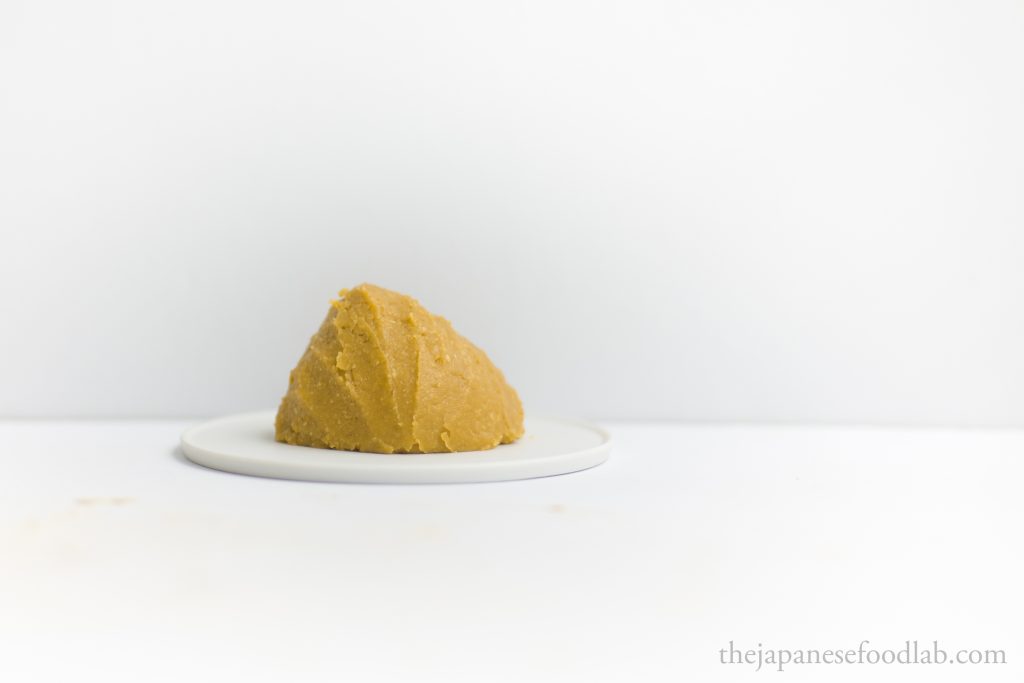
Yellow miso is arguably the most common miso consumed outside Japan and is the one used in the miso soup you’d find in a chain Japanese restaurant in the west. It accounts for almost half the miso produced and is popular for its mild savoury taste that is friendly to people trying out miso for the first time. Just like red miso, the term yellow miso is also just a generic term for all misos that have a short cooking and fermentation time, leading to a lighter yellowish colour. In fact, what is usually sold as yellow miso outside Japan is usually shinshu miso (信州味噌), originally produced in Nagano prefecture (長野県).
Whilst this is a great miso to introduce people to consuming miso, we think it’s actually slightly harder to make than red miso due to its shorter fermentation time and lower salt, meaning that it’s more prone to growing bad and you have to rely on good quality koji to ferment the miso well as you can’t hide behind the savoury tastes developed by long ageing.
As soybeans cook, they slowly change from yellow to a reddish colour. Therefore, to achieve the colour difference between red and yellow miso, it’s important to shorten the cooking time of the soybeans by using a pressure cooker instead of boiling the soybeans in a pot. You should also discard the water used to soak the soybeans and pressure cook the soybeans in freshwater.
Equipment Preparation
Please read the equipment preparation and ingredient preparation section for red miso (赤味噌) as a primer.
Ingredient Preparation
The ingredients we need and their corresponding amounts to make miso from 1kg of cooked soybeans are:

These values are given based on a two assumptions given below:
- We’re assuming that soybeans roughly doubled in weight when cooked. This is not always true so always weigh out your soybeans after cooking. When buying dried soybeans to make miso, a good rule of thumb is that soybeans at a minimum double in weight when cooked so you only need to buy half the weight in soybeans listed in this table.
- When using fresh koji instead of dried koji, you need to multiply the amount by 1.144.
- Because fresh koji has more moisture than dried koji, we only use 60% of the mixing liquid compared to dried koji.
The recipe above yields 2043g of miso if using fresh koji and the minimum amount of salt, or 2205g of miso if using dried koji (also with the minimum level of salt, 205g). It is the minimum amount of miso that we are confident in recommending you try out making. Any less and the resulting miso can be slightly unreliable.
Ageing times for based on salt ratios
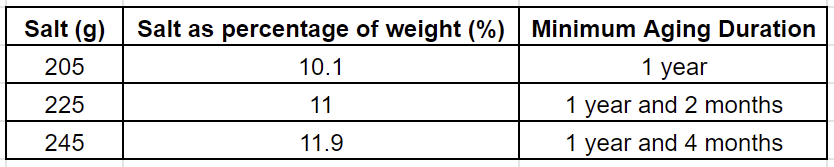
As you can see from the table above, the higher the amount of salt, the longer the miso needs to age before it reaches its prime. This is because the taste of salt slowly mellows out with time, so a miso that would taste overly salty at 8 months might taste just right after a year. The ageing times given above are just an estimate for a non-controlled fermentation environment. However, as there are so many variables to take into account such as differences in humidity, temperature and surface area, we recommend tasting your miso every few months to judge for yourself.
It’s worth noting that yellow miso in particular isn’t well known for a long ageing duration, so you should really be only increasing the salt amount in the miso if you prefer a saltier taste, not if you want to experience the taste of long aged miso. If this is your goal, we recommend trying to make hatcho or barley miso.
Traditional Yellow Miso Recipe (信州味噌の作り方)
A day before making the miso, you’d want to give the beans a quick wash in water before soaking them in at least twice their volume of water. You want to soak your soybeans for at least 12 hours at a minimum. If soaking overnight or more than 12 hours, soak the soybeans in the fridge. You’ll know the beans have finished soaking if when you split them in half, the inside of the halves are flat and not curved inwards. If using a wooden barrel to ferment your miso, we’d also recommend filling it up with water overnight to make sure the wood fully expands and seals up any gaps that may have appeared.
After soaking the soybeans, we then proceed to steam them. Do not steam the soybeans in the same water used to soak them, this is an important difference between red miso and yellow miso. If using an instant pressure cooker, you’ll want to cook them for 25 to 27 minutes on high pressure after the water starts boiling/the pressure has built. We then recommend a natural release of pressure compared to a manual release as it keeps more flavour in the beans. If using a commercial pressure cooker with a gauge, you’d want to cook the beans at 15psi/1bar for 25 minutes or at 10psi/0.75bar for 30 minutes and then allow a natural release of pressure. The beans are done when they can easily be crushed between two fingers, if not, continue cooking the beans and checking every 15 minutes until they’re done.
After cooking the soybeans, it’s extremely important to allow the soybeans to completely cool to room temperature before proceeding to the next step, or at least 40°C/104°F. Drain the soybeans from their cooking liquid and save the cooking liquid to use as mixing liquid. Weight out the soybeans so that you have the amount specified in the recipe (Checkpoint! Make sure you’re weighing out the cooked soybean weight, not the dried soybean weight). Grind 60% of the weighed soybeans to your desired level and mix together with the remaining 40% of soybeans.
In a large mixing bowl or pot, weigh out the required soybean cooking liquid (Checkpoint! Make sure you adjust the weight of the mixing liquid depending if you’re using fresh koji vs dried koji). If there’s not enough soybean cooking liquid left, make up the weight with room temperature boiled water. Alternatively, if you are choosing not to use the soybean cooking liquid, weight out room temperature boiled water as the mixing liquid. Dissolve the salt into the mixing liquid but reserve some to sprinkle and the bottom of the fermentation vessel later. Next, mix in the seed miso if using.
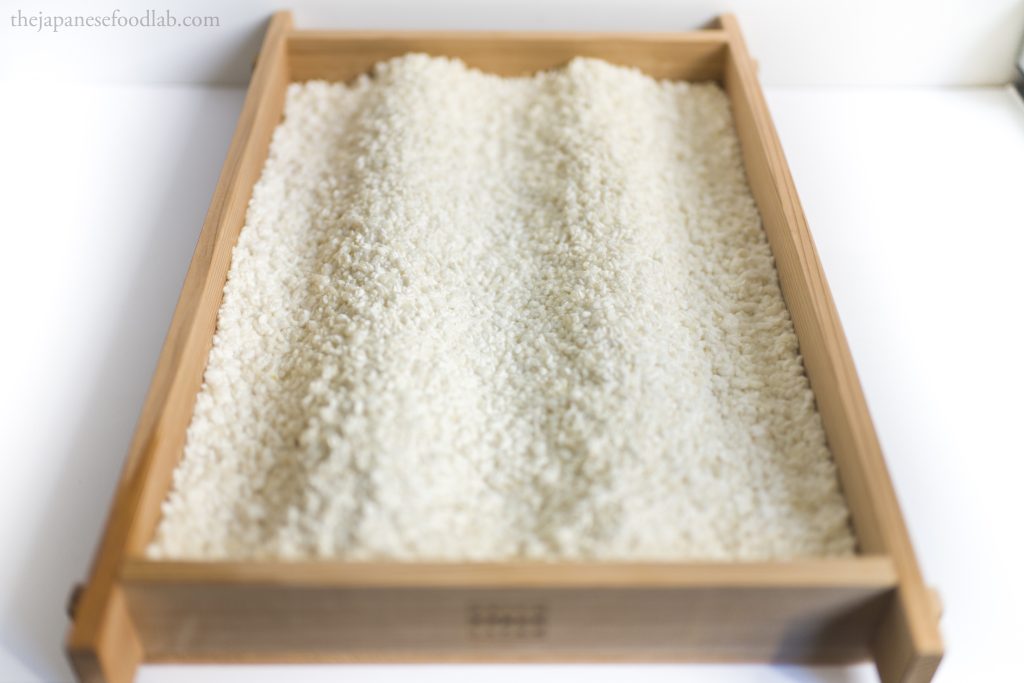
Using your hands, crumble up your koji into grains as best as you can and then stir it into the mixing bowl (Checkpoint! Make sure you’ve adjusted the koji weight for dried vs fresh koji). Add in all the soybeans and mix together. This is the part where you’d want to get really hands on. Feel free to wash your hands and crush, squeeze and mix up the miso by hand (use gloves if you want to be 100% safe). This is a good point to check the moisture of your miso; it should have a consistency similar to store bought miso.
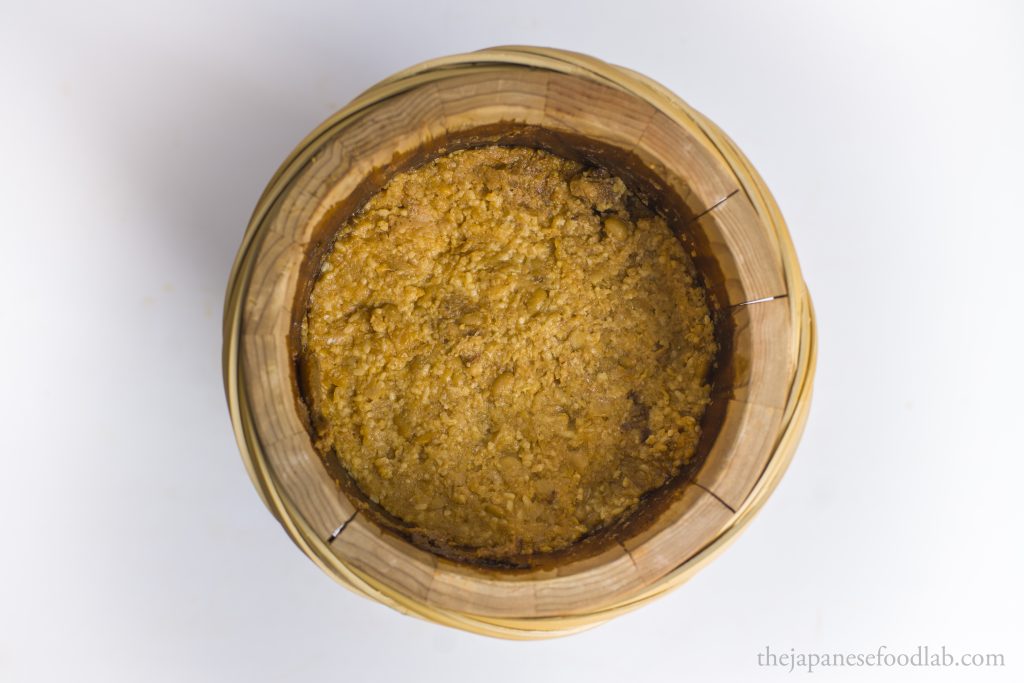
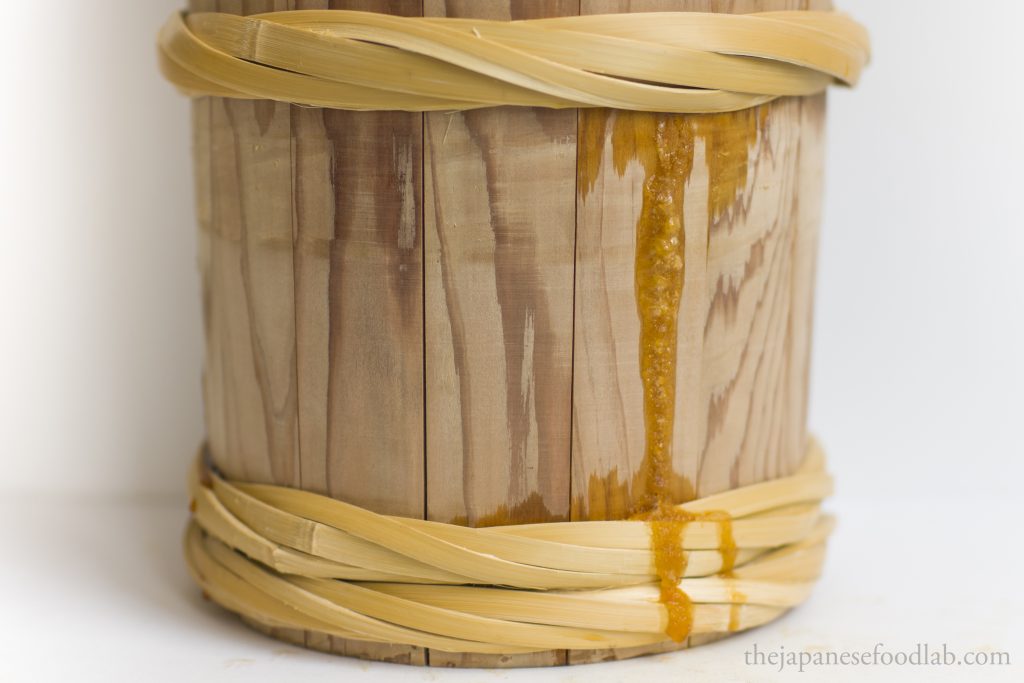
In your fermentation vessel, sprinkle some salt at the bottom of the vessel and rub some salt along the sides of the wall. Pack the miso into your fermentation vessel as tightly as possible, pressing it down using your hands or the back of a spoon to make sure as much air is pressed out of it as possible. Sprinkle some salt over the top and then cover with your inner layer of choice. In the images below, we use a layer of sake lees to directly cover the miso, followed by some plastic wrap. Wipe the remaining exposed inner walls of the container clean now as they’re the easiest part to grow mouldy. If you have some sake or shochu lying around, we recommend using a paper towel with sake to wipe down the walls. Add on the fermentation weights on top of your inner lid before covering the top of the container with cheesecloth or muslin cloth tied down with string or large rubber bands. If you don’t notice any liquid tamari being pressed out of the miso collecting in the top layer after 4 to 5 weeks, you’ll probably need to increase the amount of weight on the miso. If there is too much tamari being pressed out, remove the tamari to use as a soy sauce substitute and then reduce the amount of weight on the miso. Finally, be sure to note down the day you made the miso as well as the type of miso you’re making so that you can keep track of it.
If fermenting naturally, choose a spot that is not exposed to the elements, is not under direct sunlight, but most importantly has good ventilation. If using a wooden fermentation container, you’ll want the bottom of the container to be lifted slightly off the floor, either on a wire cooling rack or in between two pieces of wood or brick. For fermentation times, read the section above. It’s worth tasting the miso every few months after the first 6 months to understand the evolution of its flavour. When tasting the miso, peel back your inner lid, make a hole and scope out some miso from the inside to taste. Remember to press and flatten out the miso into an even layer before replacing the lid. Don’t unnecessarily expose the fermenting miso to the outside, so there’s no need to dig extremely deep or completely remove the whole inner lid.
If using the minimum amount of salt (205g), the miso can start to be eaten after 6 months of fermentation but we recommend at least 12 months. It’s worth tasting the miso every few months after the first 3 months to understand the evolution of its flavour. When tasting the miso, peel back your inner lid, make a hole and scope out some miso from the inside to taste. Remember to press and flatten out the miso into an even layer before replacing the lid. Don’t unnecessarily expose the fermenting miso to the outside, so there’s no need to dig extremely deep or completely remove the whole inner lid.
If using a temperature controlled fermentation temperature, ferment at 32.9°C/91°F for 4 weeks and begin your tasting after 1.5 weeks.

Do you have more images of how you layer the Kasu for protection of the ferment?
I intend to use a ceramic pot that has a lid, which is not airtight but just rests on top. Is this enough airflow for the miso? I would say there is a 1-2mm gap on 75% of the circumference of the lid.
Depending on how wet the kasu you get is, we roll it out with a rolling pin into the shape we want and then press it into miso. We also have gaps here and there and resting it on top is good enough. If you were using a wooden barrel I wouldn’t worry too much if the kasu is spread out so much that it covers the whole miso as oxygen can still get in through the walls. But if you’re using glass or plastic some gaps are definitely good.
Appreciate the replies. My kasu was quite wet so I wasn’t too concerned and just spread it over the top. Would it be better to dry it into a shapeable consistency?
Would kasu from hon-mirin be suitable for this application as well? The main difference would be higher sugar content so I wasn’t sure if this would affect the ferment somehow.
And a historical question – if we use pressure cooker today to keep the miso color lighter, what is the traditional method of doing so? Or was there less division between the types of miso?
And would you reuse these kasu lids, or make a new one every time?
Thank you!