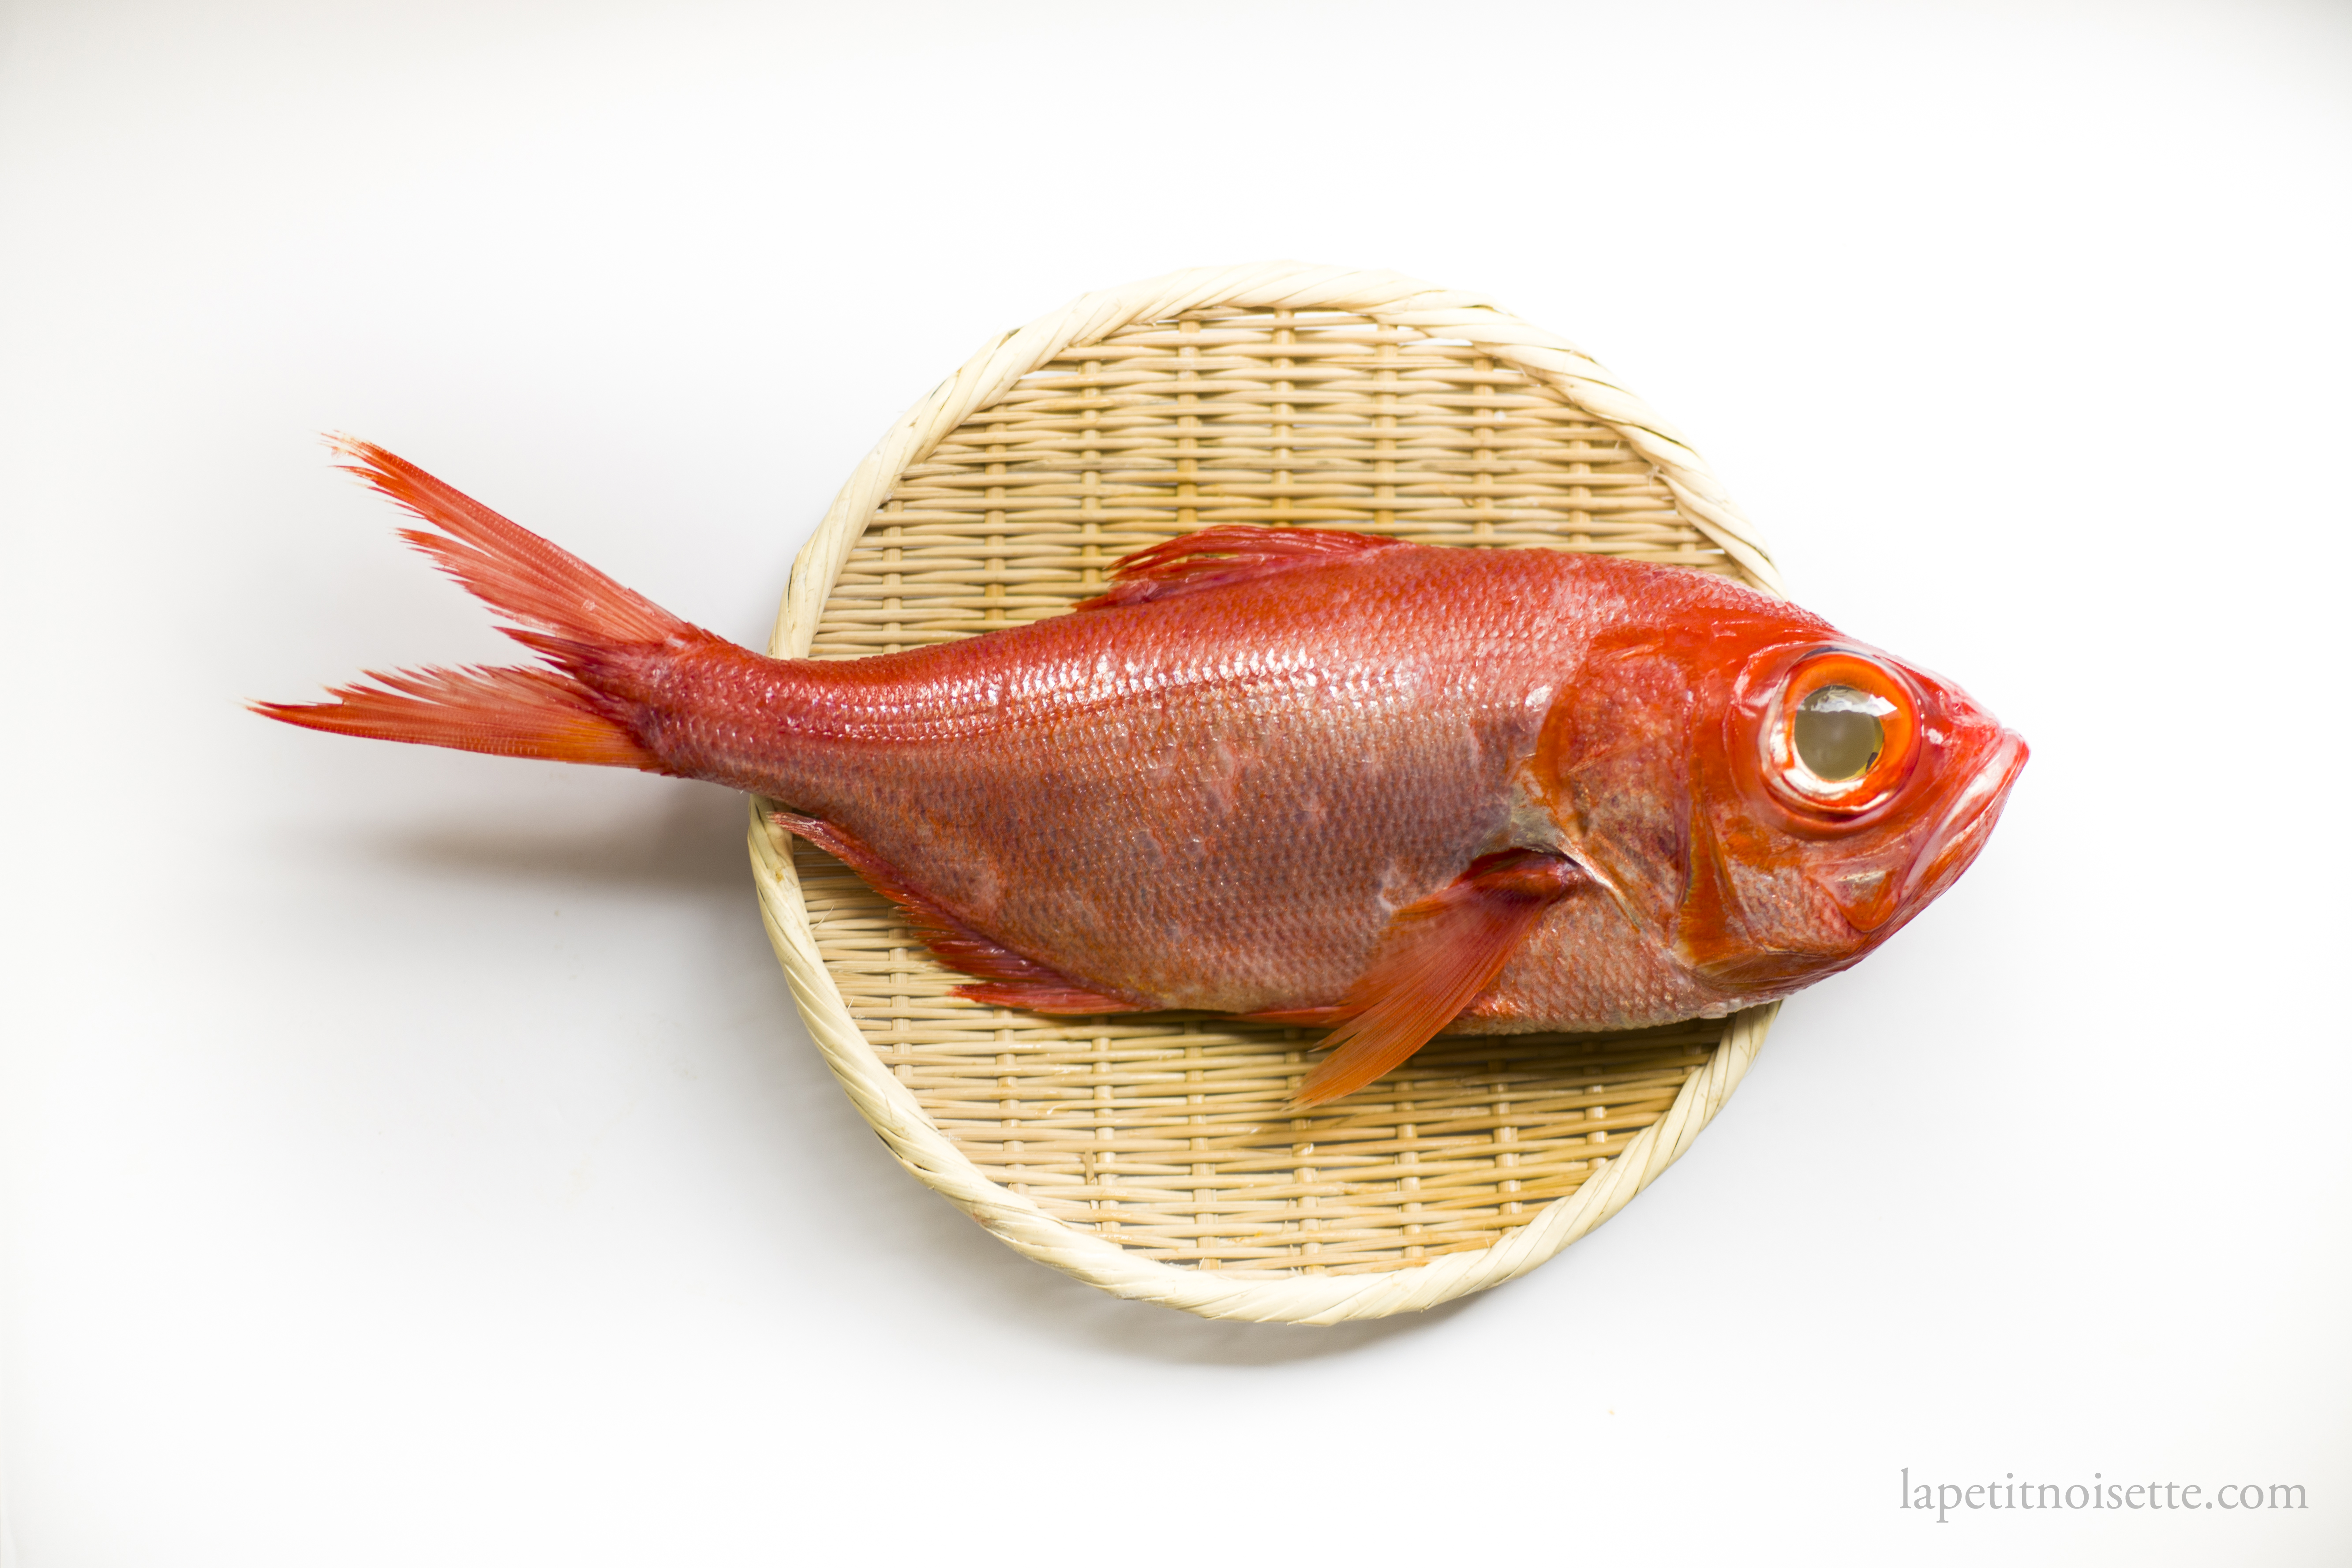
Compared to tai-meshi, you’ll most definitely be hard pressed to find kinmedai-meshi, as the fish is typically served raw or simmered in soy sauce. I’ve been lucky enough to source several high quality kinmedai recently and having tried them cooked, I’ve been completely blown away by the potential of this fish as served in a cooked preparation rather than the usual sashimi. As sashimi, you’d typically lightly grill the skin of the fish with charcoal (or a blowtorch) but the meat itself remains raw. However, when cooked for longer periods of time, the fat layer between the skin and meat renders out a beautiful orange-hued oil, which I thought was due to the red skin of the fish.
Upon tasting, it was as though I had just bitten into freshly blanched shrimp and was surprised to learn from my fishmonger that the fish’s diet of shrimp imparts its taste and colour into its fat at the height of its season. It turns out that this was more common than I’d realize, with bloggers around the internet expressing their love and wonder of the taste of kinmedai fat. This immediately led me to think of it’s potential as being cooked in the style of tai-meshi, as the gentle steaming of the fish would allow the beautiful oils to soak into the rice as it cooks.
But why stop there? By drizzling in some prawn oil with the rice, once the rice absorbs all the liquid during the cooking process, the oil will pool at the bottom of the donabe and ‘fry’ the rice at the bottom, yielding a beautiful scorched rice (okoge/お焦げ) at the bottom of the pot, which can then be scooped out for a second serving of ochazuke (お茶漬け). This dish is designed in a way that restaurants serve as a final course to their meal and is meant to be generous in nature, which is why it calls for equal weight of fish to dry rice.
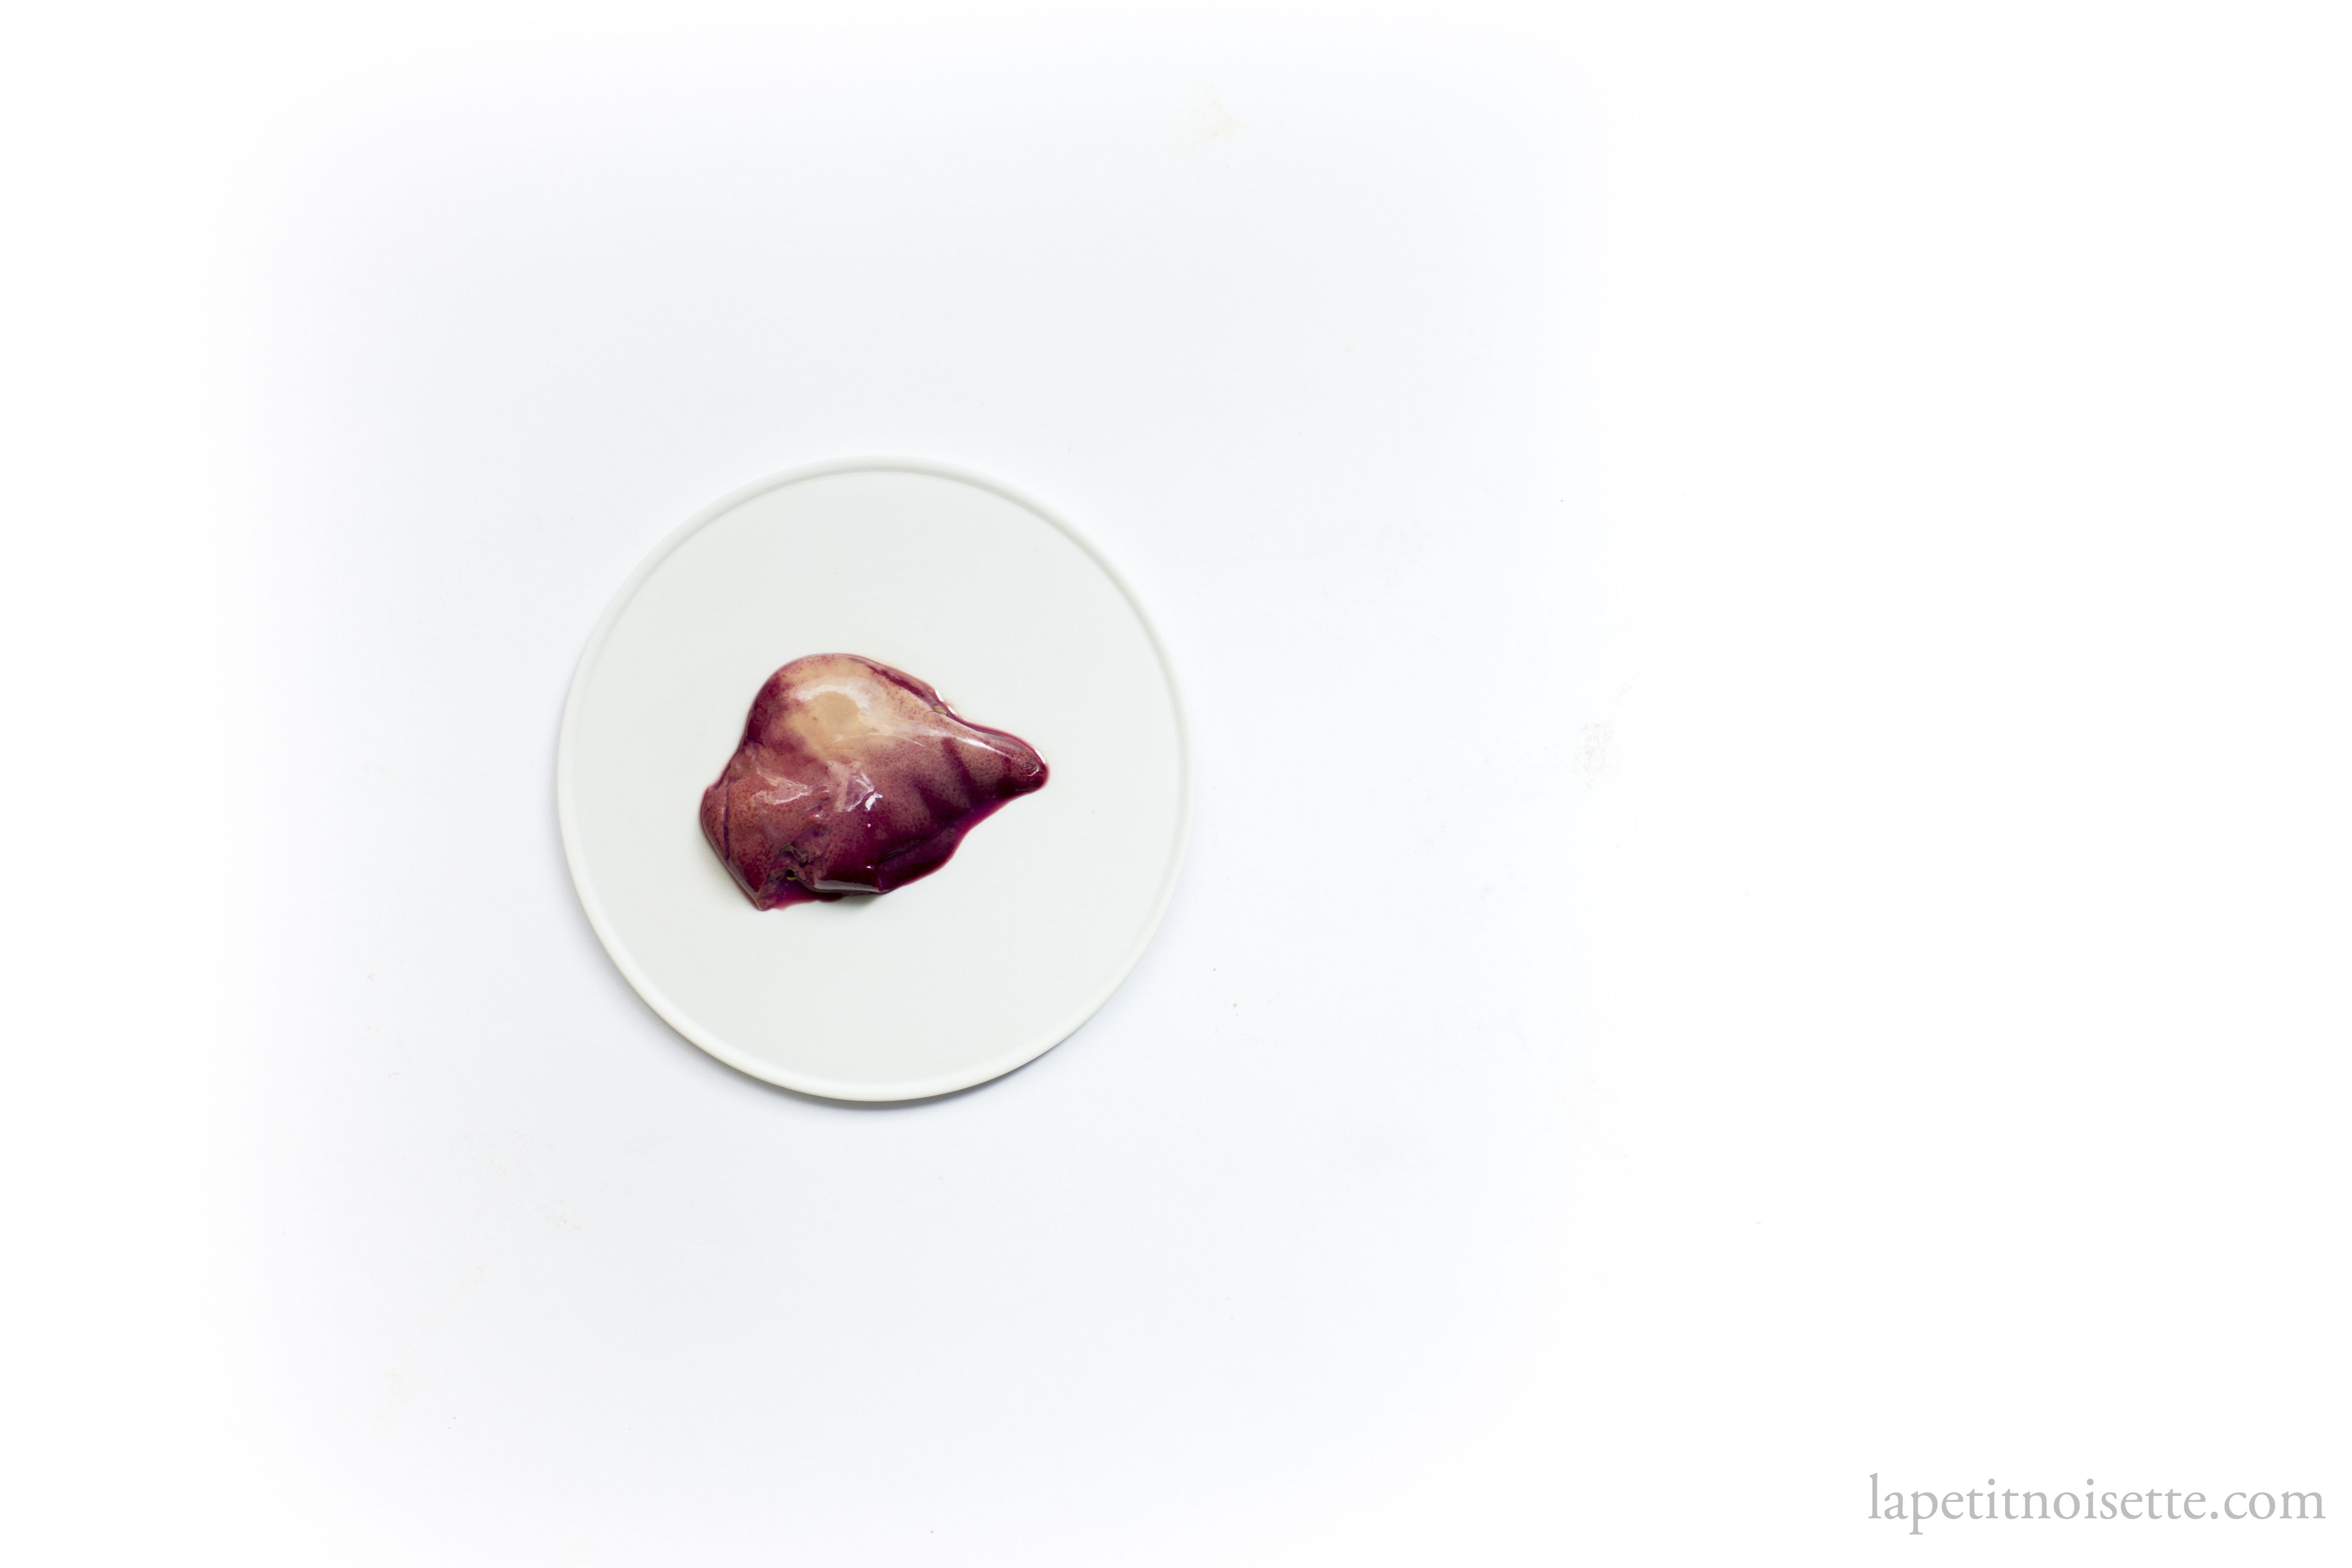
For the stock used in this recipe, dashi stock works well and is something you’ll most likely have on hand, but if you want to go all the way, the remaining kinmedai bones from filleting the fish can be simmered in dashi stock for 25 minutes at barely a boil to make a kinmedai stock. If your fish is fresh enough, reserve the liver of the fish to cook alongside the fish fillet inside the pot, and you have the option of mixing it into the rice at the end if it suits you. If you made the prawn oil, you could substitute kinmedai in this recipe for similar fish such as tai, though it will have a drier and more flaky texture, rather than soft and smooth, which isn’t necessarily a bad thing. Just like tai-meshi, you’d ideally want to grill the fish fillet lightly before adding it to the rice. Here this serves the additional purpose of starting the rendering of the fish fat. If firing up a grill just for a piece of fish sounds too much of a hassle, a blowtorch can be used instead though less effective.
For the prawn oil:
- 100g of neutral flavoured oil
- 100g of prawn heads and shells
- Add the prawn heads and shells to a pot with the neutral oil before turning up the heat to medium high.
- As the mixture slowly heats, it should start bubbling away as any water left in the shell tries to escape from the oil. If the bubbling becomes too vigorous, turn down the heat.
- Allow the mixture to cook for 15 minutes before turning off the heat and allowing the shells to steep in the oil until it is cool enough to handle.
- The reason why we don’t heat the oil in the pan before adding the shells is that it’ll cause the oil to explode and splash everywhere due to the excess water. Heating it from room temperature allows you to evaporate as much water as possible before the oil becomes too hot.
- Once cool enough to handle, strain and discard the shells and bottle the prawn oil in a glass bottle. As it contains fresh shellfish, you’ll want to keep the oil in the fridge to prevent it from going rancid quickly.
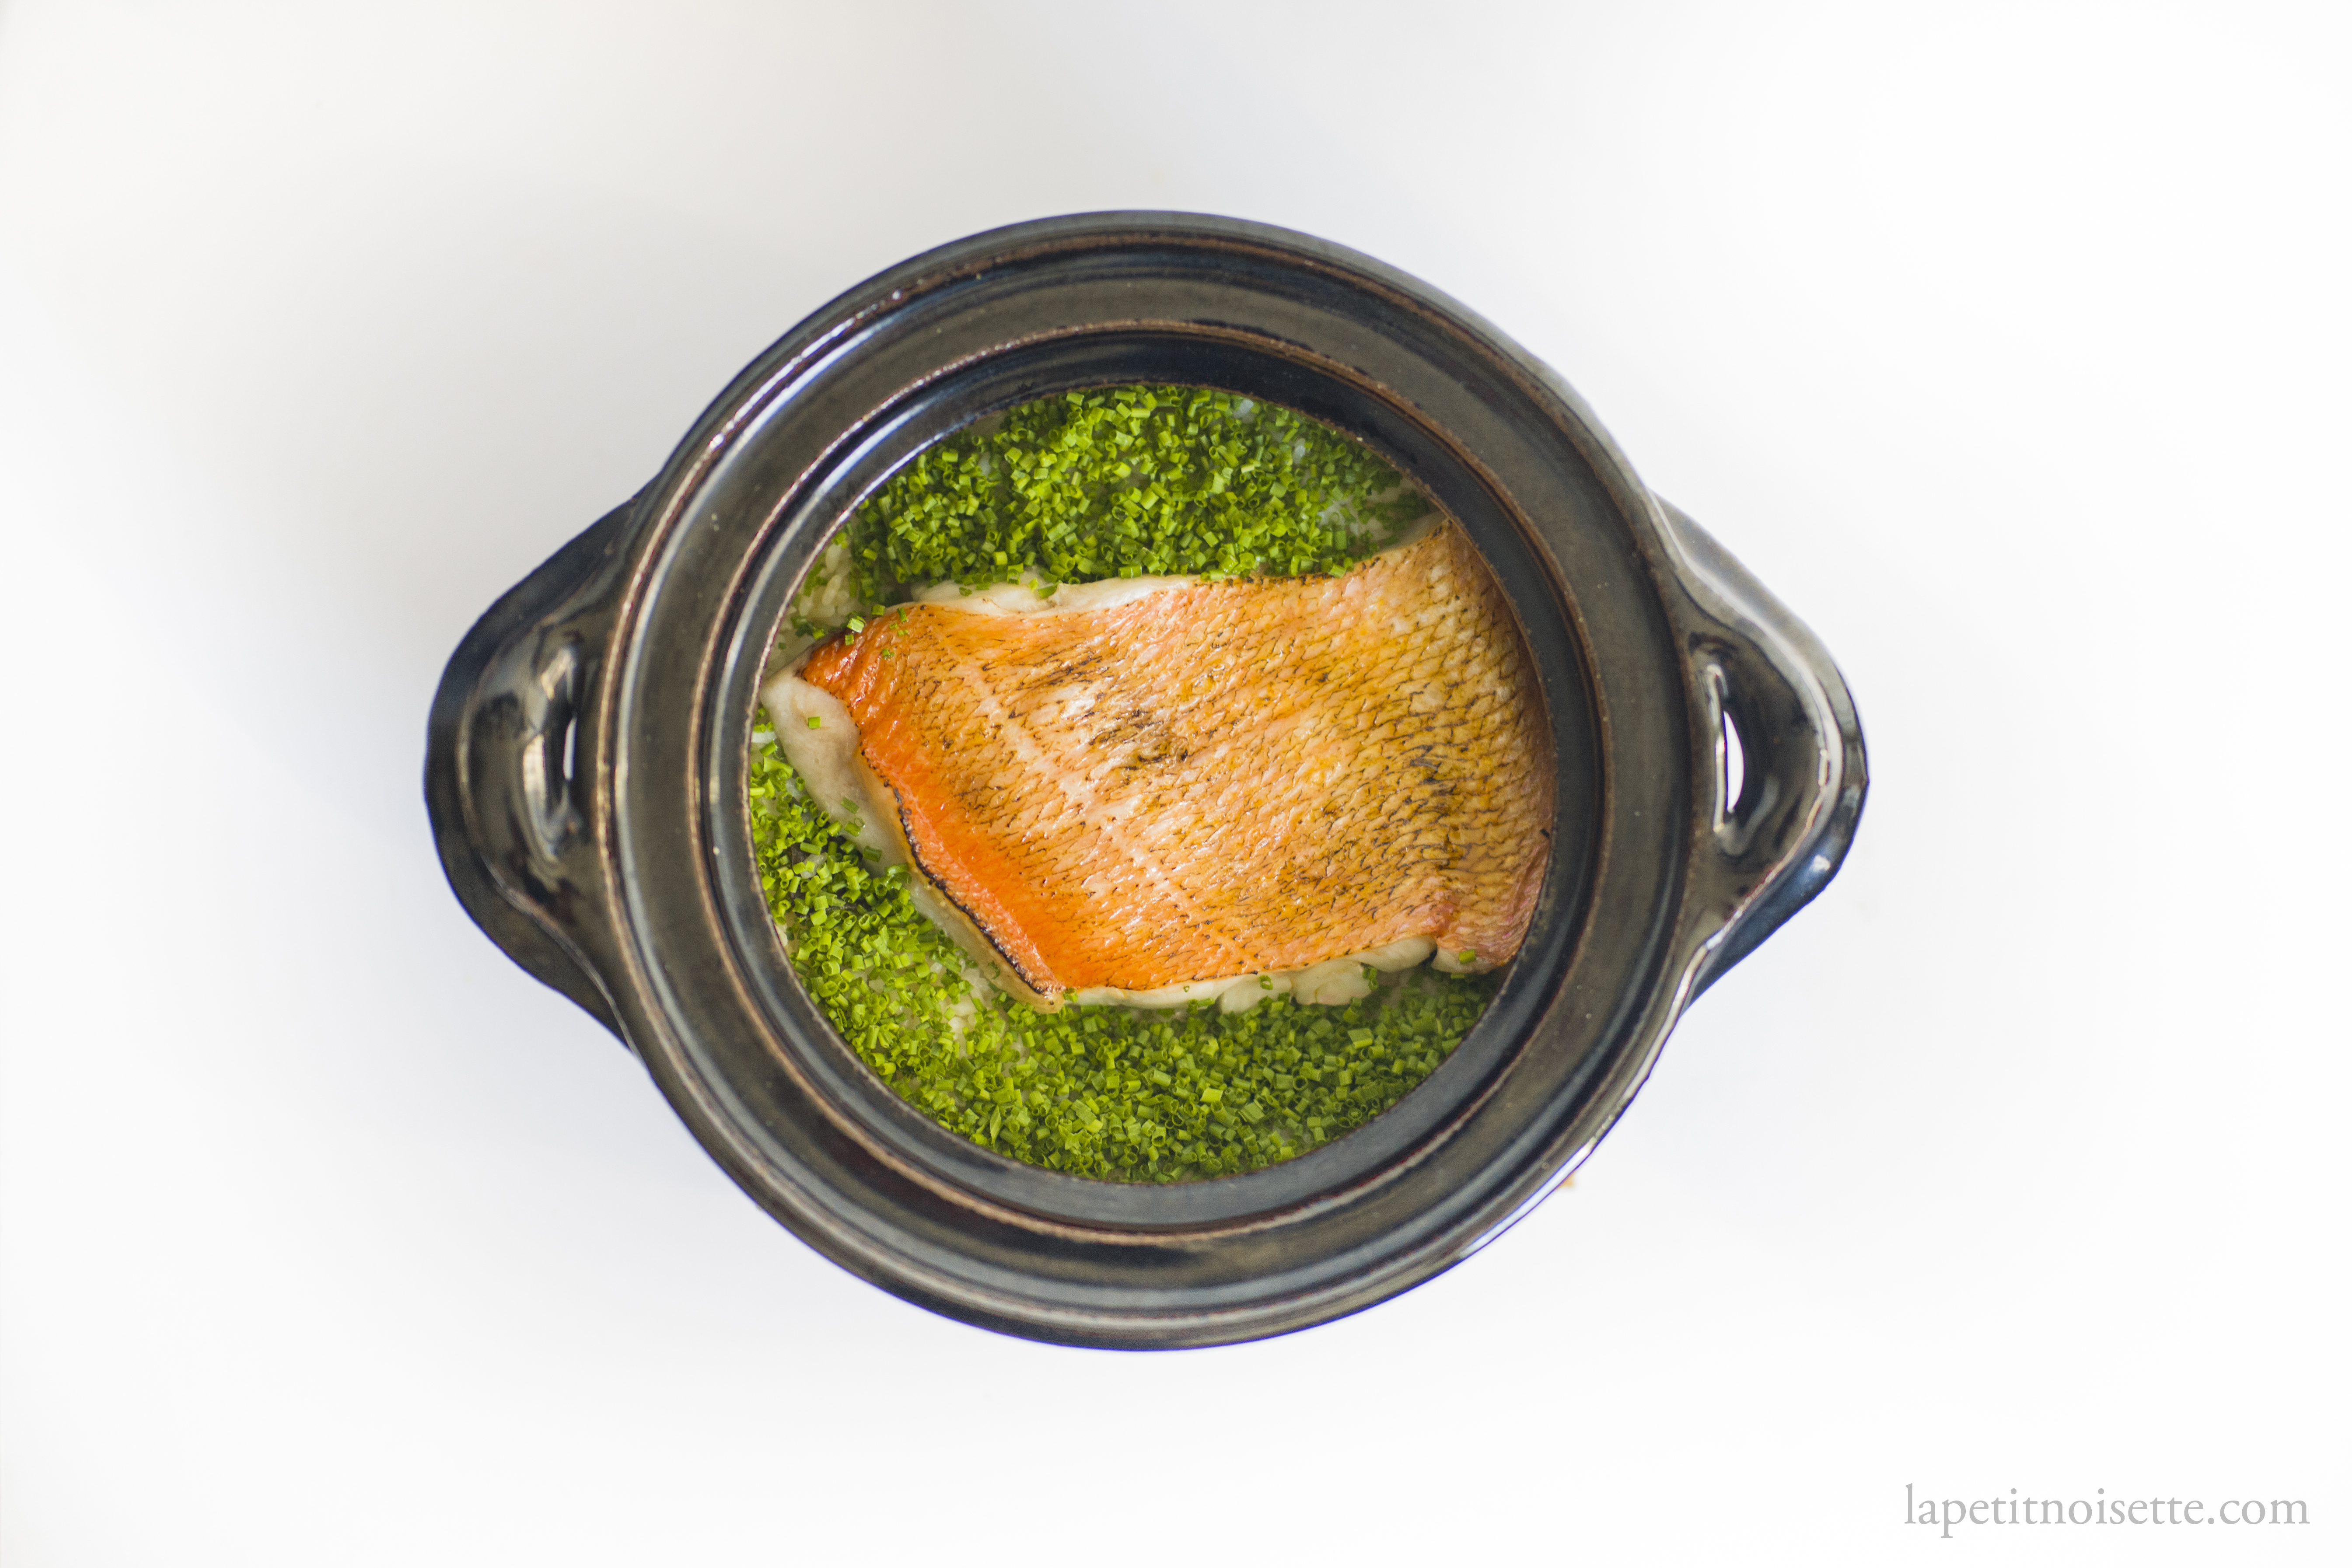
Kinmedai rice with prawn oil and chives
- 360g Kinmedai Fillet
- 360g Rice
- 350g of dashi/kinmedai stock
- 30ml of white soy sauce (substitute with light soy sauce)
- 20ml of cooking sake
- 20ml of prawn oil
- 4g of Kombu
- 15g of chives
- Salt to taste
- To start, lightly salt the kinmedai and grill over charcoal for 2 to 3 minutes skin-side down until charred and crispy. Finely slice the chives to add as garnish at the end.
- Weight out the rice and wash 2 to 3 times under the water runs clear before adding the rice to your claypot.
- Add the stock, white soy sauce, and cooking sake to the rice and mix.
- Place the kombu on top of the rice and lay the kinmedai fillet on top of the kombu, skin-side up.
- Drizzle on the prawn oil and close the lid.
- If using a Nagatanien donabe or any other donabe, cook on medium heat for 15 to 20 minutes until steam starts coming out from the hole on top of the donabe. Once steam is coming out from the donabe, continue cooking for 2 minutes before switching off the flame and allowing it to rest for 20 minutes.
- If using a donabe rice cooker by Nakagawa Ippento or Nakagawa Isshiro as per the restaurant. Cook the rice on high heat until the water is boiling (around 10 minutes). The water is boiling when steam can be seen escaping from the lid of the pot. It is natural for water to start bubbling from the sides of the lid of the pot. Once boiling, turn down the heat to low and cook for 10 minutes, before allowing the rice to rest for 10 more minutes with the lid on. The residual heat of the pot will be enough to finish cooking the rice. Due to the thickness of the clay as well as the full glaze, high heat can be applied to the pot immediately without it cracking.
- If your donabe rice cooker’s instructions are different from that here, follow the instructions that came with your rice cooker.
- Just before serving, remove the kombu piece and add in the chives before closing the lid and allow to steam for a minute more.
- To serve, break up the fillet and mix the flesh, skin and chives into the rice to get an even mix. Remember to mix in any oil that may have accumulated at the bottom of the claypot.
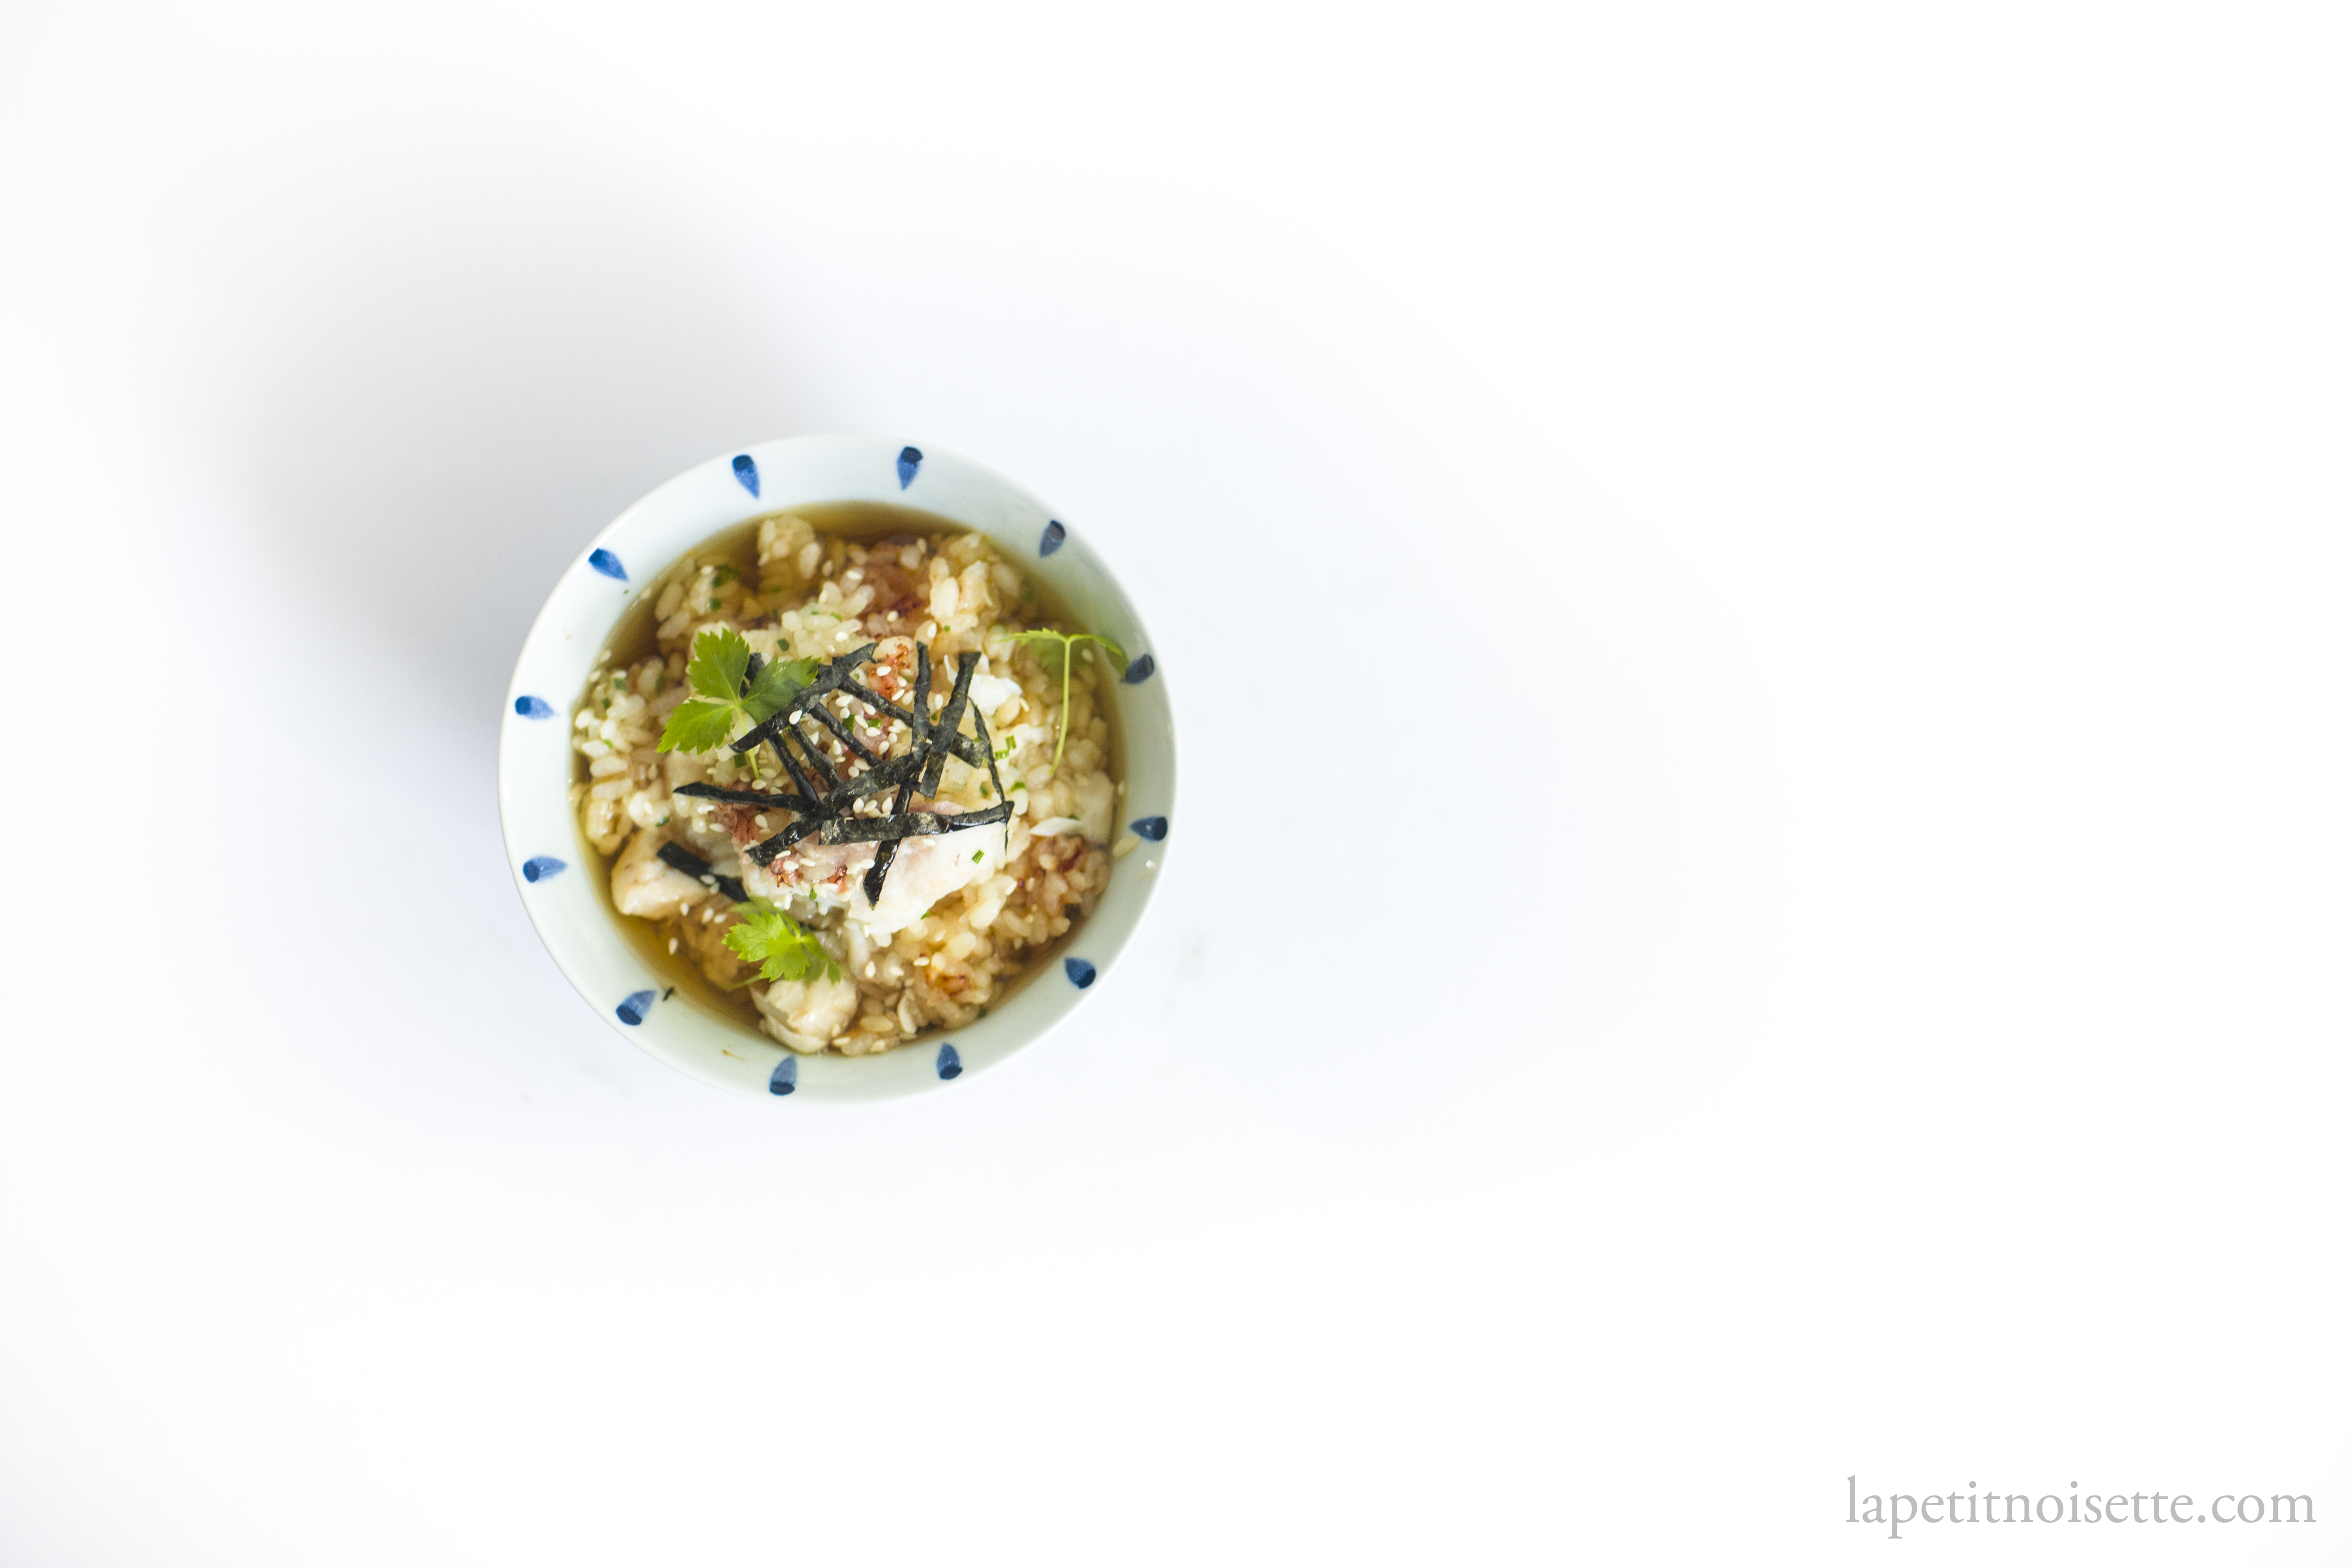
To finish, I recommend scrapping any burned bits at the bottom of the pot to serve as ochazuke (お茶漬け), which is where a liquid, usually tea, is added to rice alongside other toppings. Whilst green tea is usually the standard go to addition in ochazuke, I opted for hojicha as the roasted flavours of the tea help balance out the richness of the dish. To top it off, I added some sliced nori, toasted sesame seeds and mitsuba parsley.
