One of the classics of Edomae-sushi, Tai or sea bream, can be said to be one of the tastiest of white flesh fish (Shiromi/白身). Compared to similar white flesh fishes just as Hirame or Suzuki, Tai is considerably cheaper as it’s catch it bountiful. However, good quality Tai can be extremely expensive.
The word Tai in Japanese encompasses many different species of bream in Japan actually, such as Madai (真鯛), or red snapper (Pagrus major). When talking about Tai alone in Japan, it can be generally assumed that you are talking about Japanese Bream or Paracaesio caerulea.
The majority of Tai found in Japan nowadays are farmed. Whilst farmed Tai has more fat compared to wild Tai, the lack of exercise means that the fat is mostly tasteless, with the muscle also being tasteless due to the lack of exercise.
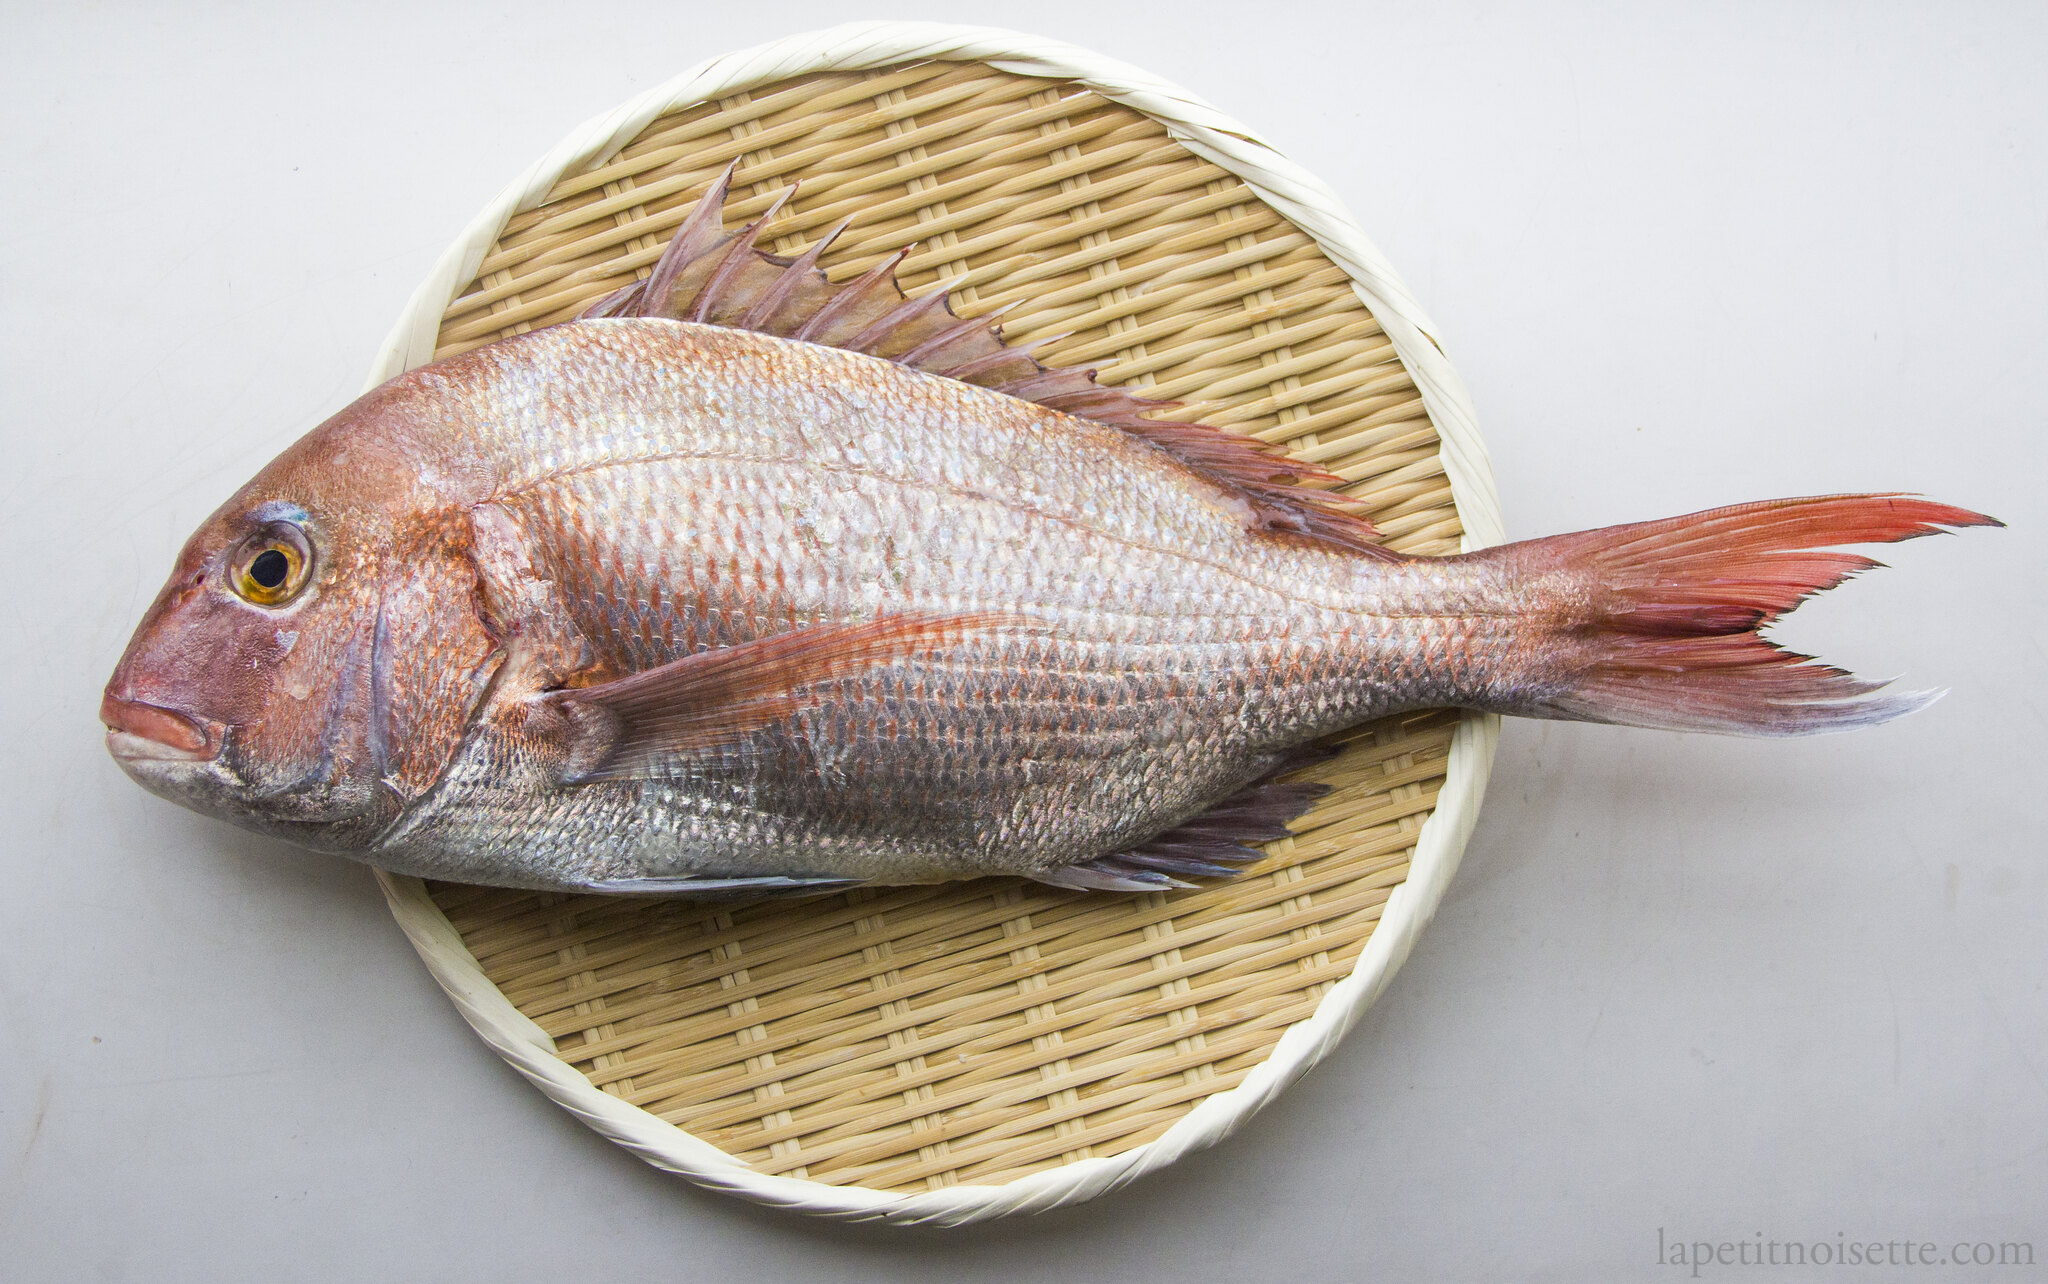
Whilst working at the restaurant, my master would always judge the quality of the Tai from it’s bone structure and scales. The smaller the scales on the fish, the faster the currents in which the fish swam. High quality wild caught Tai was extremely expensive and rare. The taste however, was unbelievably melt in your mouth tasty. It was very hard to find, unlike the Tai which you would see alive in the fish tanks at the markets. We specifically requested that our Tai were killed using the Ikejime method immediately, allowing us to age it to further improve the texture.
In terms of bone structure, farmed Tai has a weak bone structure from lack of use. The highest quality Tai that swam in the fastest waters had a kind of bone deformation in it’s rib bones, not unlike bone cancer growth. When I first saw it, I thought that the fish might have had a disease or maybe it was an exception. This however, was not the case. Maybe excessive use of the bone structure there in order to swim against the currents cause the bone to grow additional reinforcement. These bones were called Naruto bones (鳴門骨/なるとほね) by our suppliers.
Whilst Tai is considered a white fleshed fish, in its baby form, Kasugo, it is considered a silver skinned fish and therefore marinated in vinegar. Tai is also very suitable to be aged using the Kombujime technique as larger specimens can withstand the additional flavour of Kombu.
It starts to come into season during the winter as it starts to build up fat reserves, making it a competitor to Hirame in terms of taste. However, Just as Hirame’s flavour peaks during the height of winter, Tai’s flavour only peaks during the end of winter, towards the start of the spring when the Cherry Blossom blooms. Therefore, Tai caught during that season, known as Cherry Blossom Bream (Sakura Tai/Sakura Dai/桜鯛) is extremely expensive.
At our restaurant we never blowtorch (aburi/炙り) our Tai as we feel that the smell of gas fumes can be imparted onto the fish. Instead we either lightly grill it under a charcoal grill or use a technique called Kawasimozukuri (かわしもずくり/皮霜造り), more commonly known as Yubiki (湯引き), where boiling hot water is splashed on the fish before the fish is quickly chilled in ice.
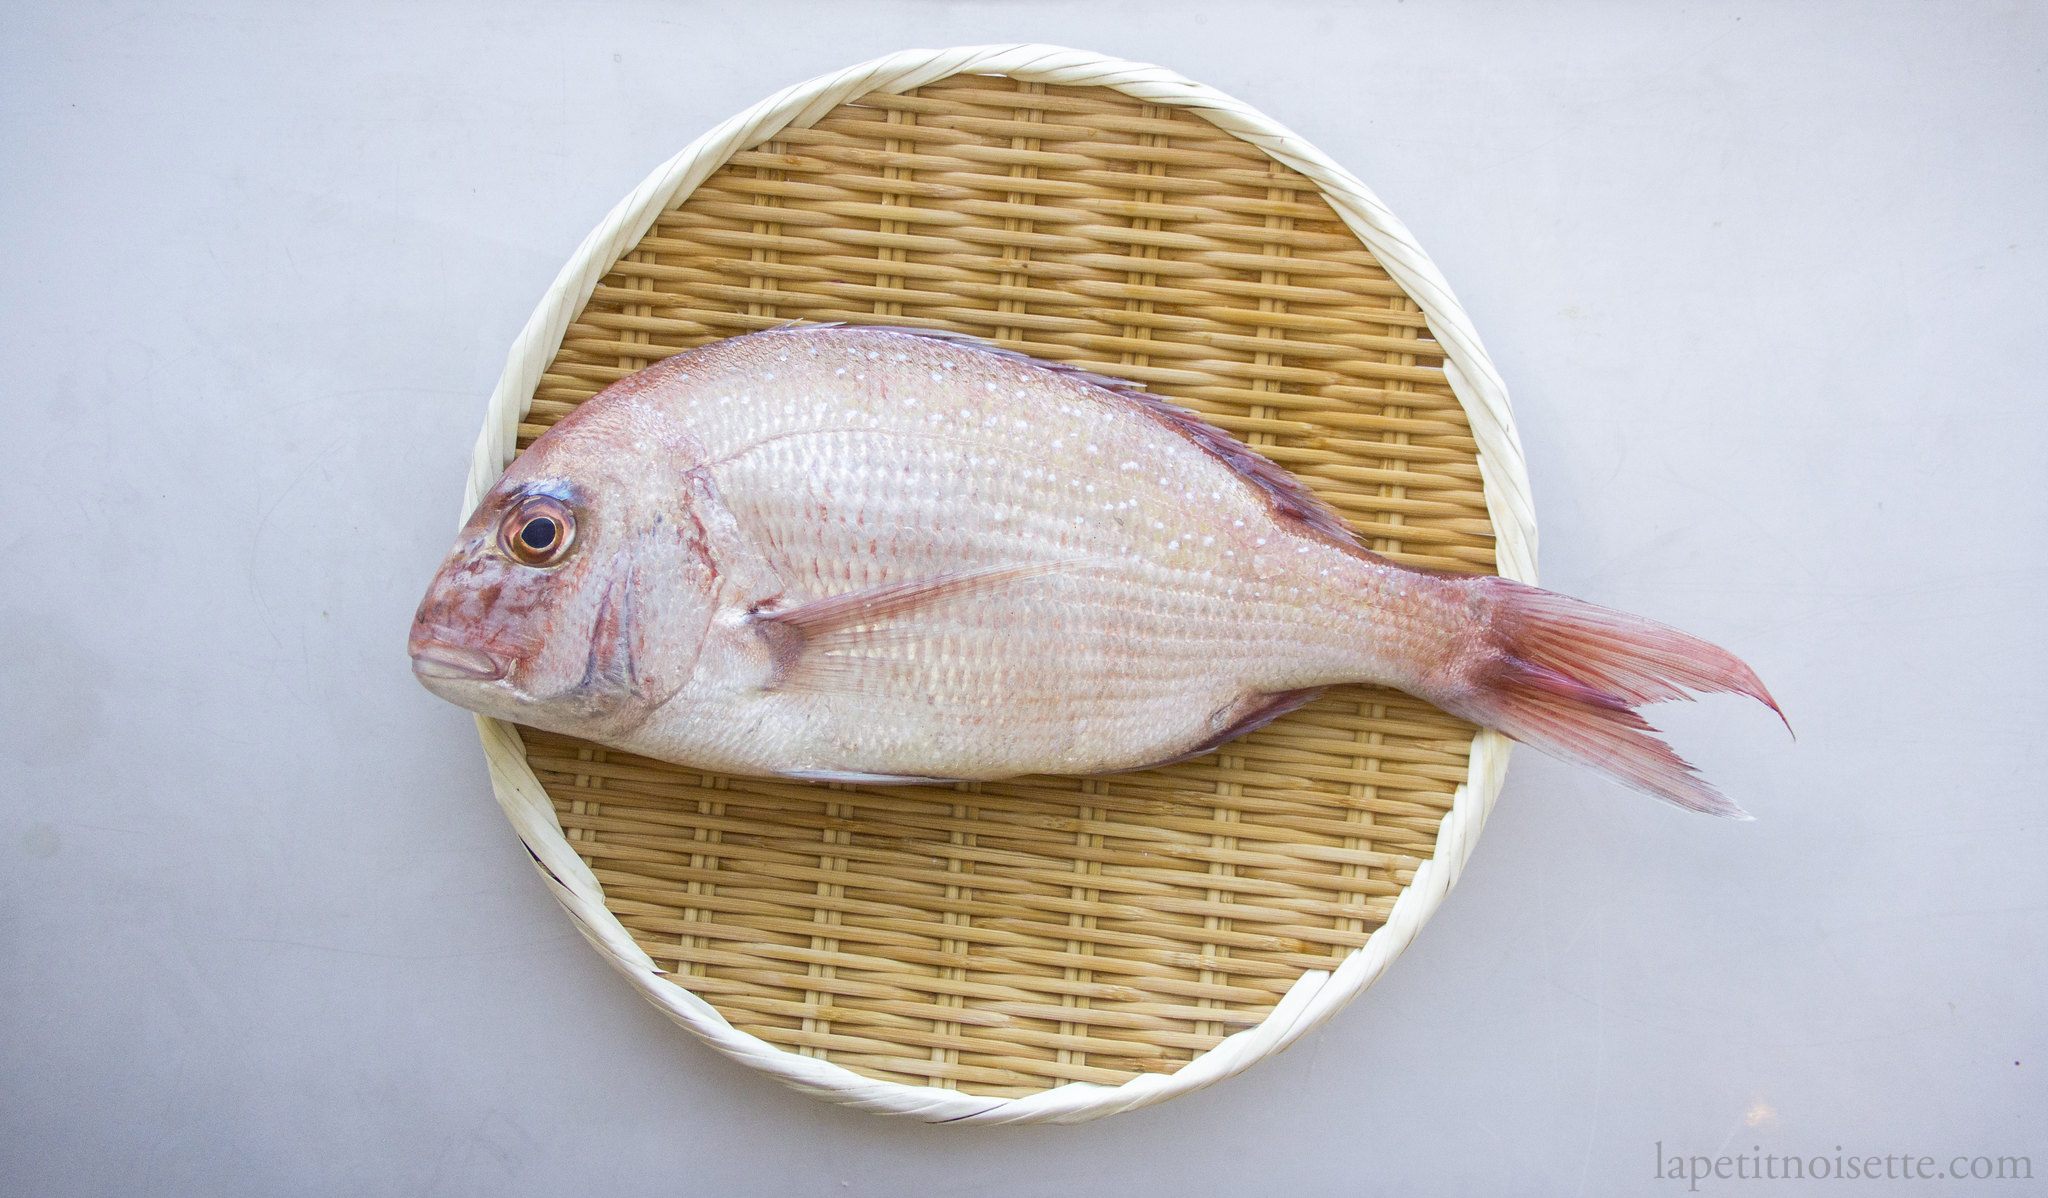
Edomae-style (江戸前鮨) preparation of Tai (鯛) :
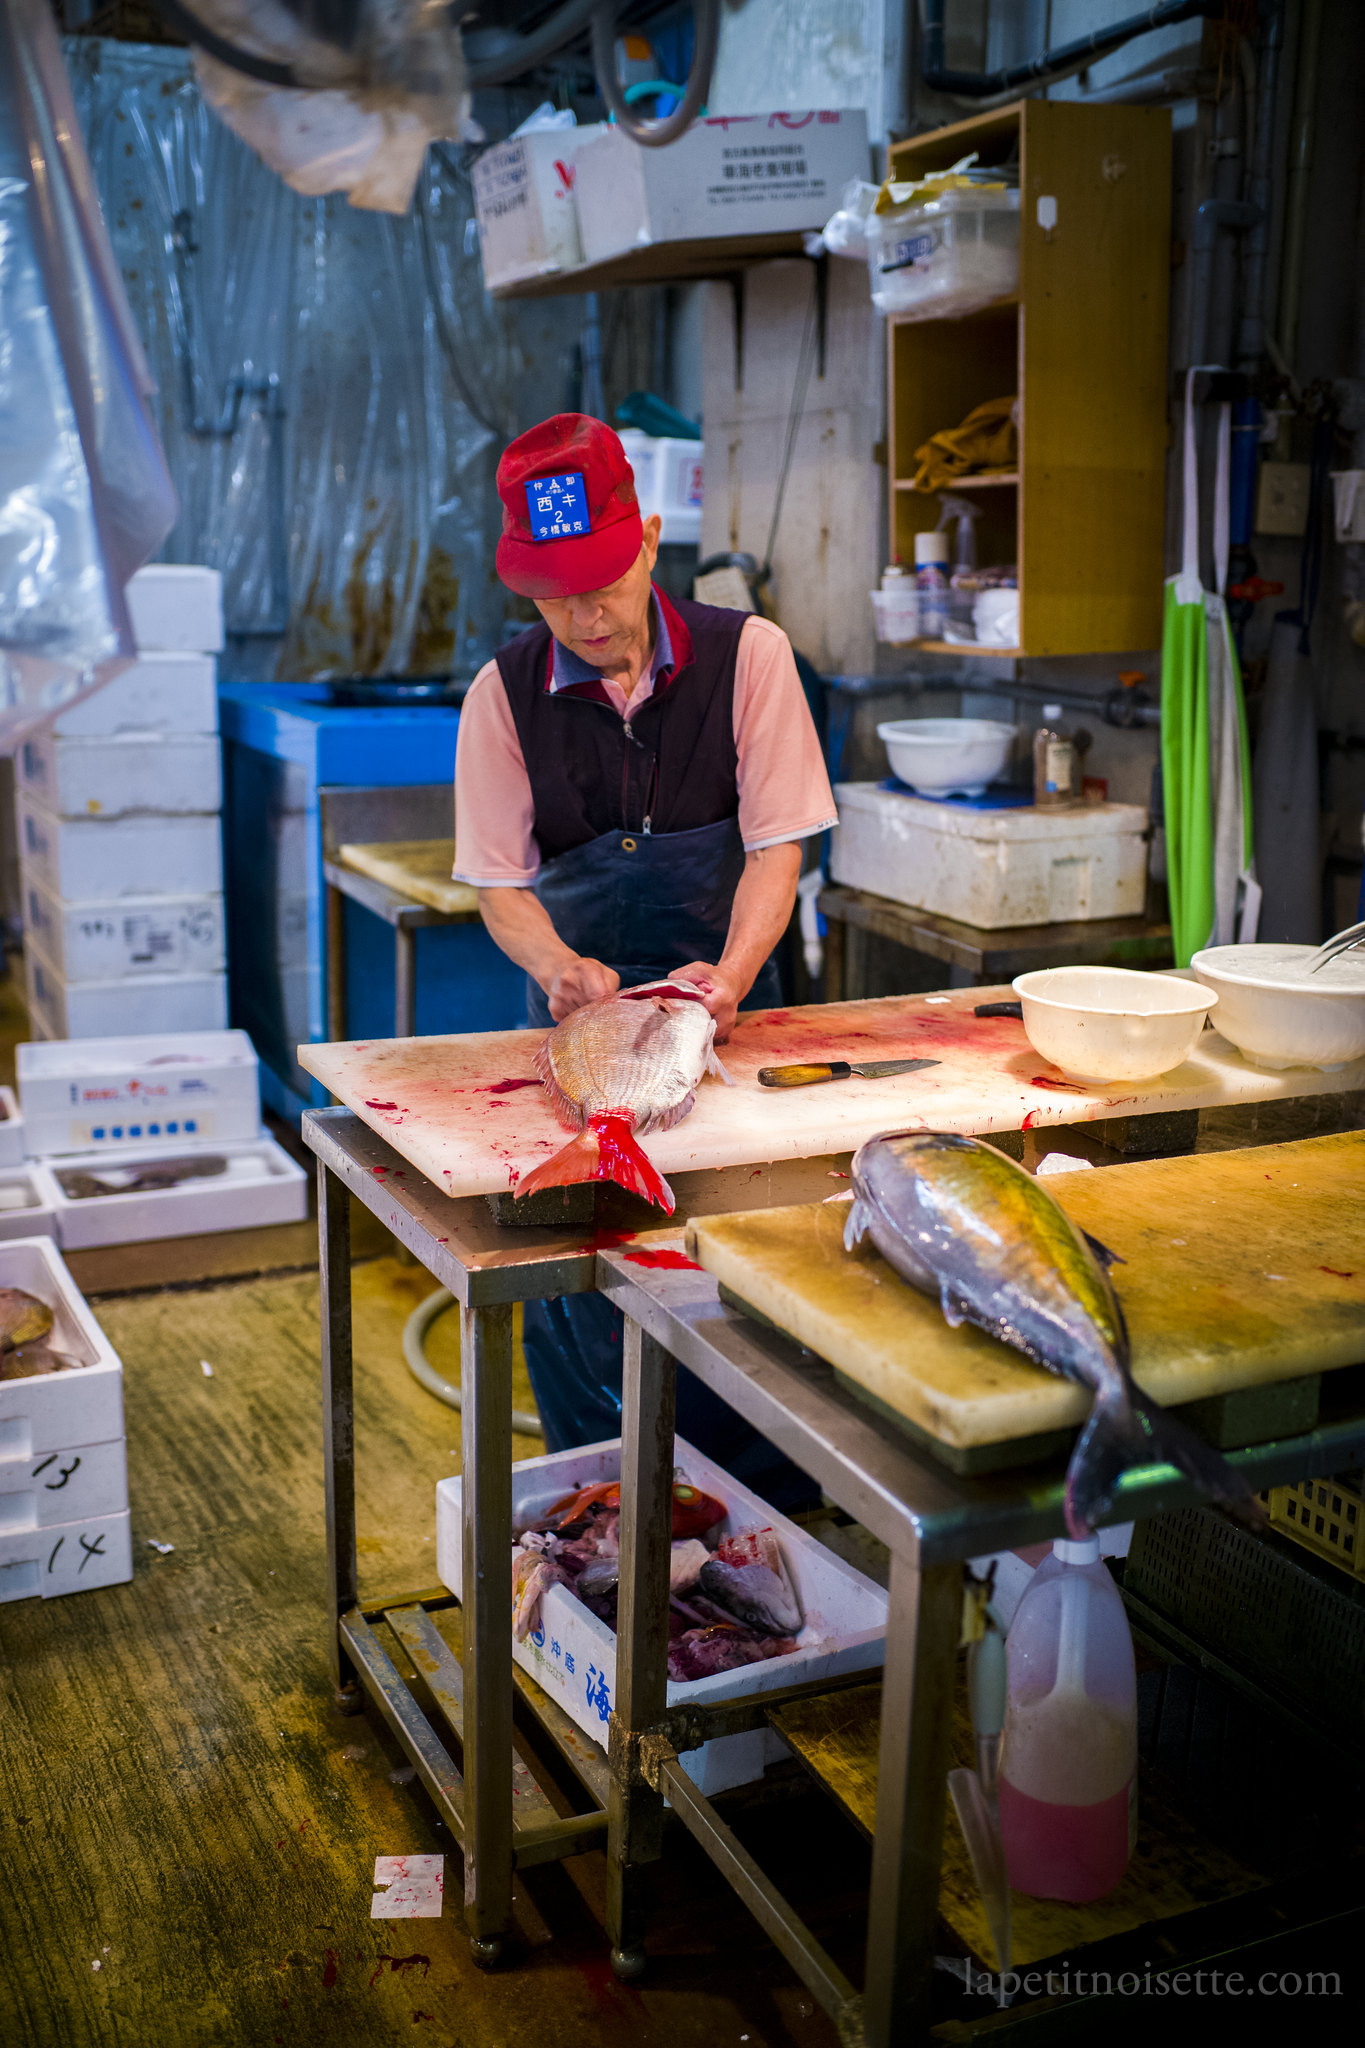
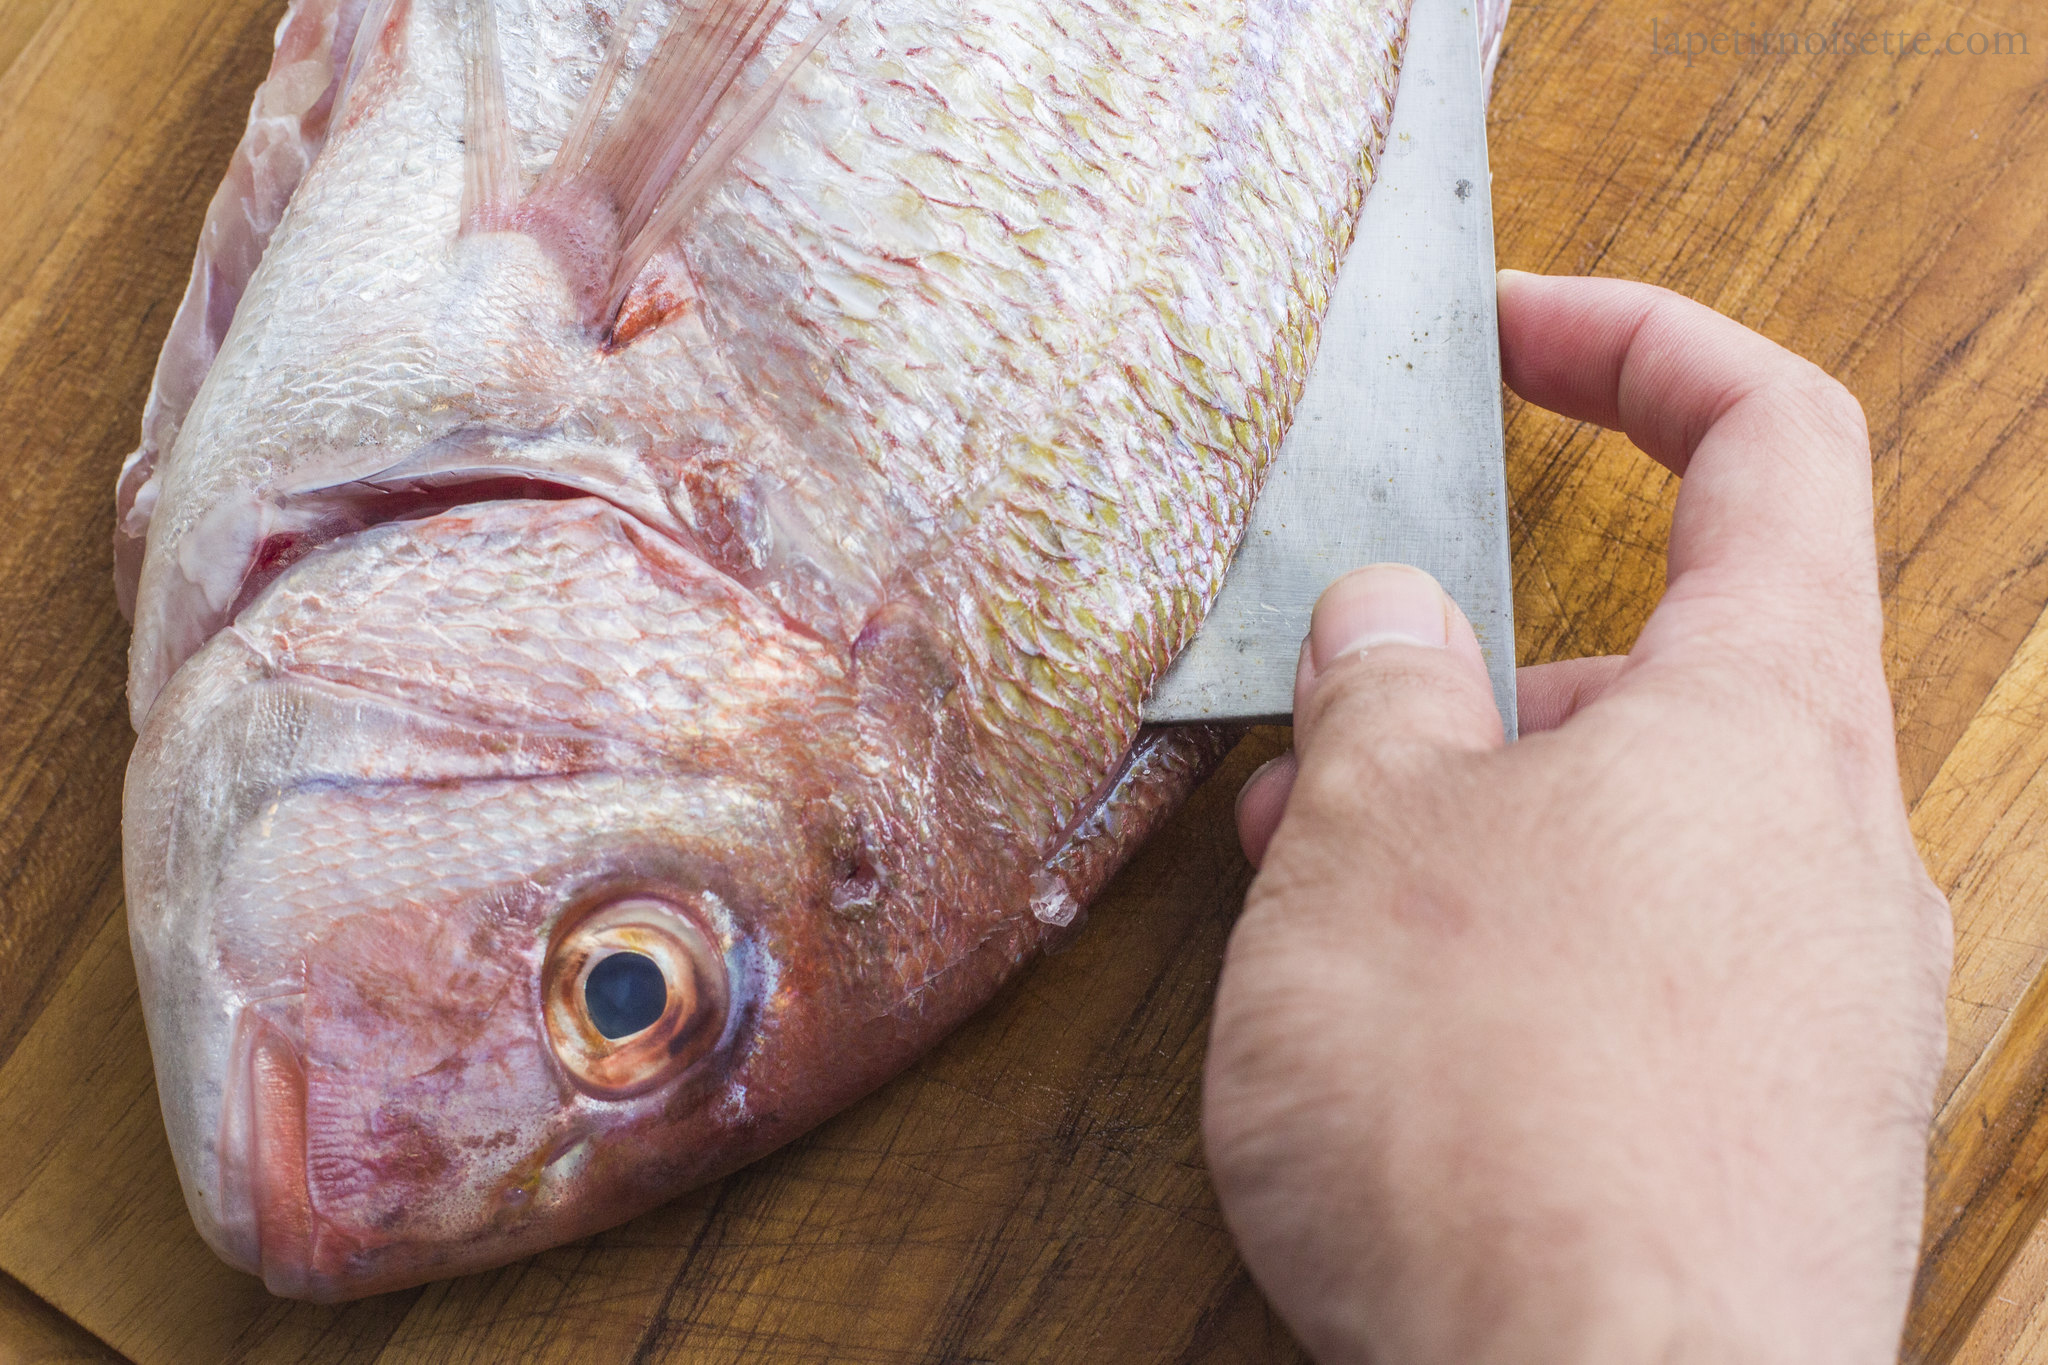
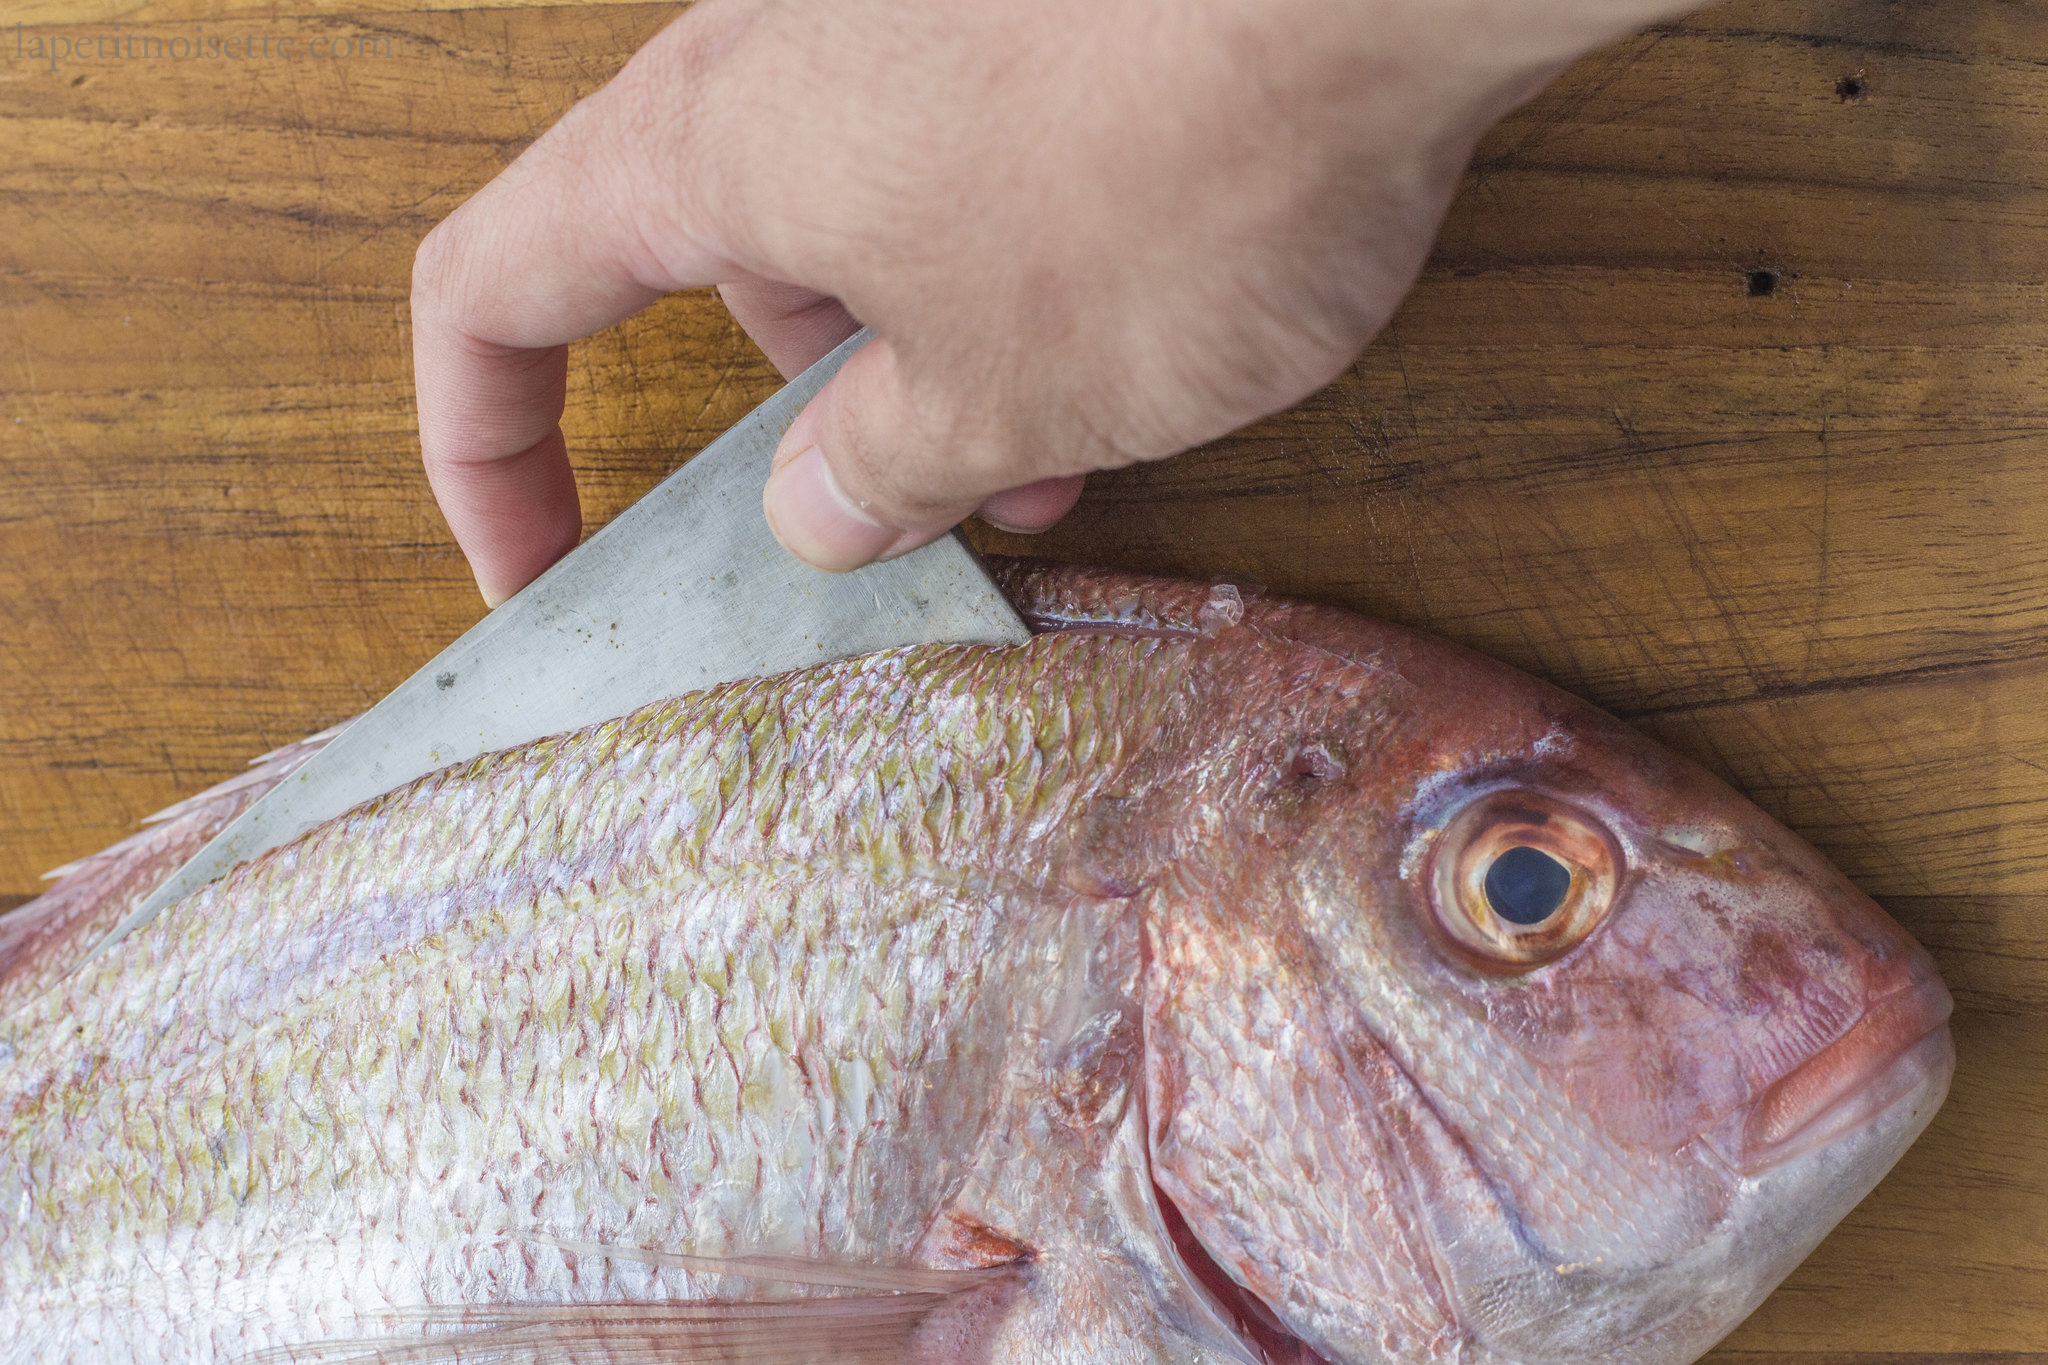
After washing the fish in cold water, start by descaling the fish. We descale the fish using a urokotori (鱗取り), a traditional Japanese fish scaler. Run the scaler against the direction of scale growth to most efficiently remove them. Wash away the scales and slime with cold water. Whilst descaling, we run a small stream of cold water onto the fish from the tap to prevent any scales from flying about.
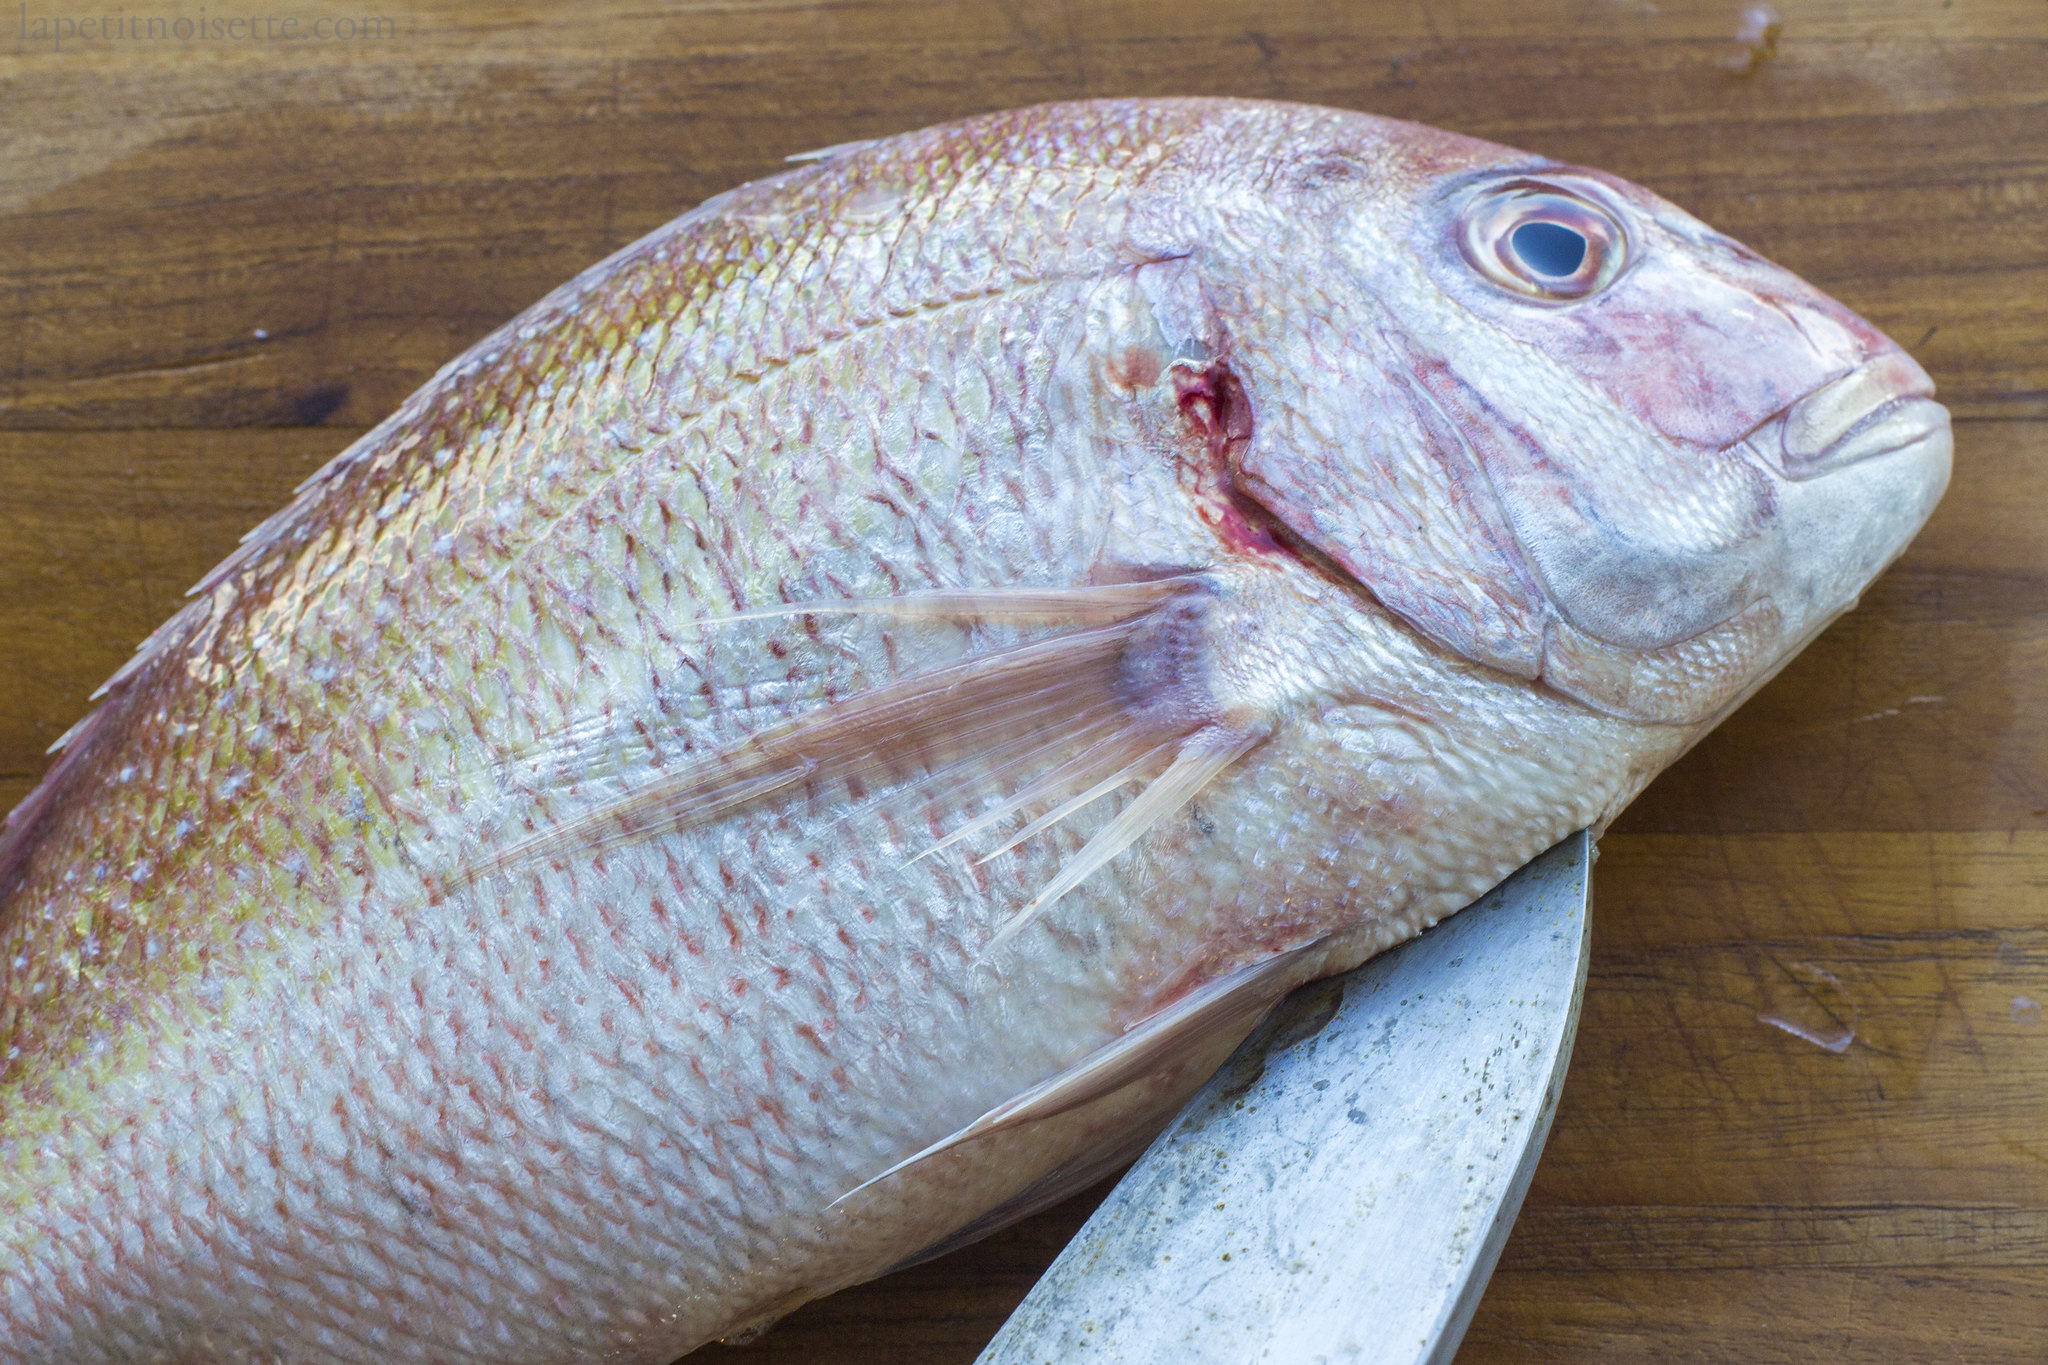
After descaling the fish, we remove the gills of the fish. Opening the gill flap, insert the tip of the knife into the gill cavity and cut the two ends of the gills connecting the arches.

Next, break the bone connecting the collar of the fish to the head of the fish, allowing you to open the fish. Make a cut down the belly of the fish starting from just below the head all the way to the anus. The cut runs through the pelvic fins, separating them into right and left pelvic fin. The flesh in between the pelvic fin is tough and will require some force. This is why the sharpness of the knife is important. Be careful not to cut yourself.
Open up the entire fish cavity and pull away the innards and gills, cutting away the point at which the gills are attached to the fish.
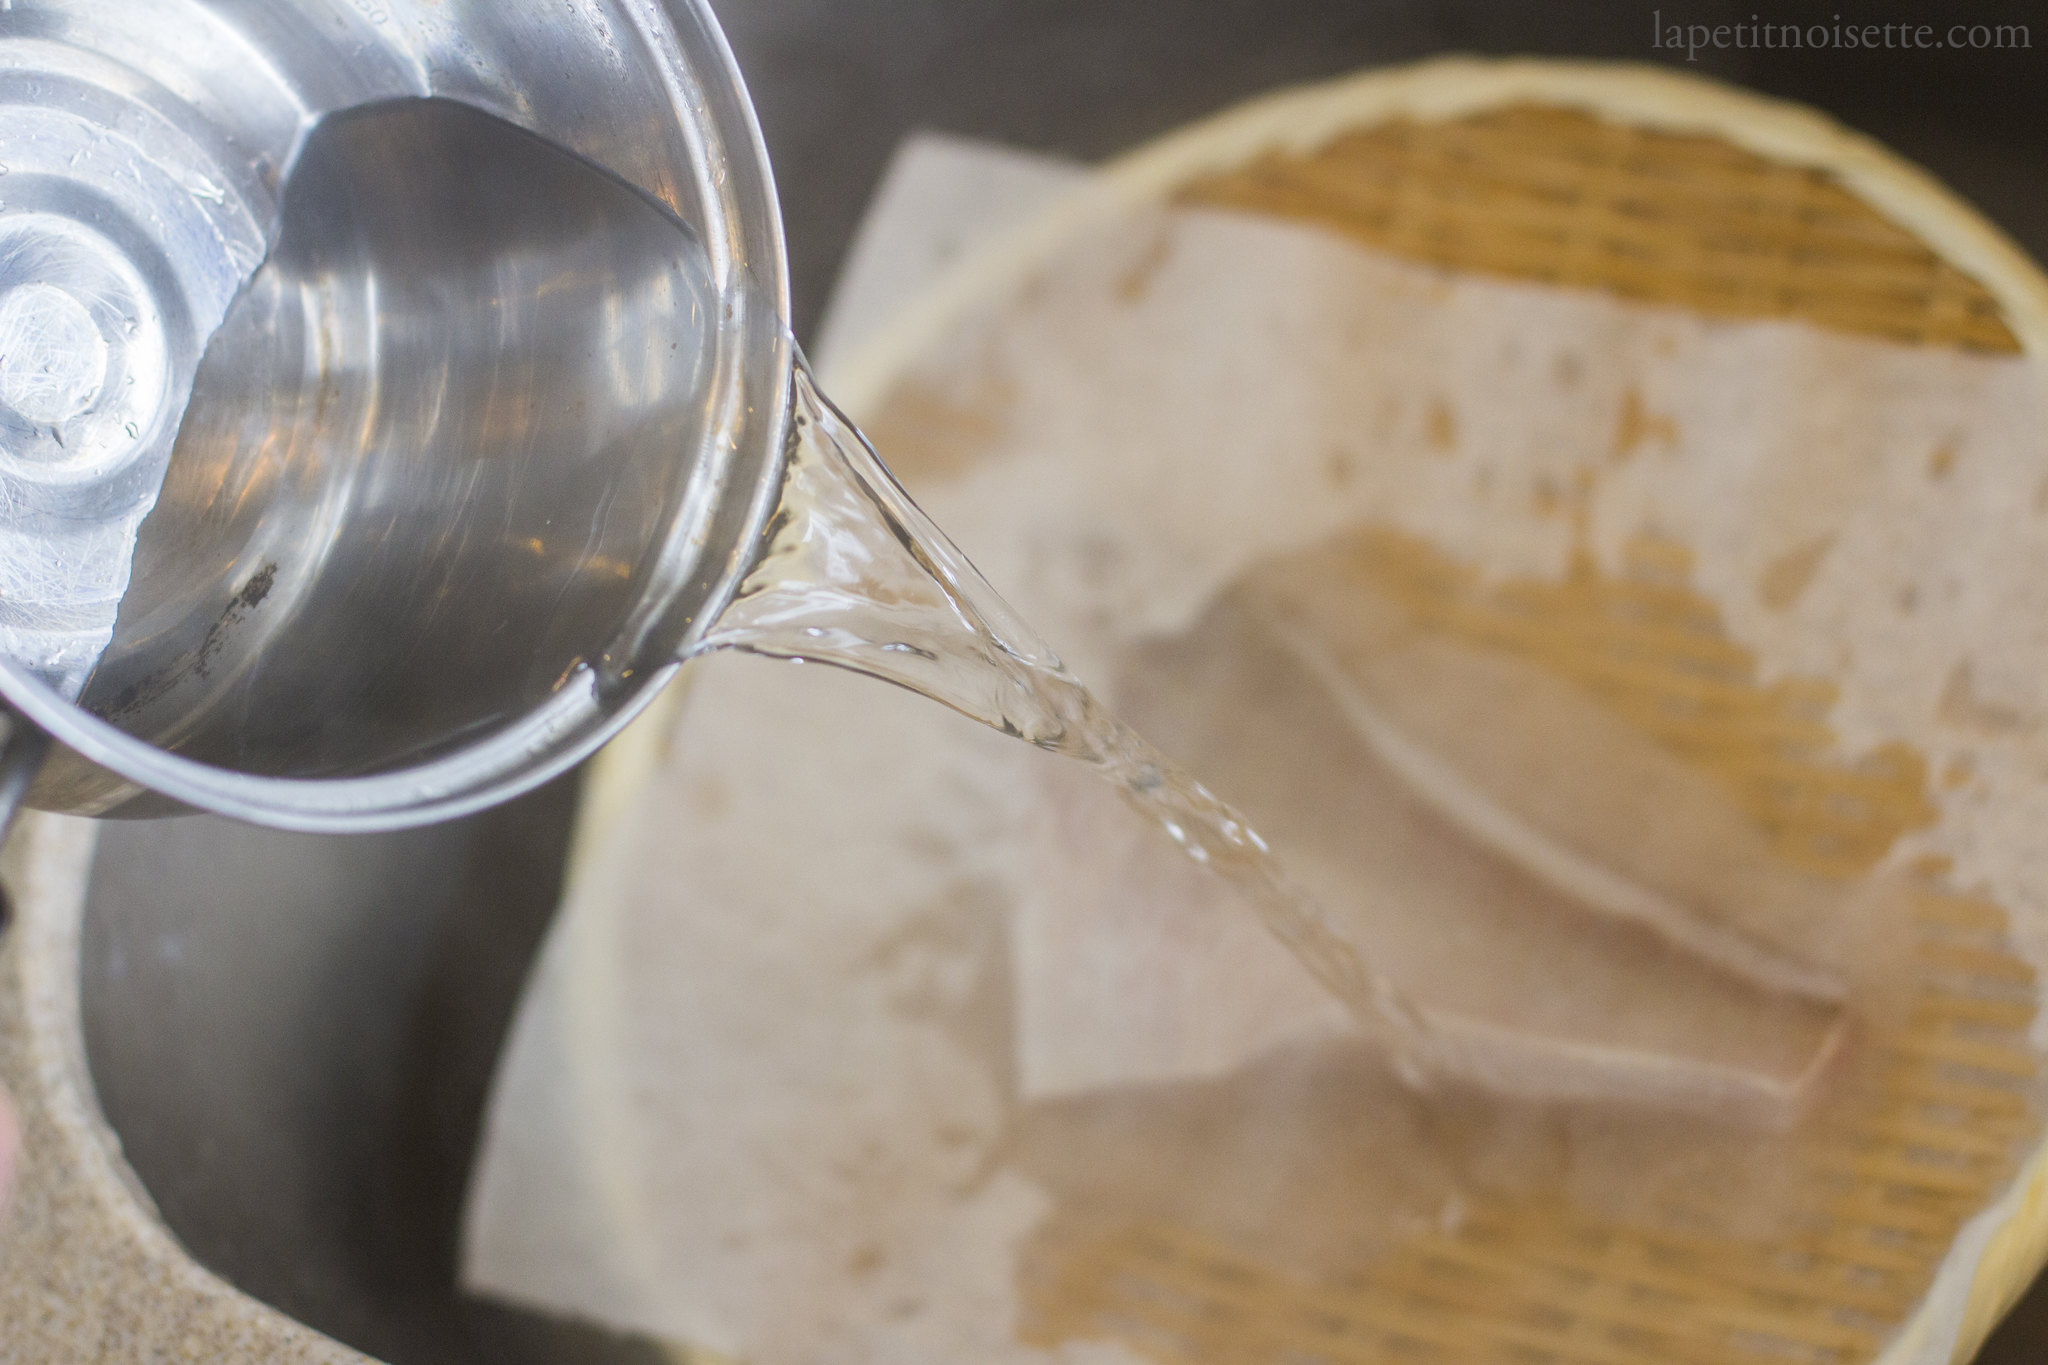
Rinse the cavity with cold water and clean throughly. Wash the chopping board and wipe dry. The cavity should be completely clean as any remaining dirt will rot during the ageing process.
The fish’s air bladder is located at the centre of the cavity where the rib cage meets the backbone. The air bladder is connected to a blood line that needs to be removed. Cut open the bladder by running the knife through it all the way to the blood line underneath. Whilst under a light stream of cold water, wash the cavity and remove the blood from the blood line. Use an old toothbrush the remove and bit and pieces.
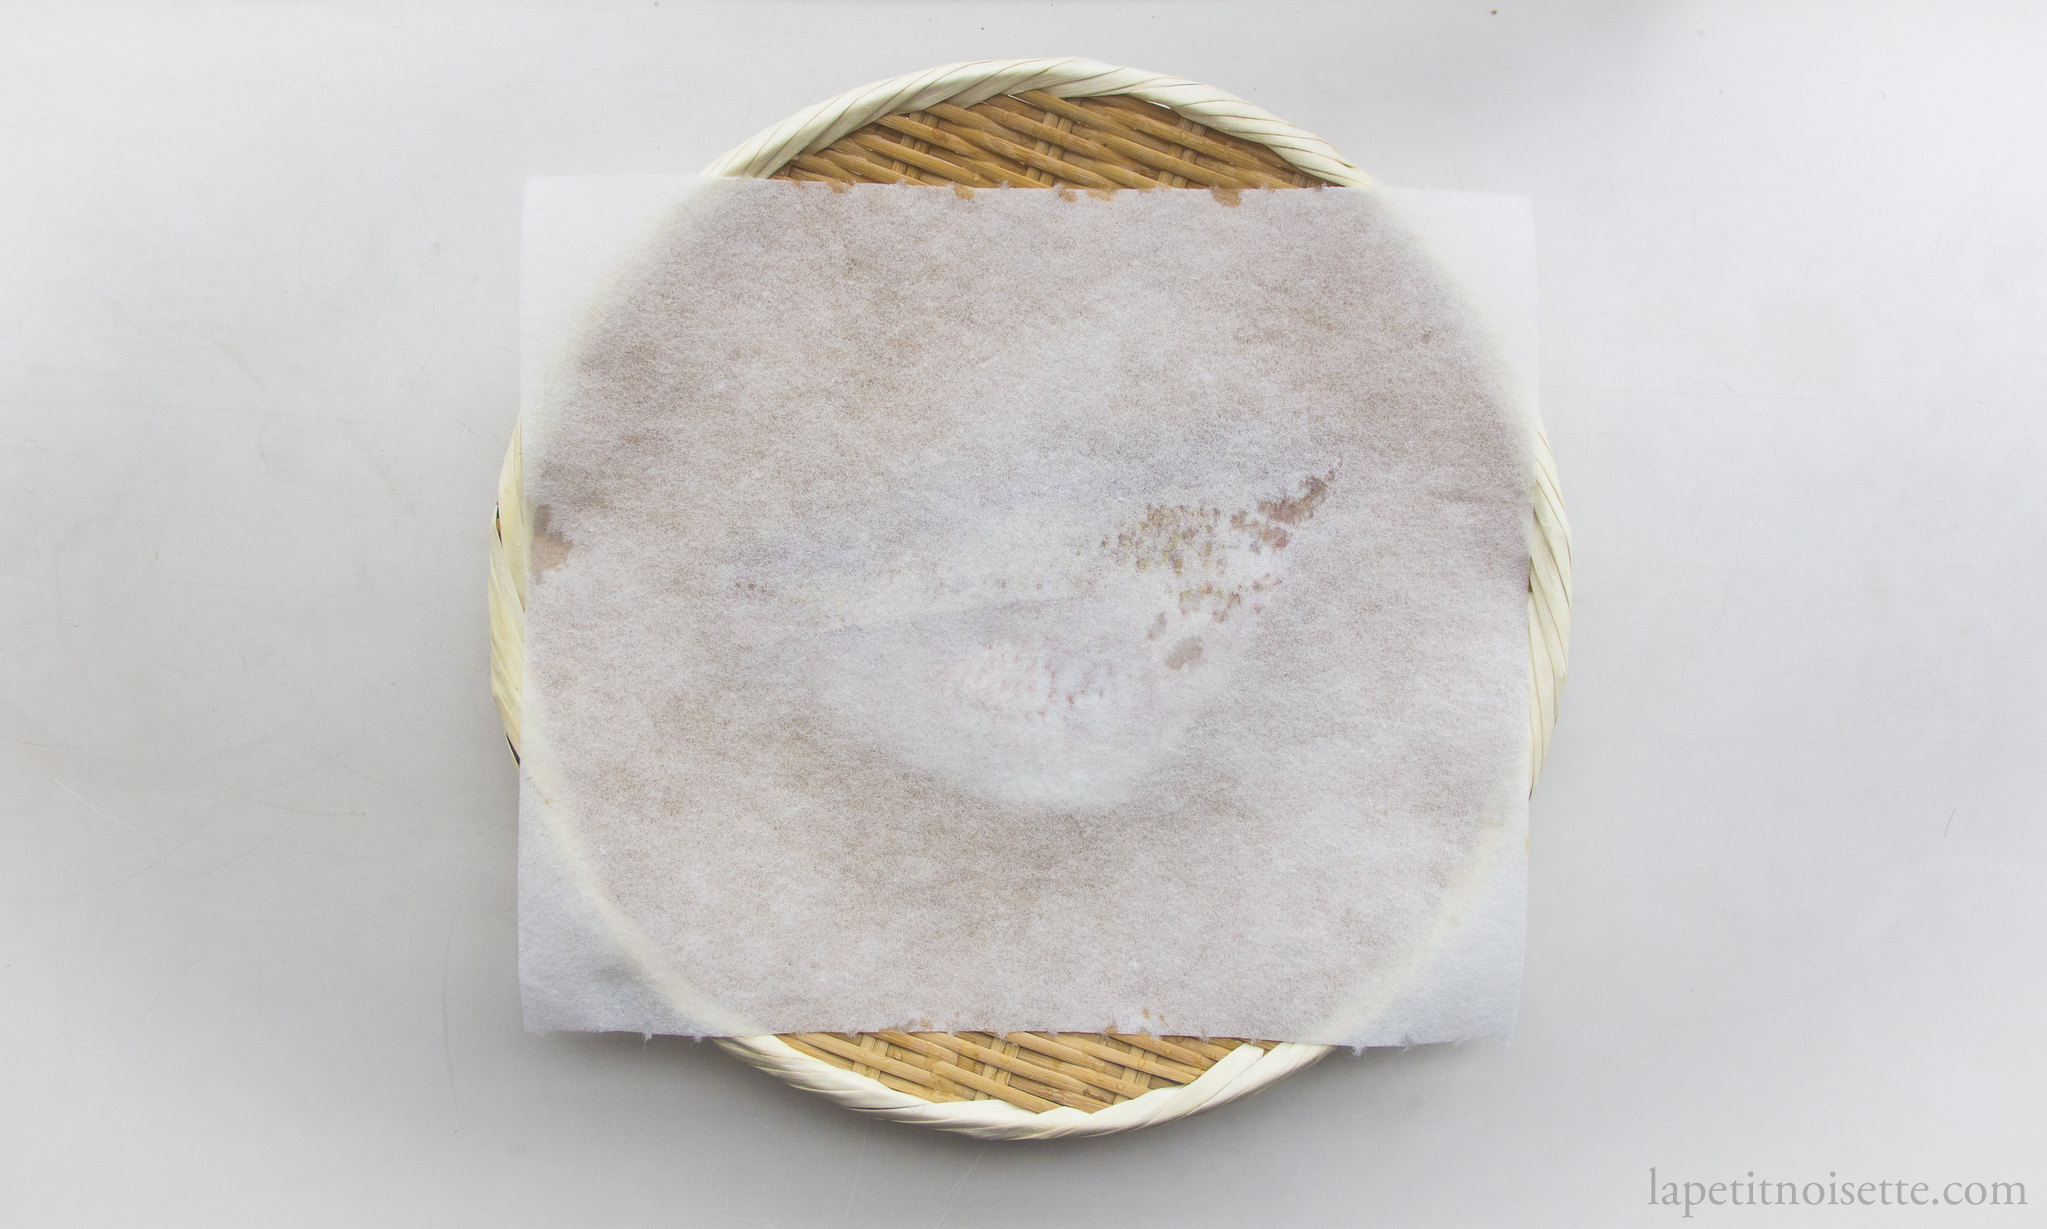
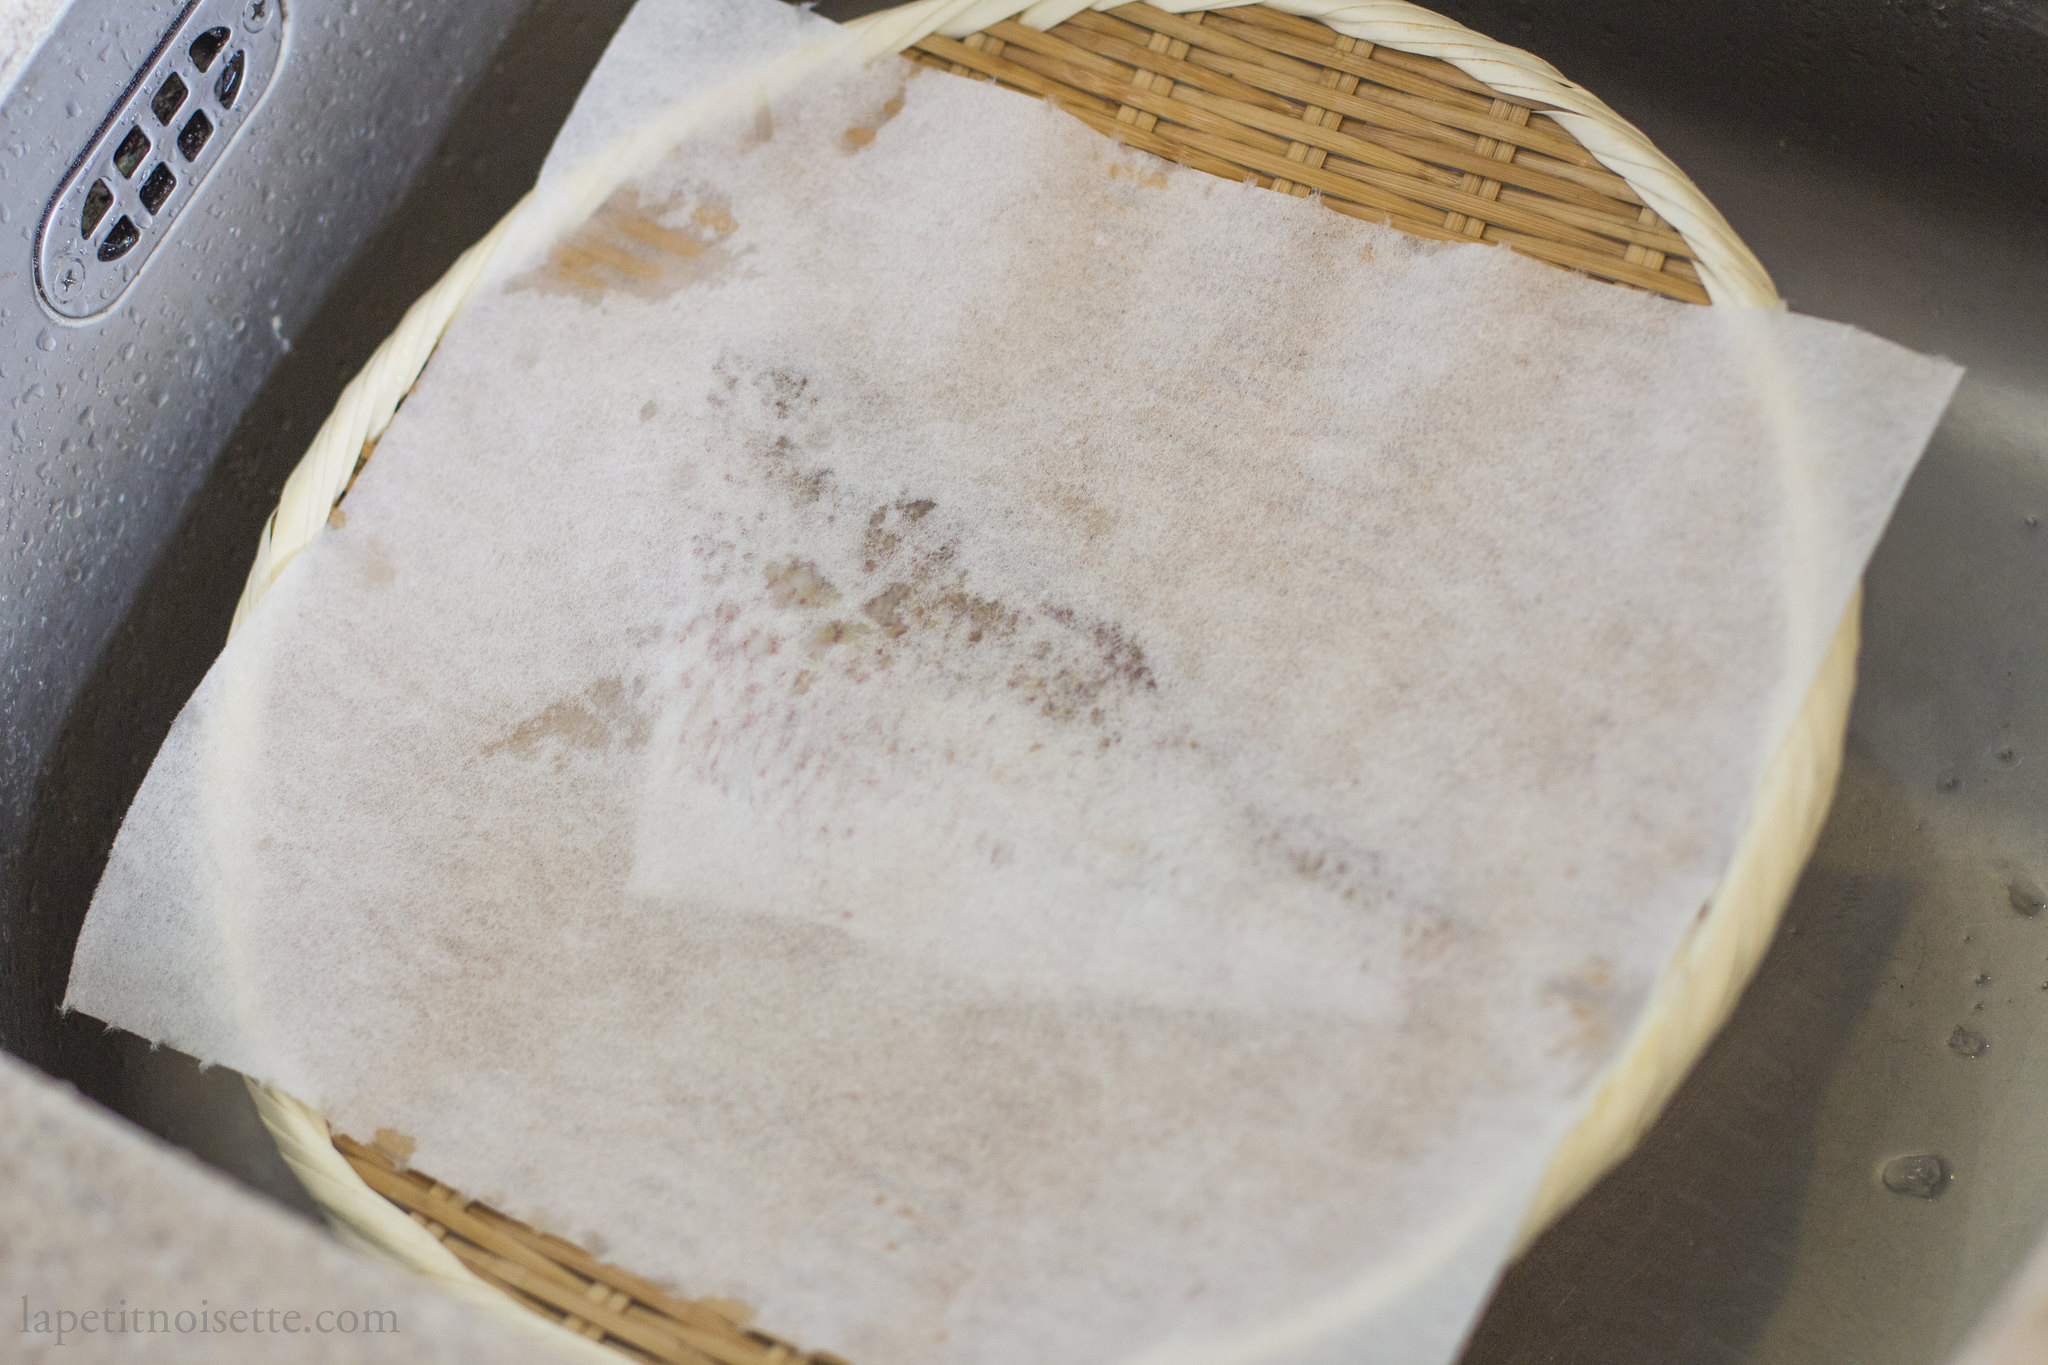
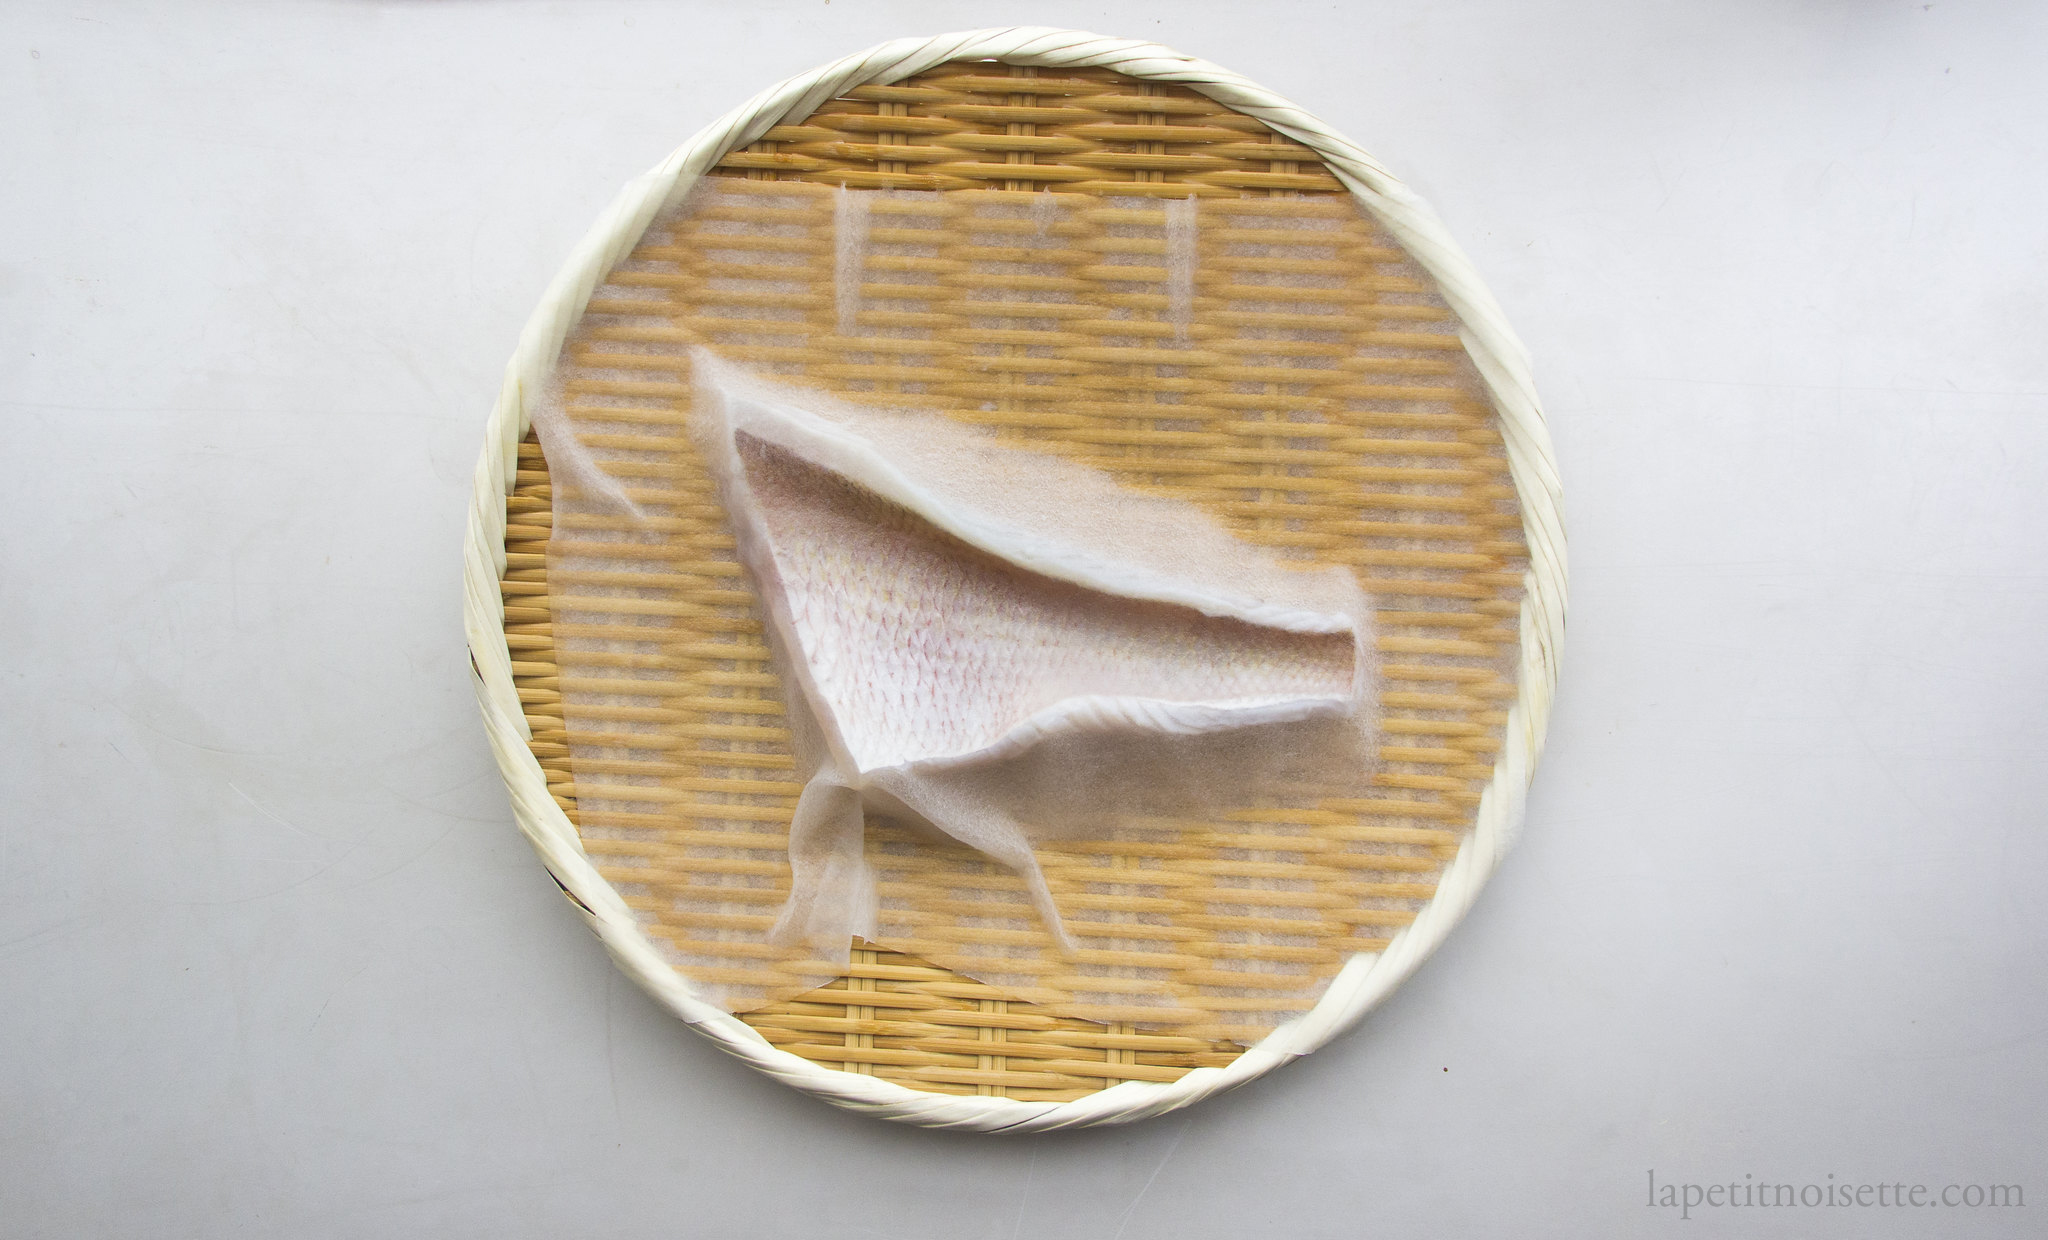
Insert fish paper (Magu roll/マグロッ) or paper towels into the stomach cavity and head cavity of the fish. This is to absorb any excess blood or moisture from inside the fish that would otherwise rot during ageing.
Place the fish inside a large plastic bag and remove all the air from the bag by bunching the end of the plastic bag together and sucking it out with your mouth. Alternatively use a vacuum pack machine. This minimises air exposure during ageing.

Tie the end of the bag to prevent any air from entering. Alternatively, if using a vac pack machine, the machine should automatically seal the bag.
The fish is now ready for ageing. Place in a fridge set at 1-2°C for 1 to 2 days as described in our article on ageing fish.
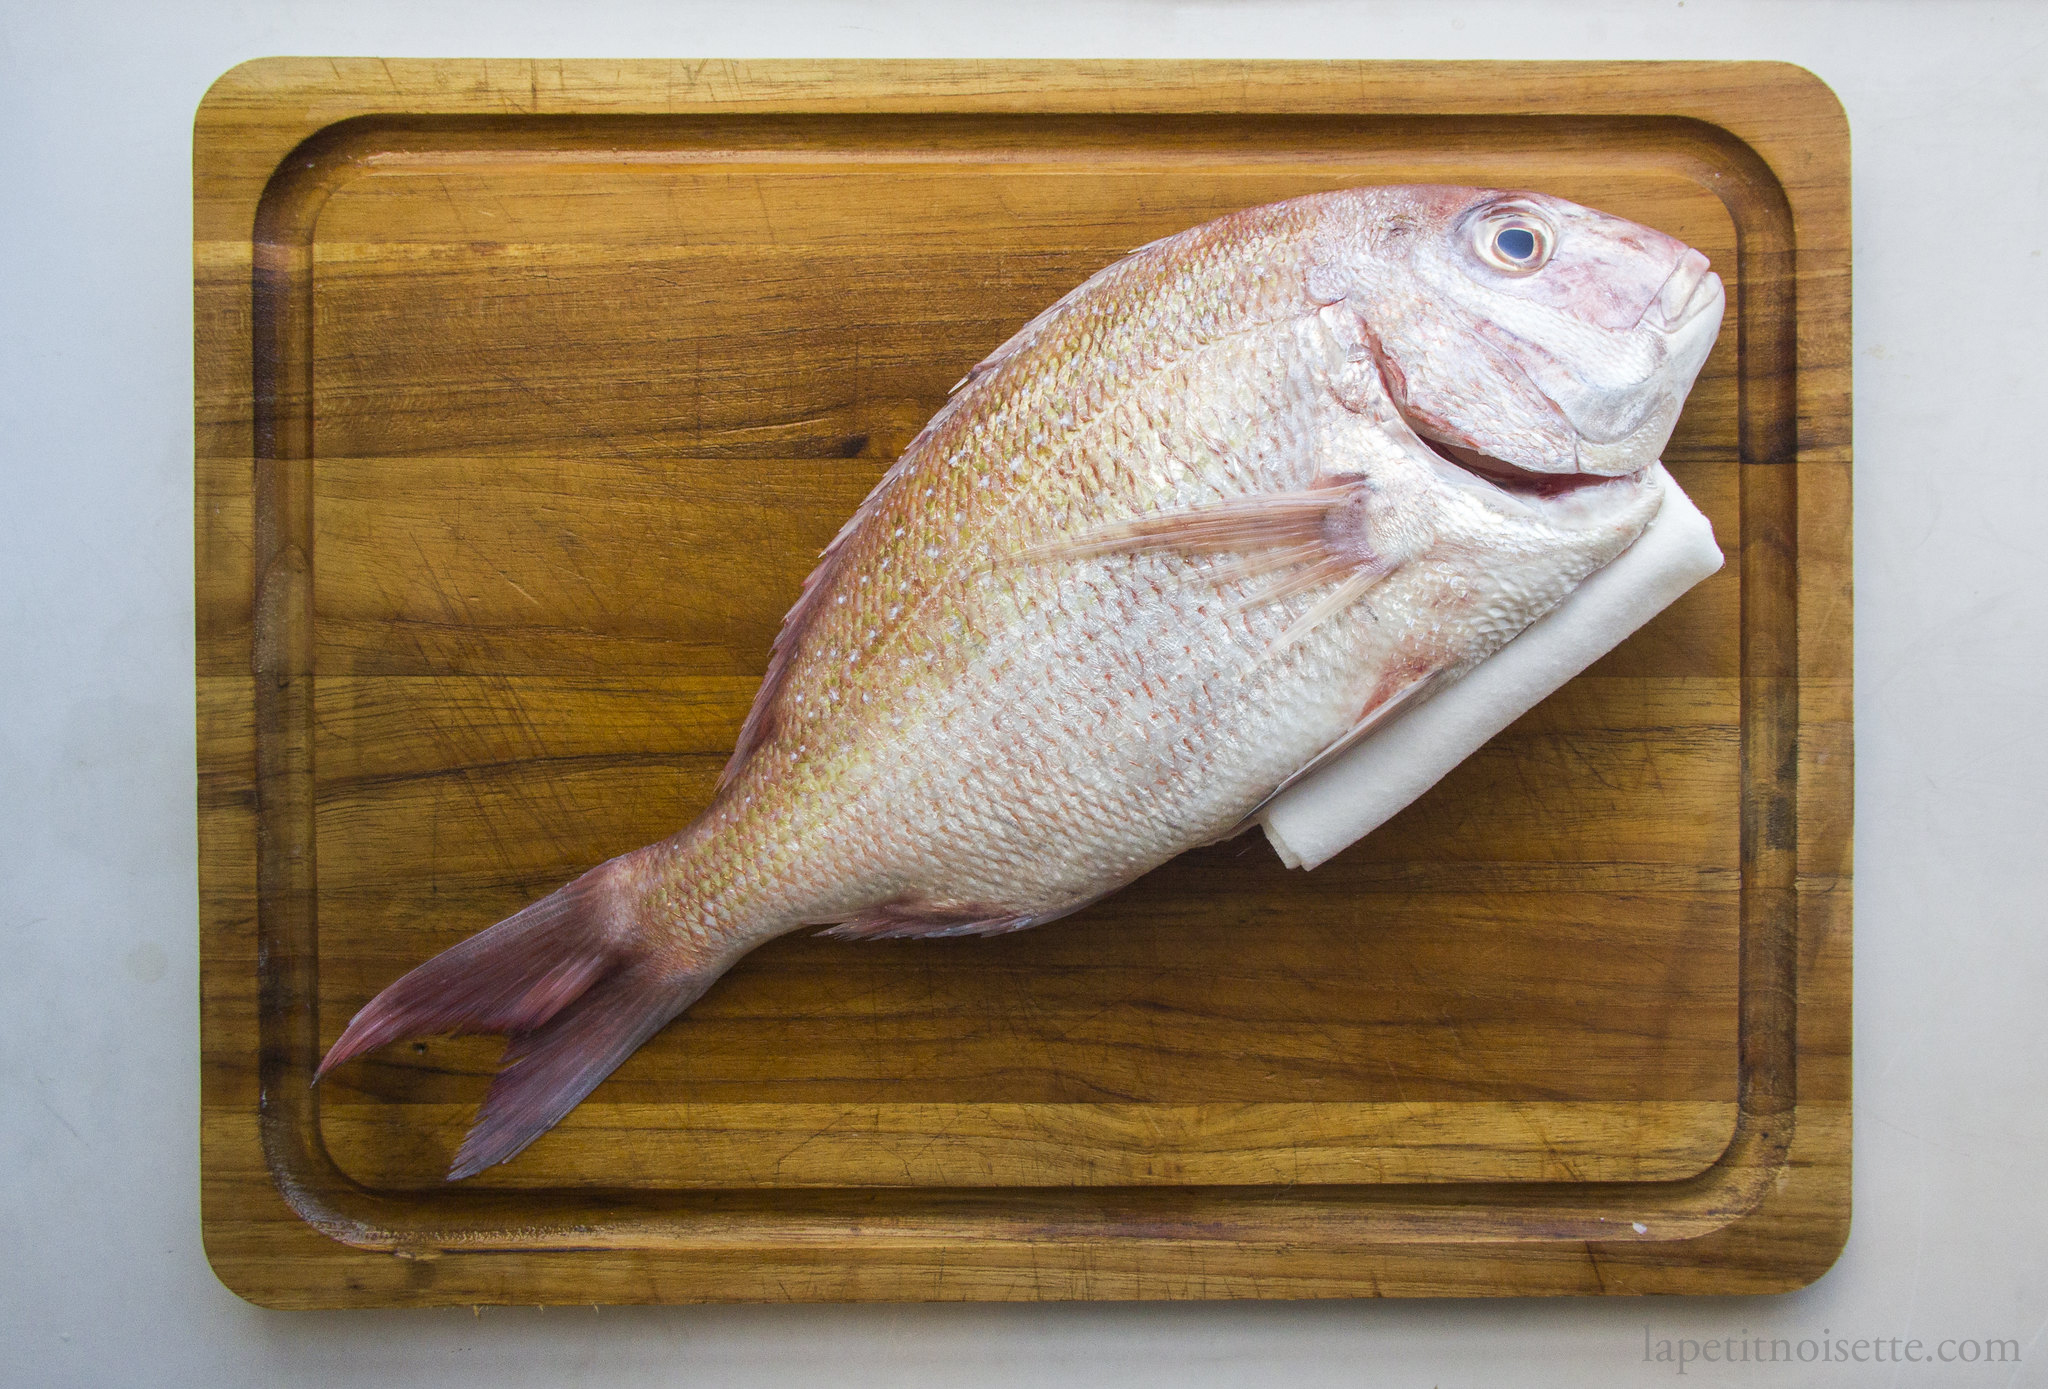
After ageing, cut open the bag and remove the fish. Discard the paper towels and place the fish on a chopping board.
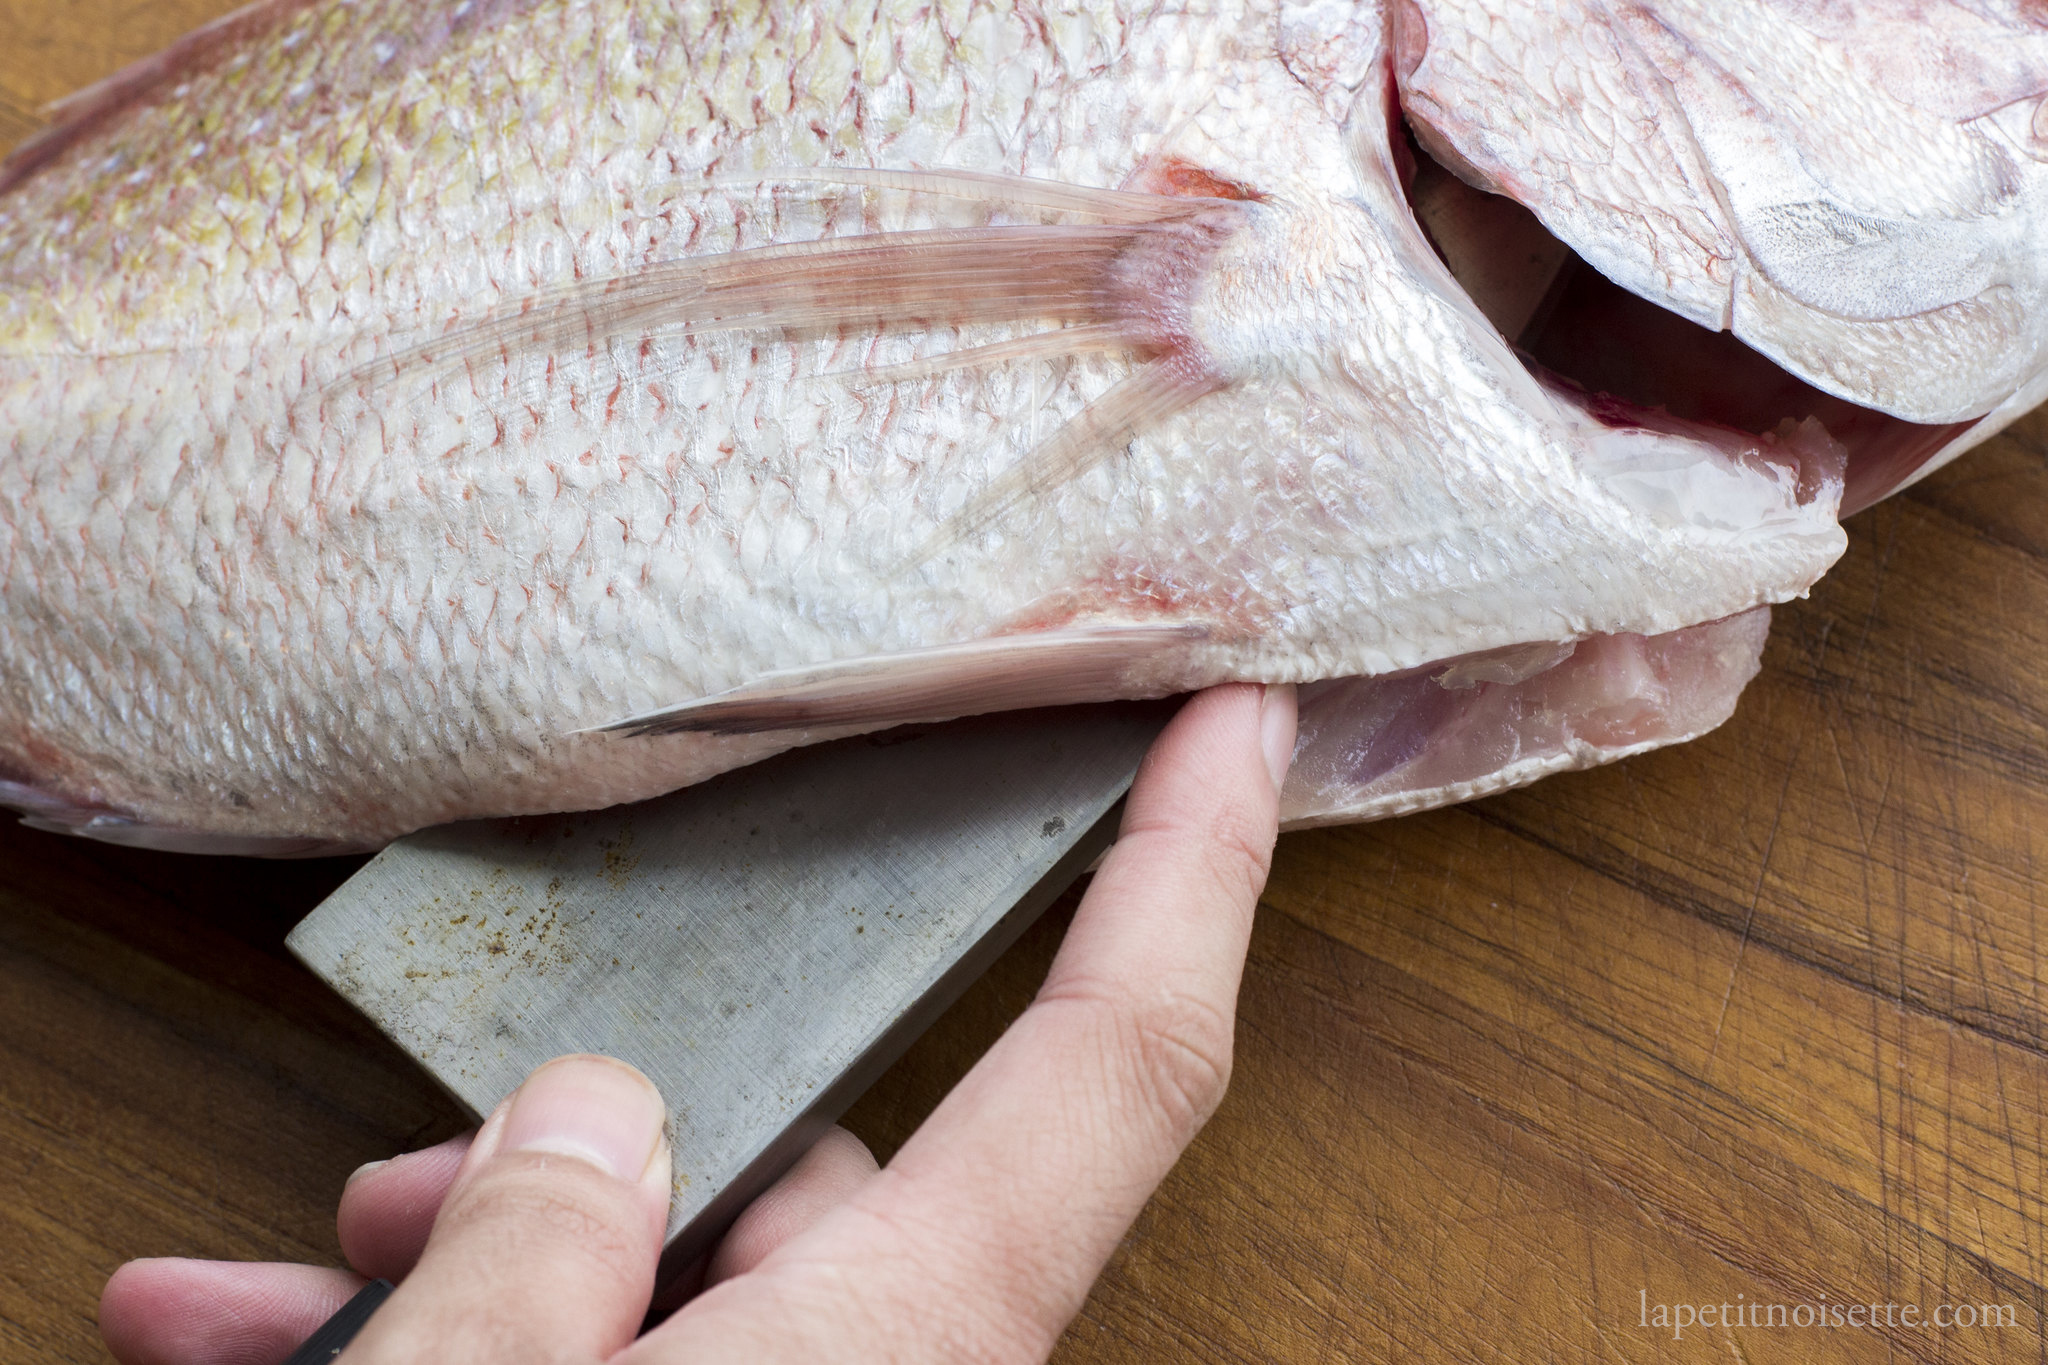
Remove the head of the fish and begin the filleting process. (Alternatively, remove the head after the filleting process)
Start by opening the internal cavity of the fish, inserting the tip of the knife and breaking the rib bones, separating them from the backbone.
Next, the flesh starting from the end of the belly cavity all the way down to the tail, angling the blade towards the bone.

Turn the fish around and place the knife above the dorsal fin. Use your other hand to support the fish. In long cutting motions, separate the flesh from the spine of the fish, angling your blade downwards so that you can feel your blade running along the spine, minimising waste. if the long cutting motions prevents the flesh from being damaged too much from multiple cuts. Cut as close to the spine as possible to prevent flesh from being left on the bone.
Continue the cutting motion until the entire fillet is separated from the fish. Making an incision at the tail of the fish and cut off the flesh attaching the fillet to the head.
Flip your knife so that it is facing upwards and gently separate the rib bones from the flesh just where it meets the pin bones.

Turn your knife back and place the knife under the rib cage, cutting as to gently separate the rib cage from the flesh, angling the knife upwards towards the ribcage to reduce waste. Don’t worry about cutting yourself as the rib cage should be protecting your fingers.
To remove the pin bones, pull the pin bones using a pair of tweezers in the direction towards the head. Pulling the pin bones towards the tail is easier but will damage the flesh. Dip the tweezers in water to clean them occasionally. Repeating until you can not feel anymore pin bones.
Remember to use a firm grip as not to break the pin bones, leaving bone fragments inside the fish. It is better to pull the pin bones slowly and steadily, rather than quickly.
To finish preparing the Tai, repeat for the other side of the fish to extract another fillet.
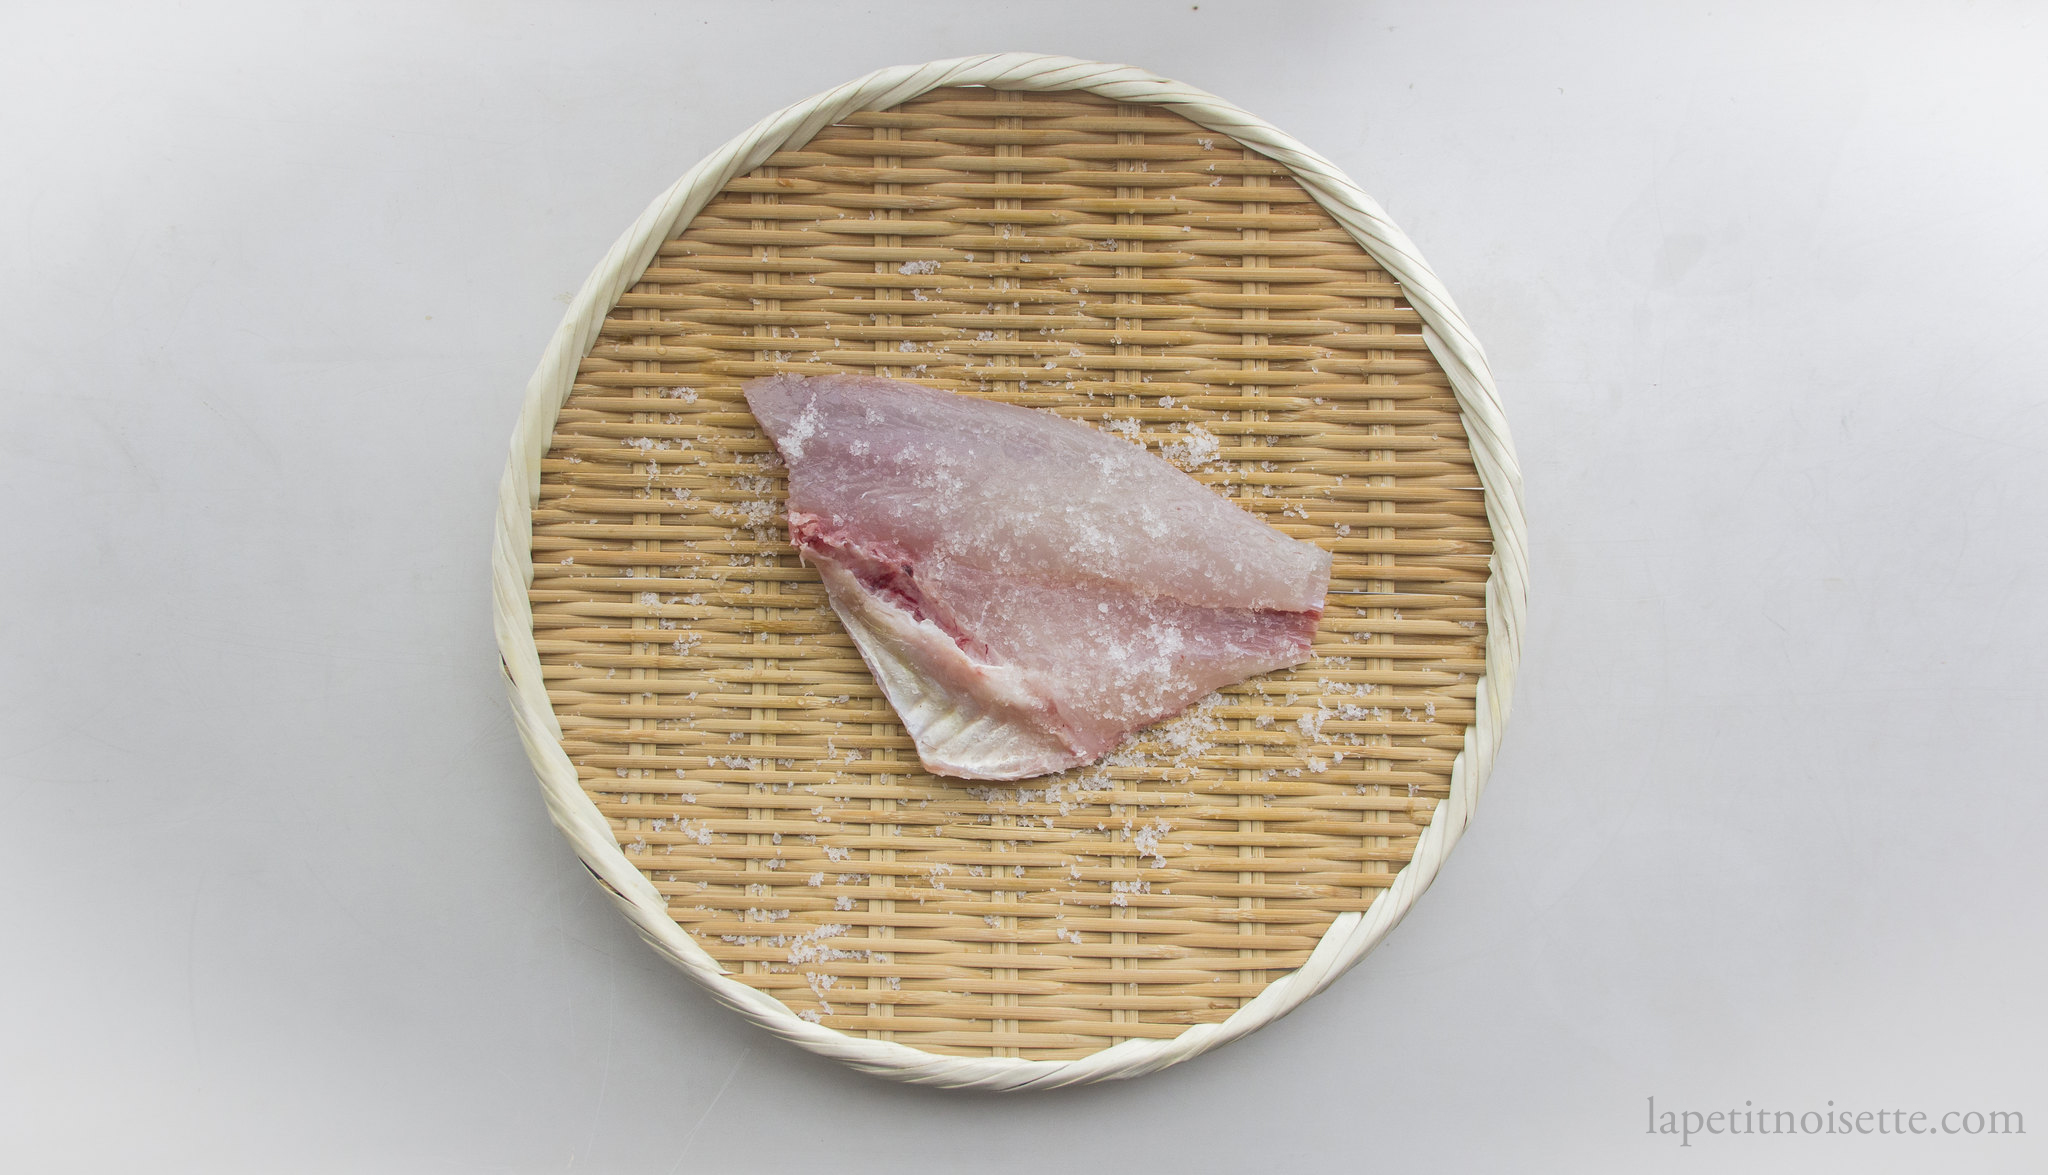
Generously salt a colander and place the fillets on a colander. Salt the flesh of the fish as well. In the example below, you’d notice that the rib bones were not removed from the fillet when salting. This prevents the fish from being over salted in smaller specimens. If the fish is large, remove the rib bones before salting.
Allow to rest for 20 to 25 minutes depending on the size. During that time, remove the pin bones of the fish. After salting, wash off the salt and place the fillets skin side down on a chopping board.
Remove the skin off the fillets by making a small cut underneath the tail of the fillet between the flesh and skin. Start by cutting into the flesh and stopping just at the skin. When the blade just touches the skin, use a back and forth motion on the skin to gently separate the fresh from the skin whilst angling the blade until it is flat. The blade should remain still whilst you only move the skin.
Continue the cutting motion until all the skin has been removed from the flesh. If the skin breaks halfway, don’t worry and start from the other end of the fillet. Using a paper towel to grip the skin of the fish allows you to have a more stable hold on the fillet, making it easier to cut.
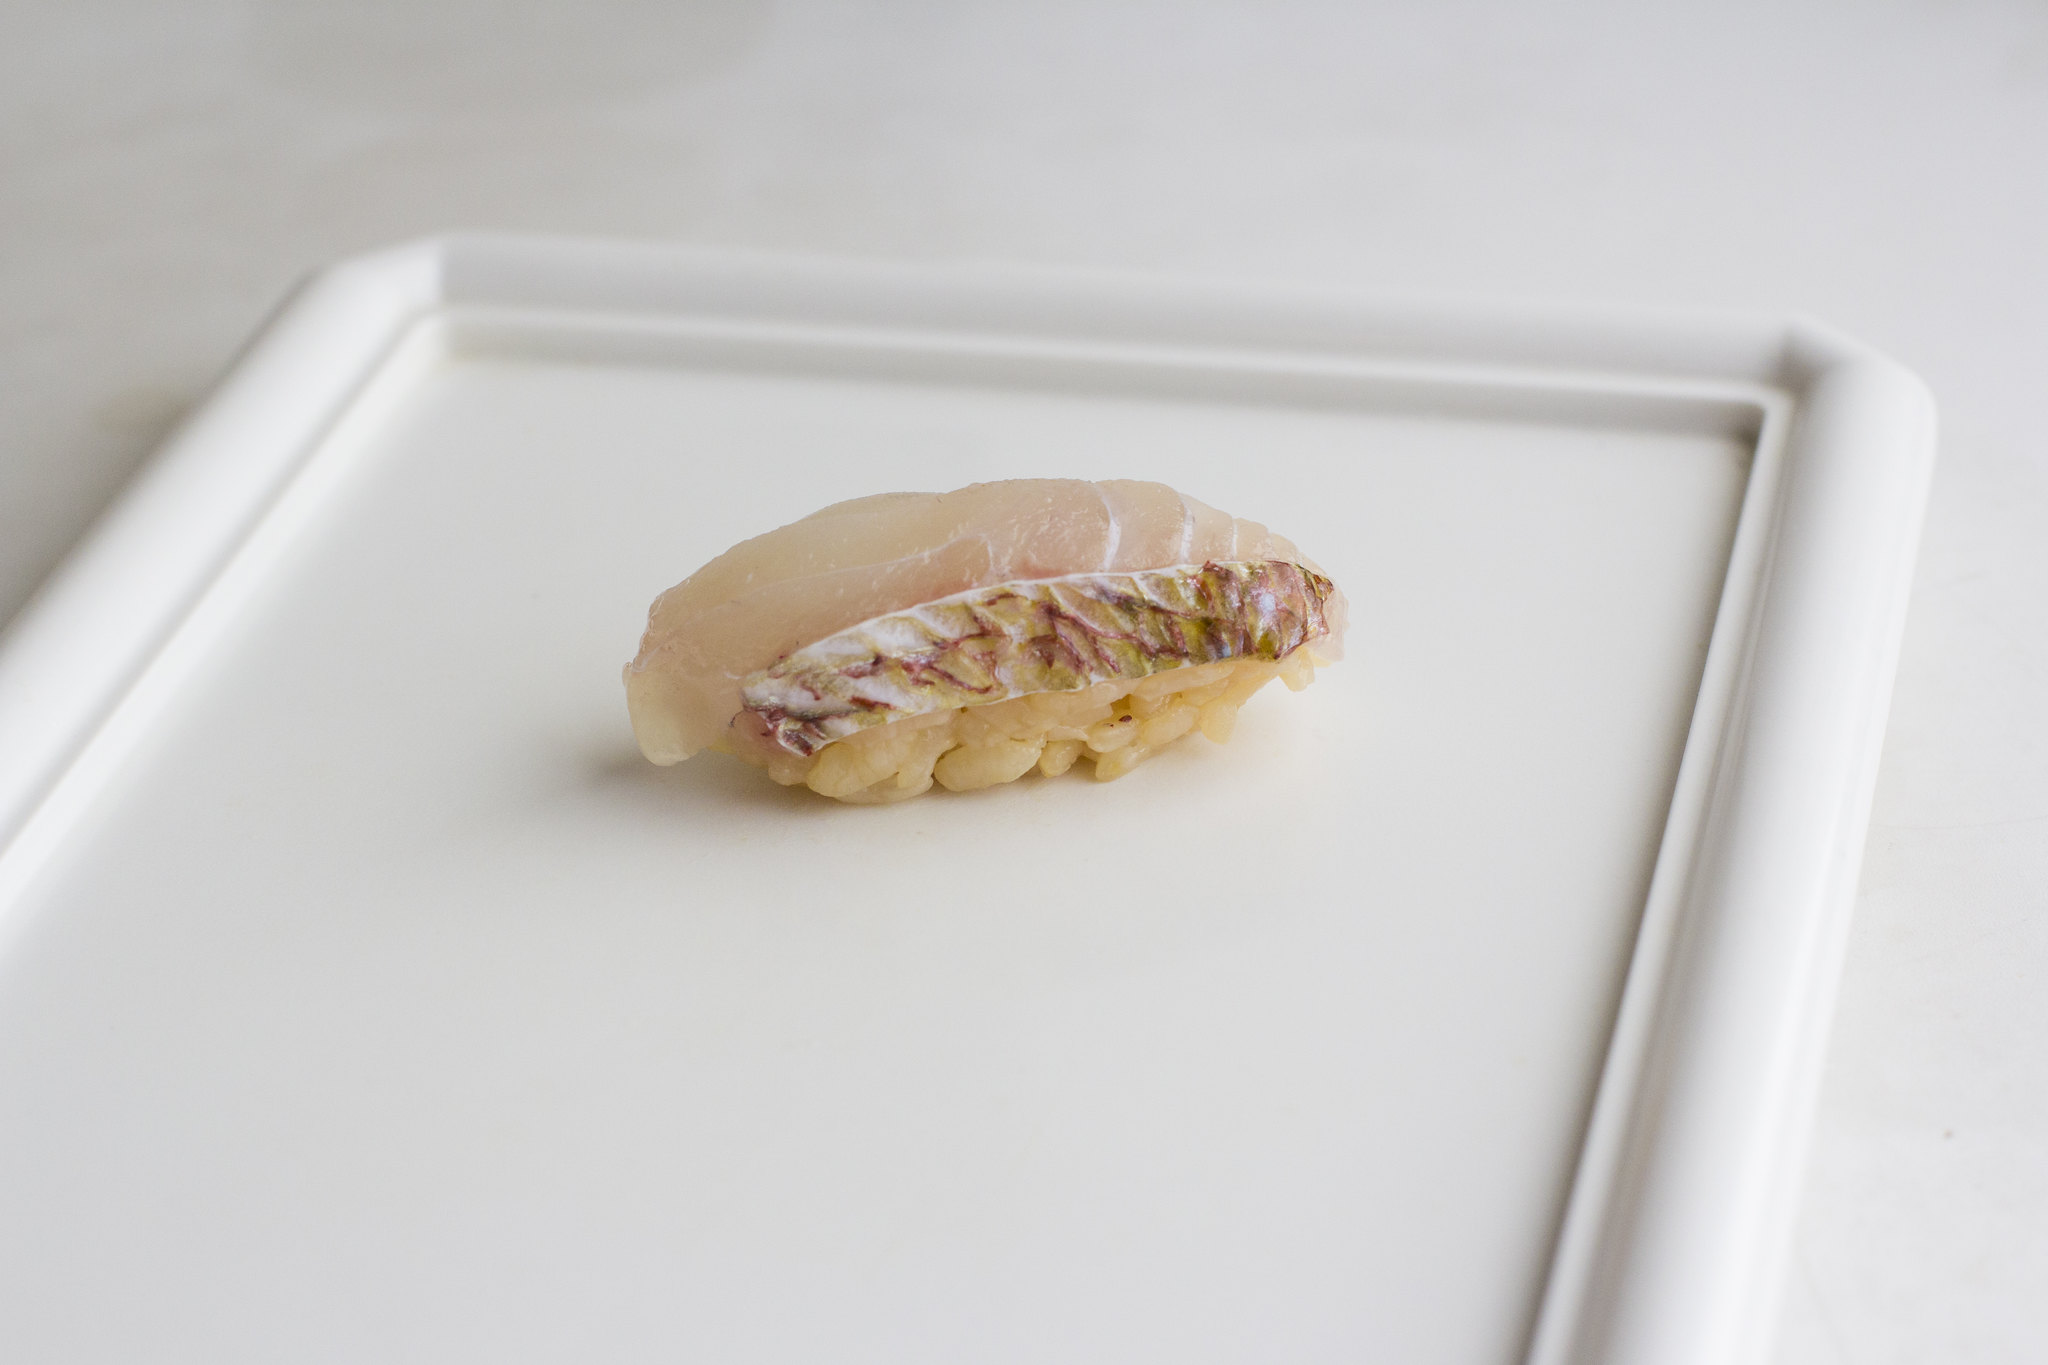
If making nigiri with the skin on, you have the option to either lightly grill it under a charcoal grill or use a technique called Kawasimozukuri (かわしもずくり/皮霜造り), more commonly known as Yubiki (湯引き), where boiling hot water is splashed on the fish before the fish is quickly chilled in ice. At our restaurant we never blowtorch (aburi/炙り) our fish as we feel that the smell of gas fumes can be imparted onto the fish.
To carry out the Kawasimozukuri technique, place a fillet on a colander skin side up.
Cover the fillet with a piece of paper towel or fish paper (Magu roll/マグロッ).
Place the colander over a wash basin. At the same time, bring a pot or kettle of water up to a boil.
Ssing boiling water, quickly pour boiling water over the entire skin surface of the fish before quickly submerging the fish in an ice bath. During winter, the tap water may be enough to cool the skin down. If so just run cold running water on the fillet until cool.
The fish is ready for consumption.

Hello.
I am curious about the The smaller the scales. SO smaller scales fish is more expensive than big scales?
Because smaller fish swim in the fastest water compared to big scales fish.