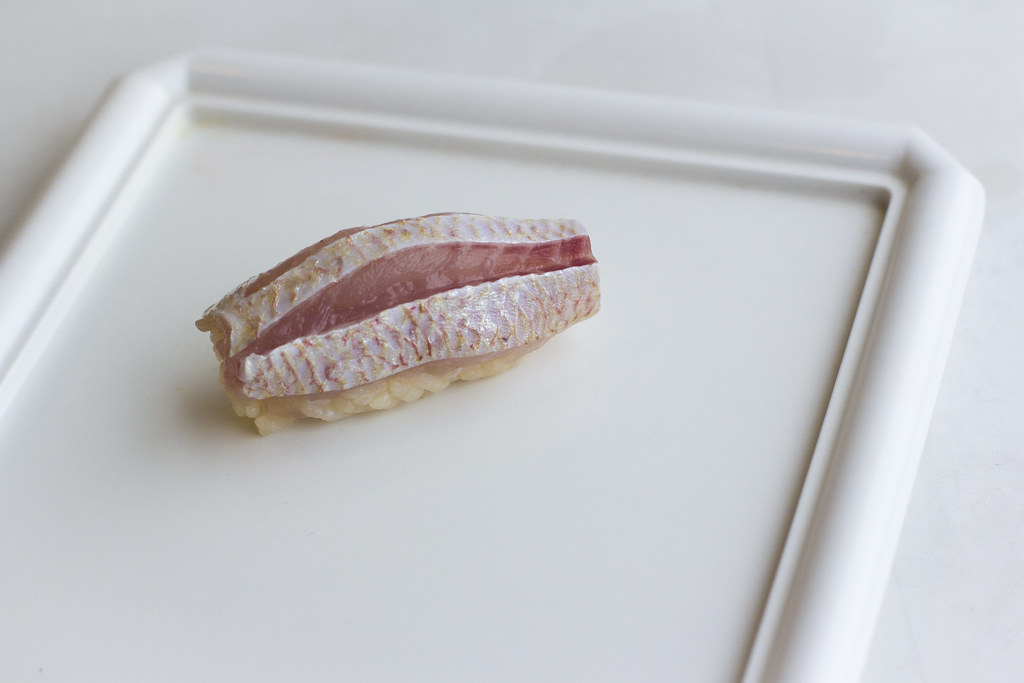
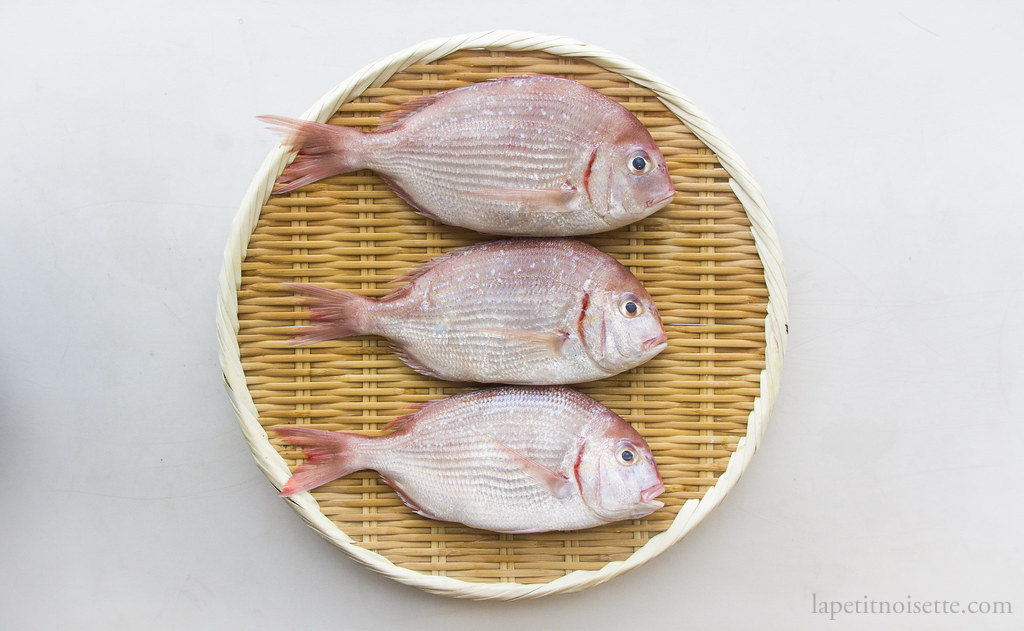
Kasugo, or young sea bream, is basically the smaller sized version of Tai (鯛). The season for Kasugo is from the end of winter to the end of spring. It start to appear just around the same time as the cherry blossom with it’s appearance symbolizing the beginning of spring.
Whilst Tai is considered a white flesh fished (Shiromi/白身), Kasugo is classified as a silver skinned fish (Hikarimono/光り物). It’s flavour is sweeter than Tai but less fatty has it has not had time to accumulate fat.
As a Kikarimono, it is prepared in the same way as Kohada, first being marinated in salt before being ‘cooked’ in vinegar. In our restaurant, we also add Kabosu citrus juice to the marinade.
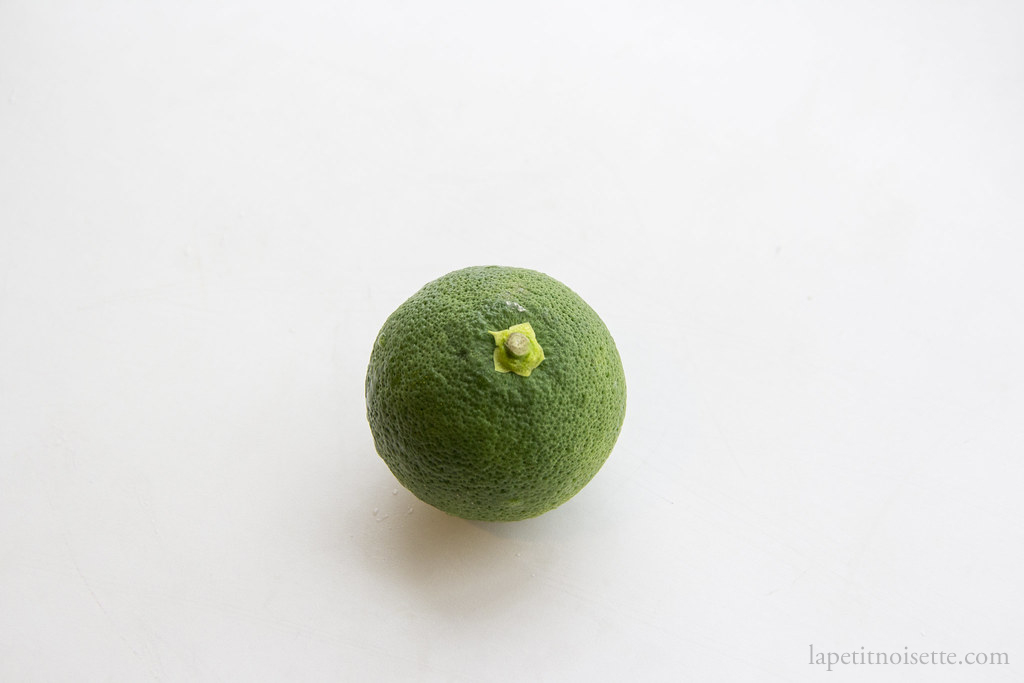
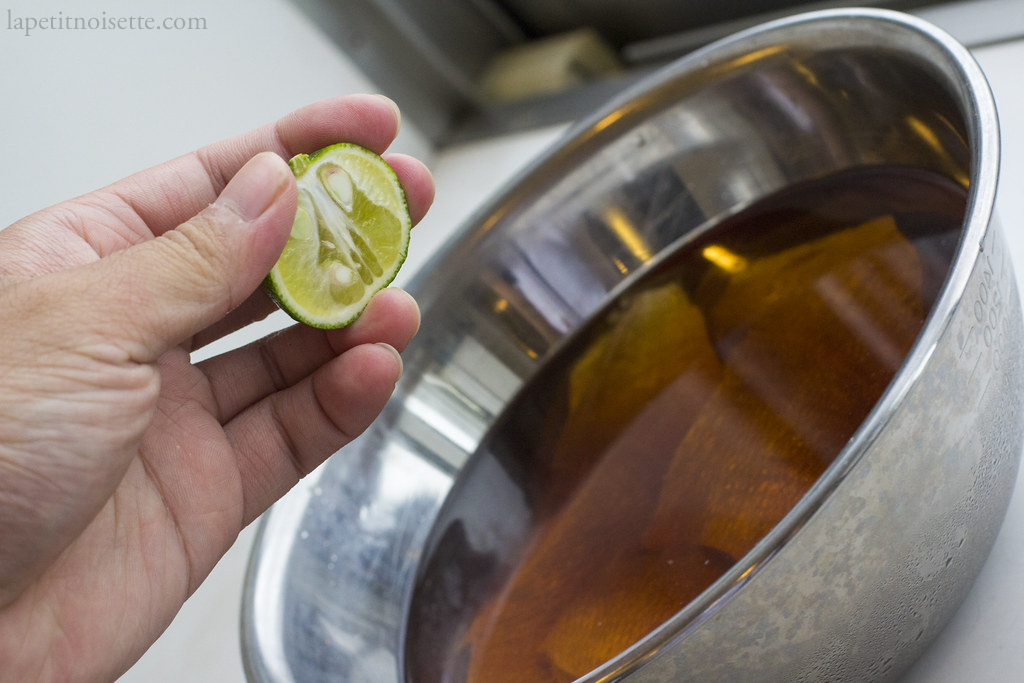
Kabosu (カボス/臭橙/Citrus sphaerocarpa) is a citrus fruit found in Japan. Closely related to Yuzu, it is larger than a green Yuzu and is typically much harder to find. It has a the scent of pine needles similar to the Sudachi citrus fruit, whilst still retaining a lemony character. They are mainly cultivated in Oita prefecture, which makes them hard to find and more expensive outside Oita.
Edomae-style preparation of Kasugo:
Remove the head of the fish and begin the filleting process. This is done by cutting the head on both sides behind the pectoral fin.
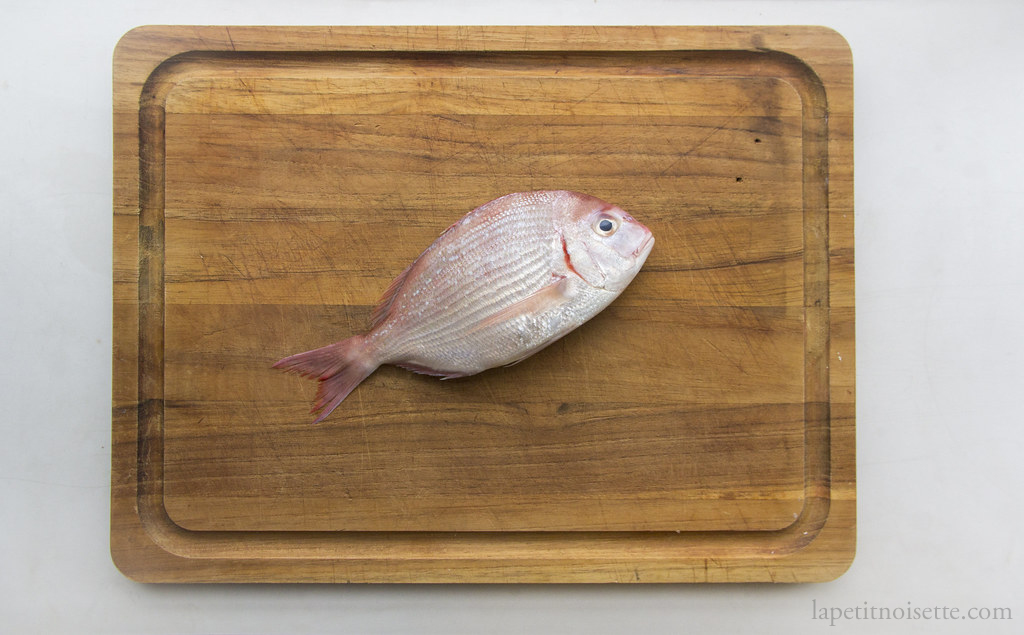
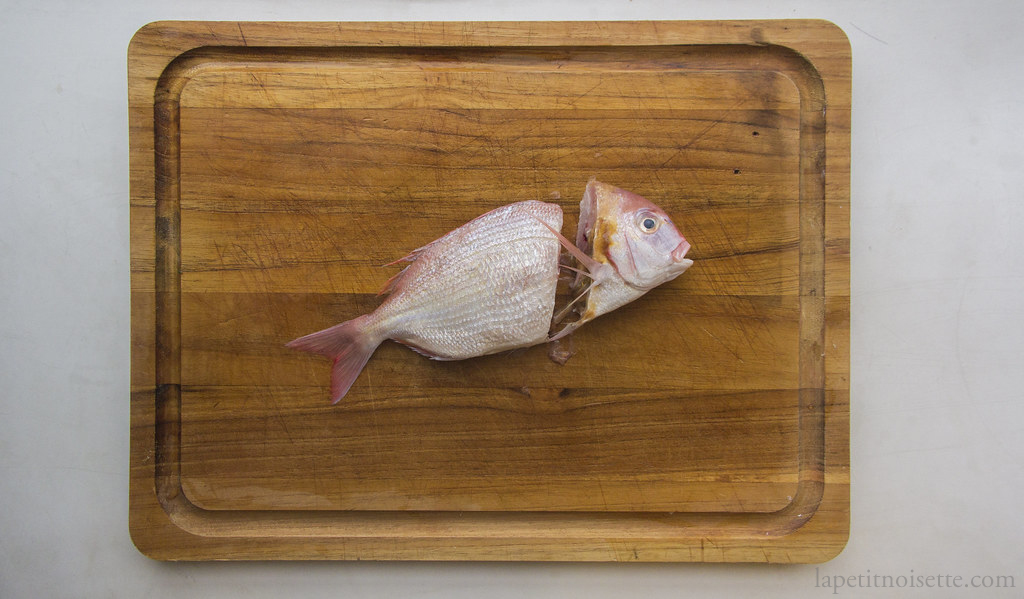
Make a cut down the belly of the fish starting from just below the head all the way to the anus. The cut runs through the pelvic fins, separating them into right and left pelvic fin. The flesh in between the pelvic fin is tough and will require some force. This is why the sharpness of the knife is important. Be careful not to cut yourself.
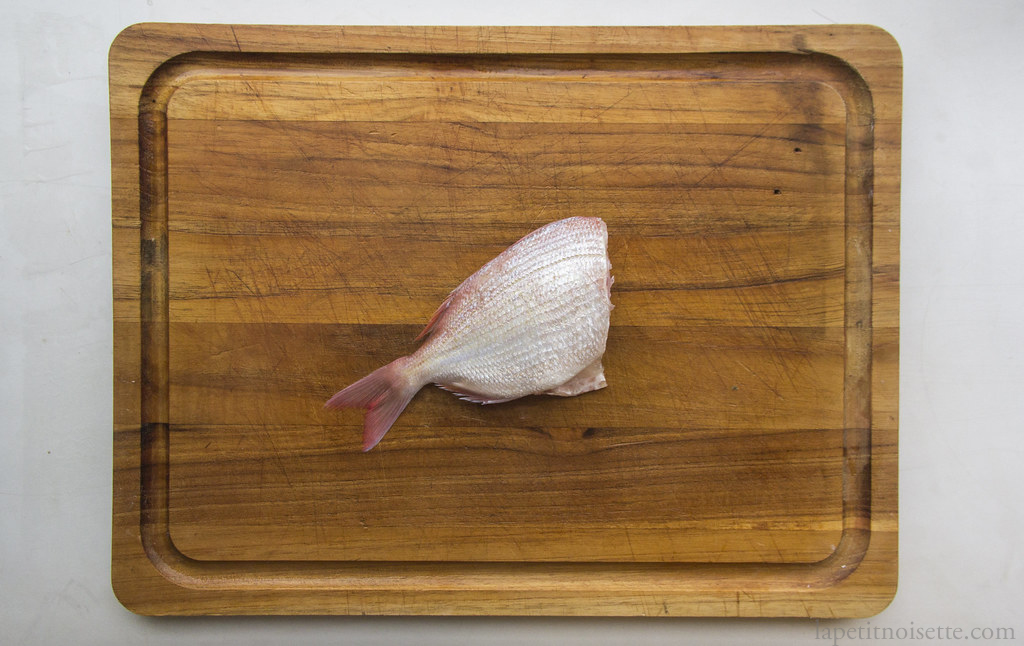
Open up the entire fish cavity and pull away the innards.
The fish’s air bladder is located at the centre of the cavity where the rib cage meets the backbone. The air bladder is connected to a blood line that needs to be removed. Cut open the bladder by running the knife through it all the way to the blood line underneath. Whilst under a light stream of cold water, wash the cavity and remove the blood from the blood line. Use an old toothbrush the remove and bit and pieces.
Start by opening the internal cavity of the fish, inserting the tip of the knife and breaking the rib bones, separating them from the backbone.
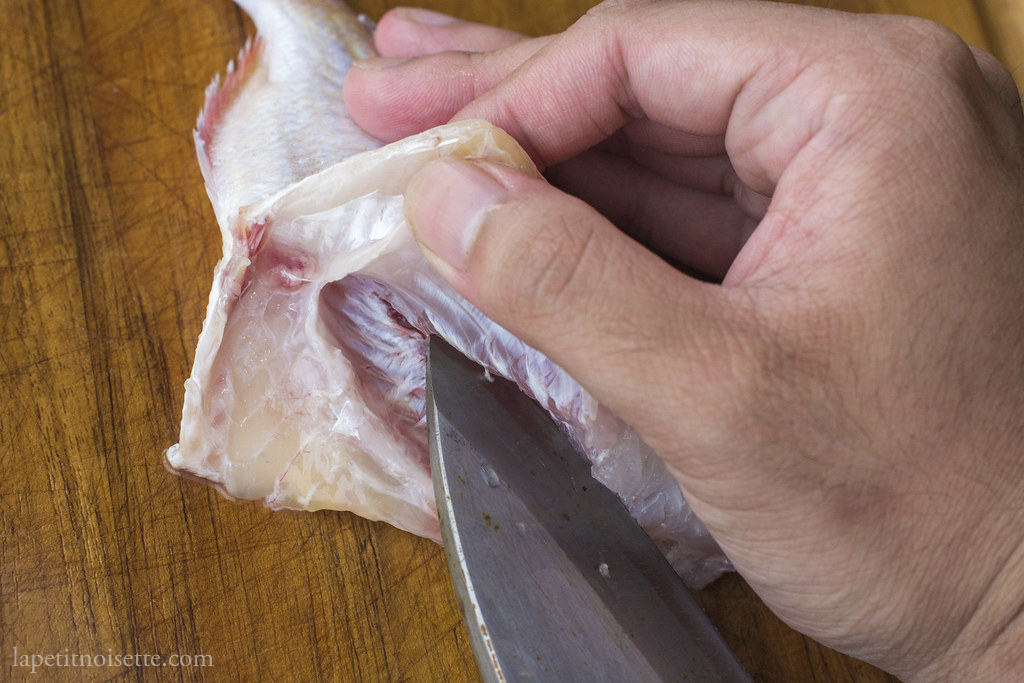
Next, the flesh starting from the end of the belly cavity all the way down to the tail, angling the blade towards the bone.
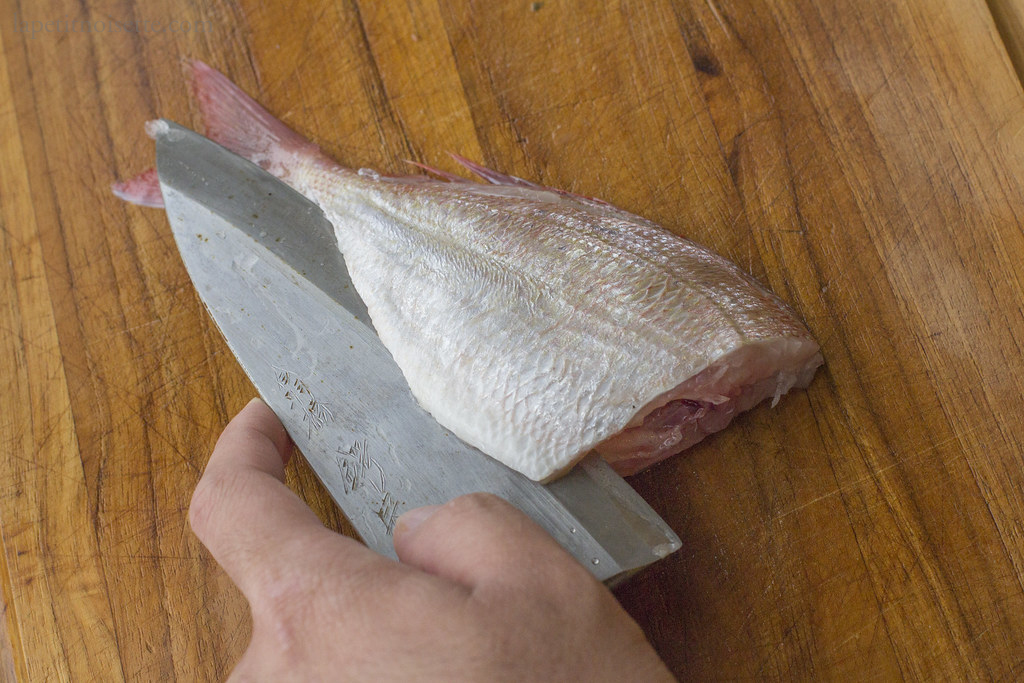
Turn the fish around and place the knife above the dorsal fin. Use your other hand to support the fish. In long cutting motions, separate the flesh from the spine of the fish, angling your blade downwards so that you can feel your blade running along the spine, minimising waste. if the long cutting motions prevents the flesh from being damaged too much from multiple cuts. Cut as close to the spine as possible to prevent flesh from being left on the bone.
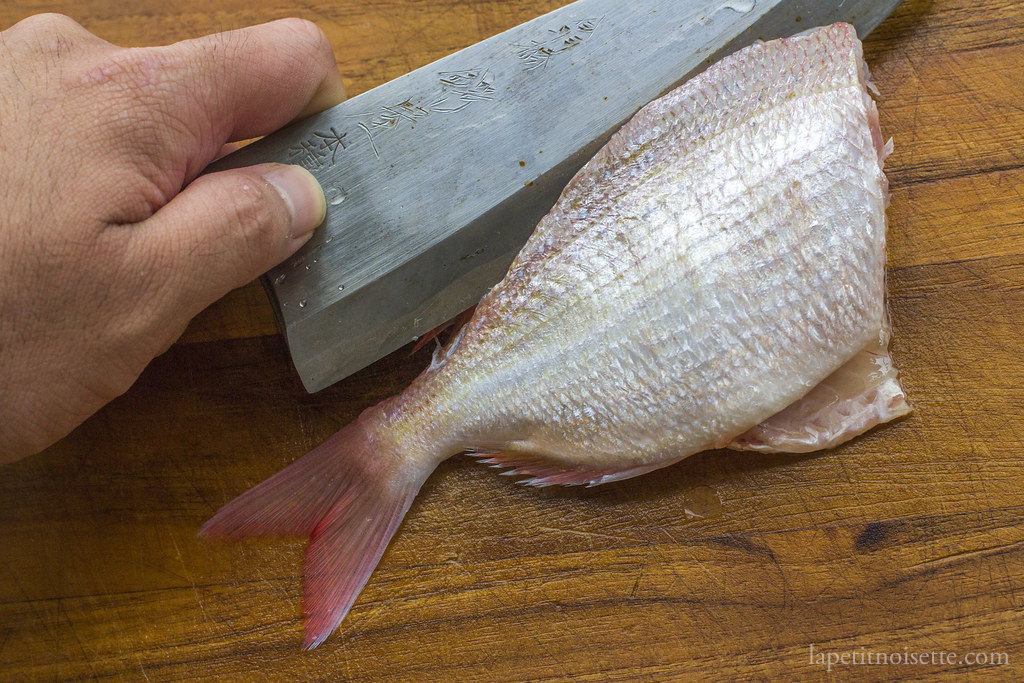
Continue the cutting motion until the entire fillet is separated from the fish. Making an incision at the tail of the fish and cut off the flesh attaching the fillet to the head.
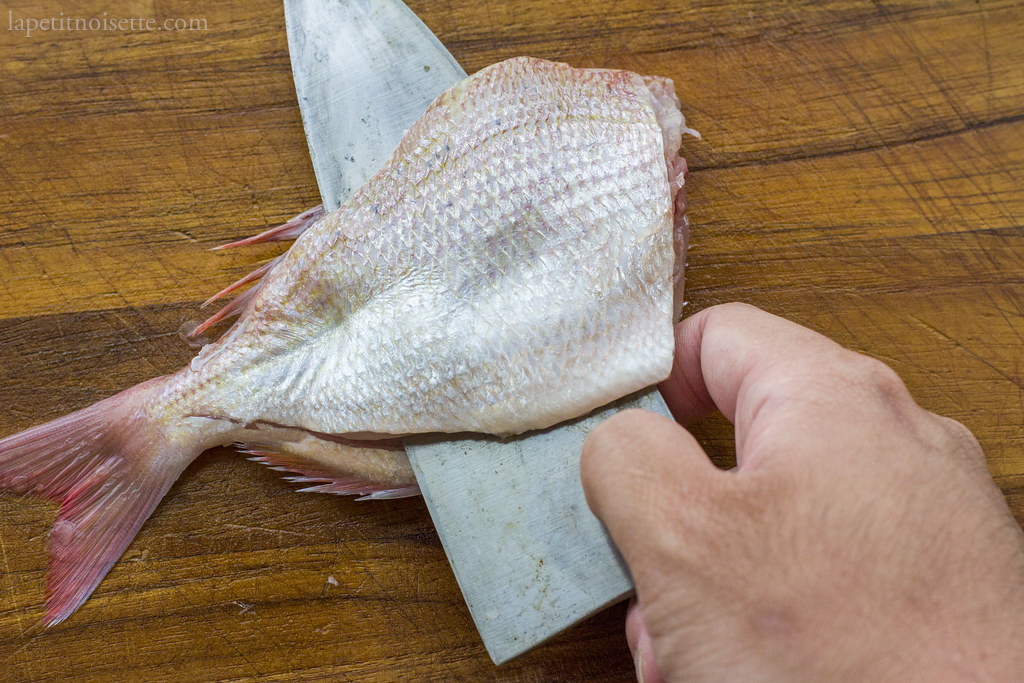
Flip your knife so that it is facing upwards and gently separate the rib bones from the flesh just where it meets the pin bones.
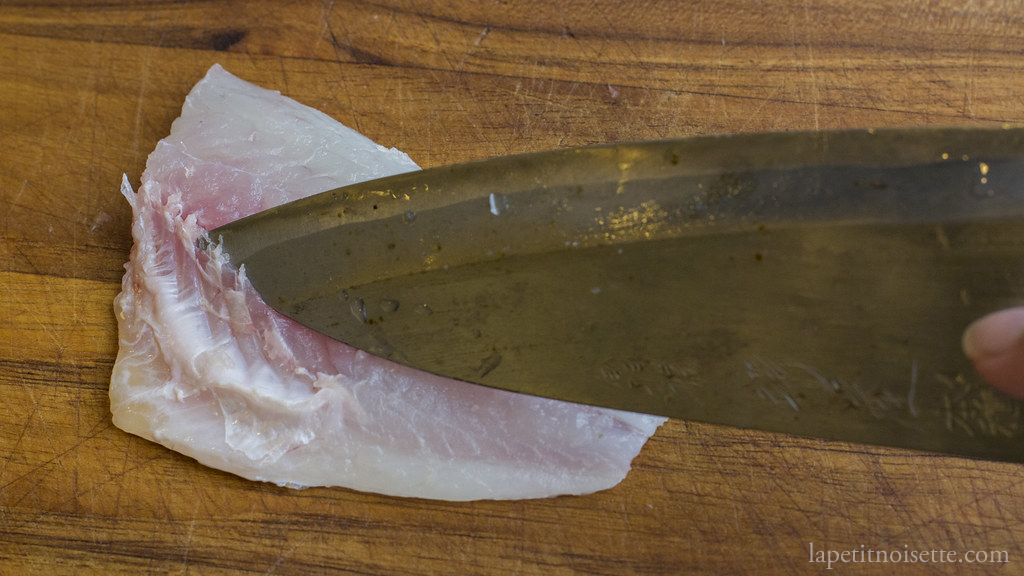
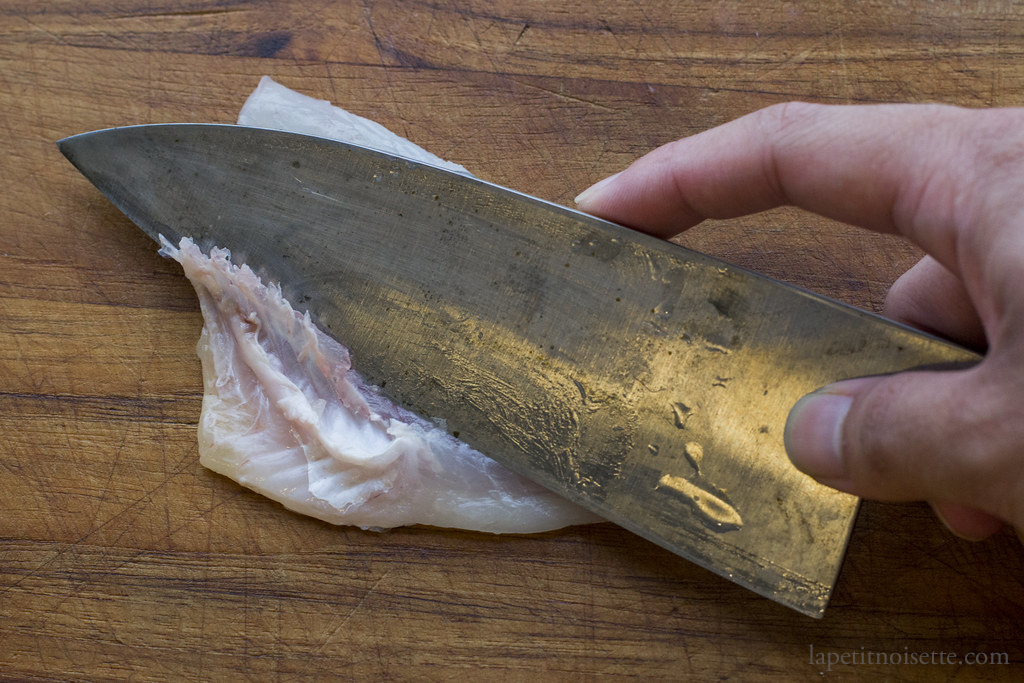
Turn your knife back and place the knife under the rib cage, cutting as to gently separate the rib cage from the flesh, angling the knife upwards towards the ribcage to reduce waste. Don’t worry about cutting yourself as the rib cage should be protecting your fingers.
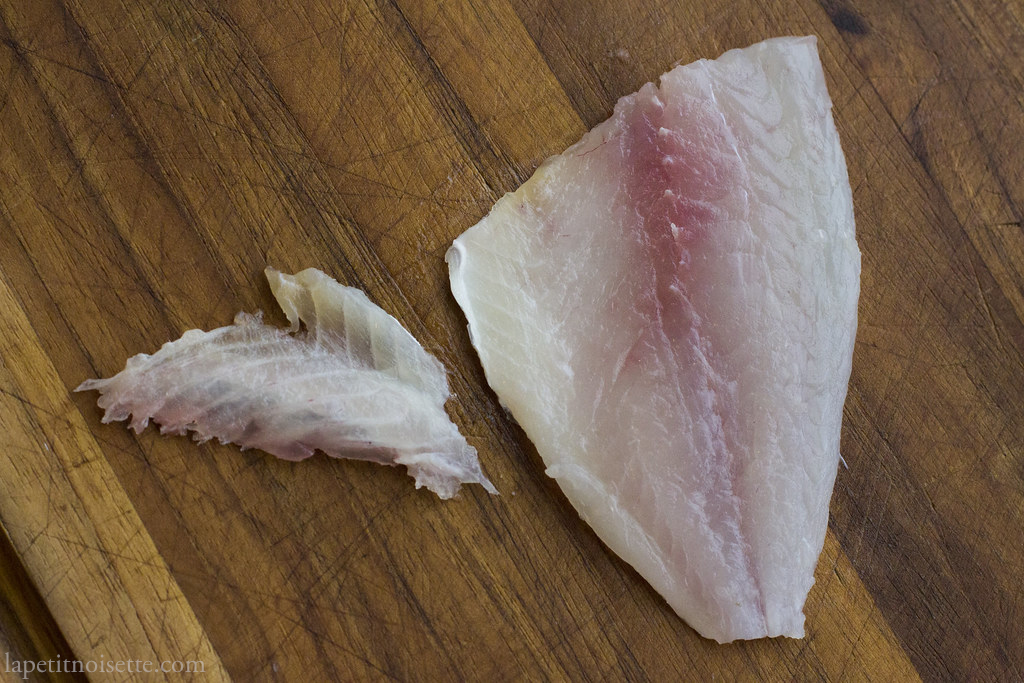
To remove the pin bones, pull the pin bones using a pair of tweezers in the direction towards the head. Pulling the pin bones towards the tail is easier but will damage the flesh. Dip the tweezers in water to clean them occasionally.
Repeating until you can not feel anymore pin bones. Remember to use a firm grip as not to break the pin bones, leaving bone fragments inside the fish. It is better to pull the pin bones slowly and steadily, rather than quickly.
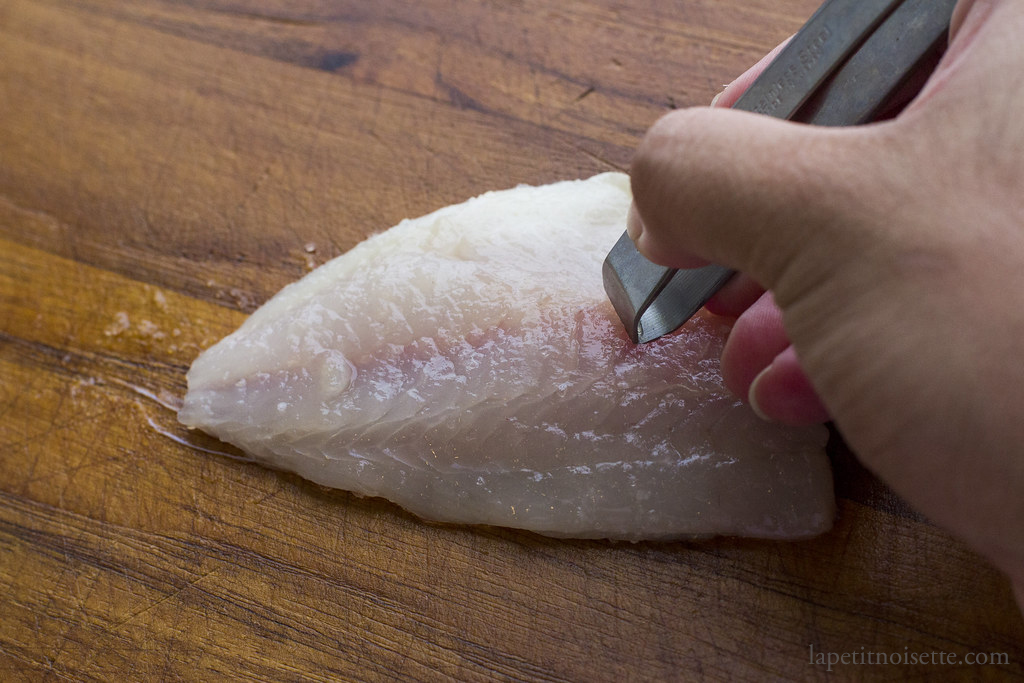
To finish preparing the Kasugo, repeat for the other side of the fish to extract another fillet.
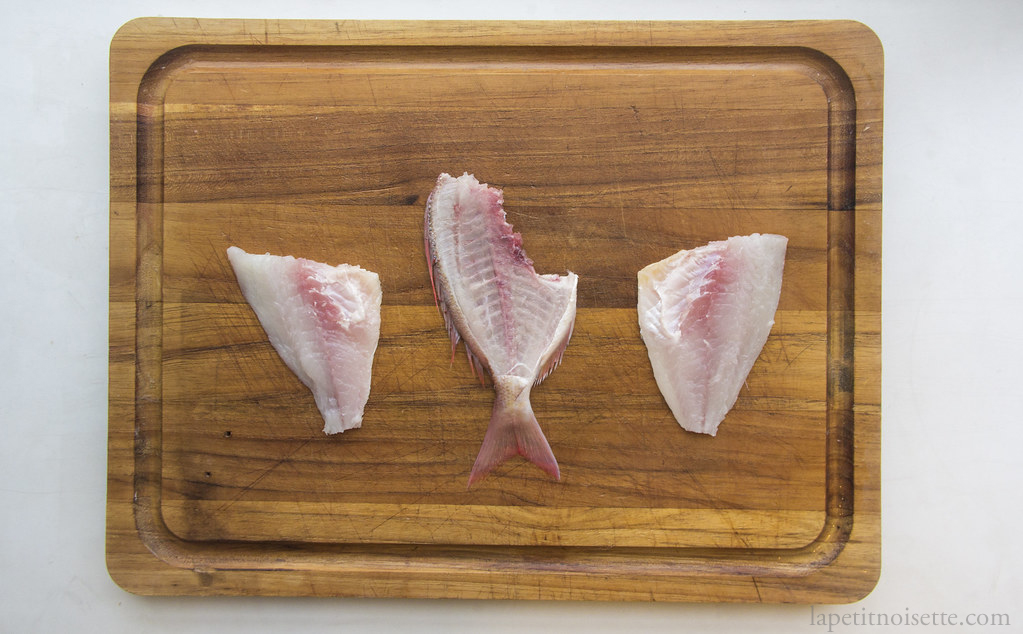
Generously salt a colander and place the fillets on a colander. Salt the flesh of the fish as well.
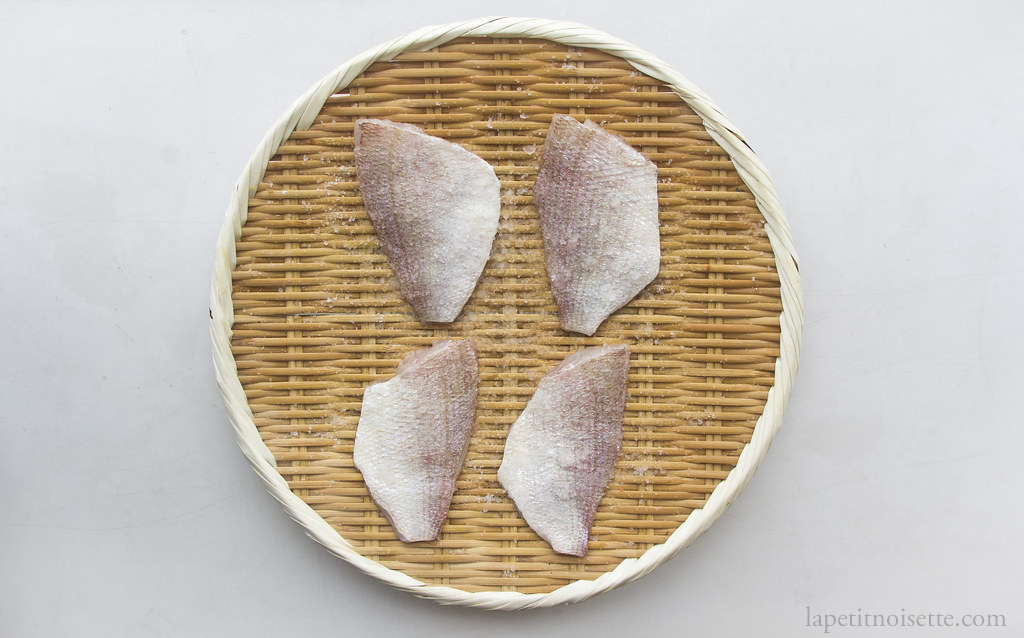
Allow to rest for 20 to 25 minutes depending on the size. During that time, remove the pin bones of the fish. After salting, wash off the salt and place the fillets in a bowl with ice and water.
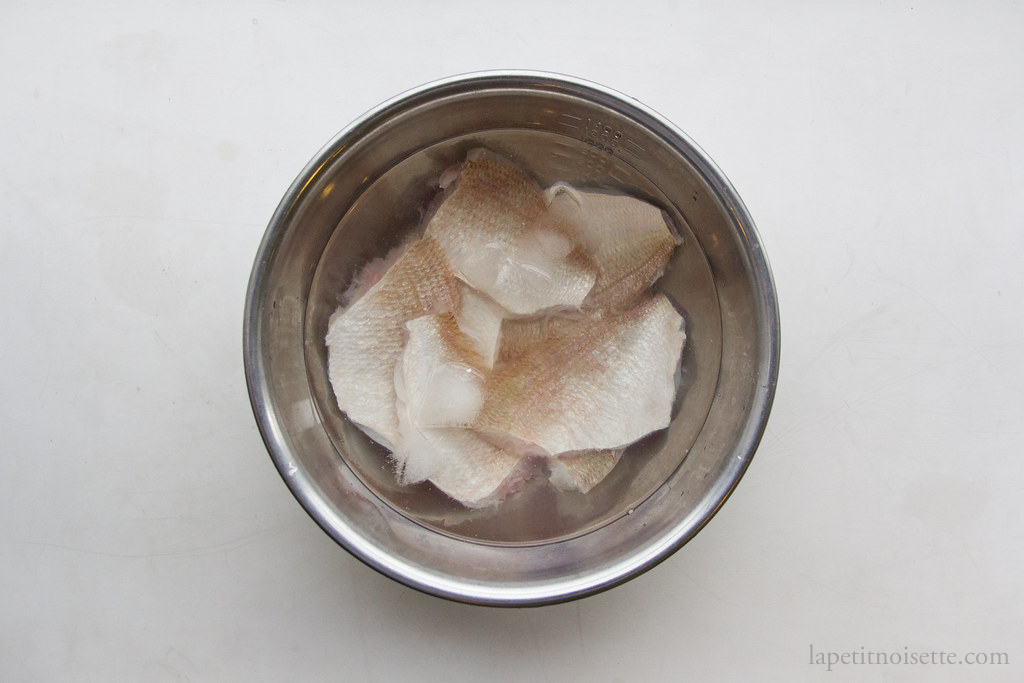
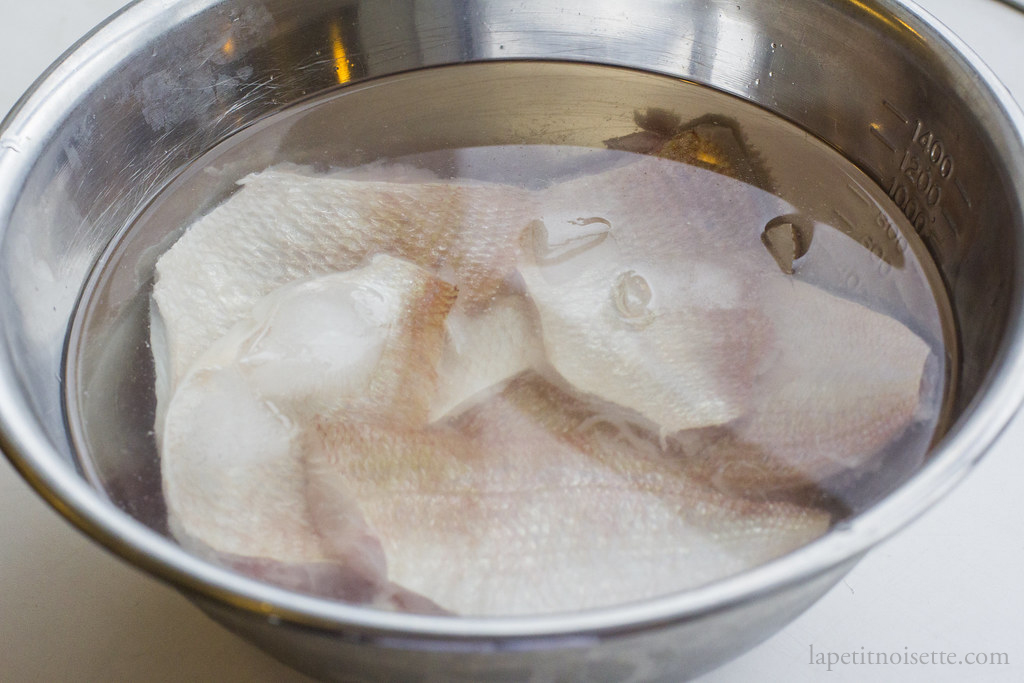
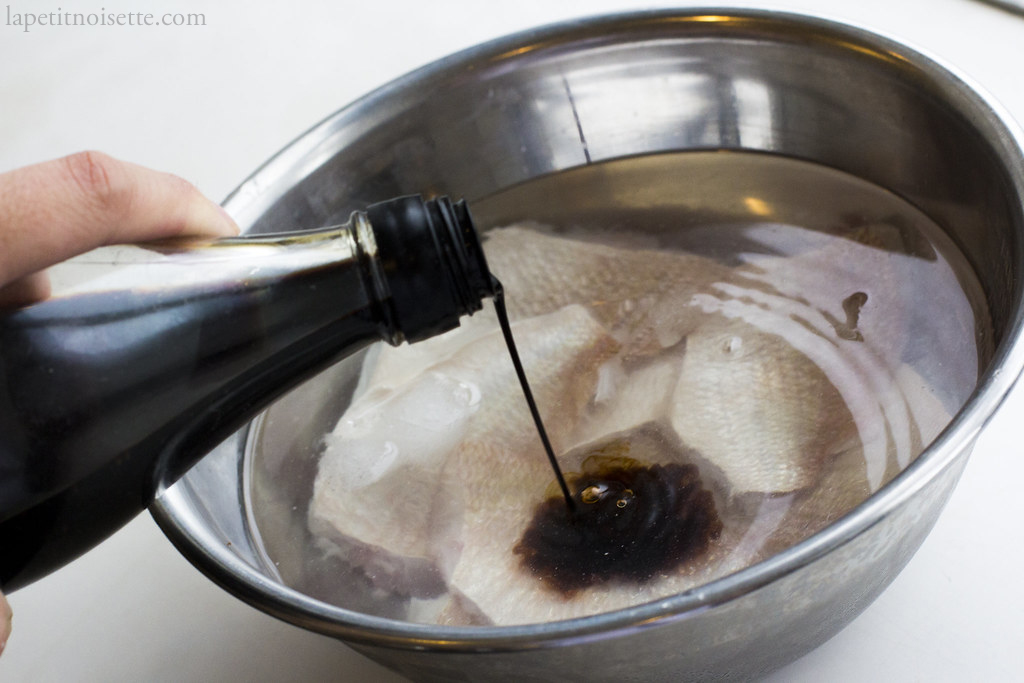
Add white rice vinegar to the bowl to marinade the Kasugo. Traditionally, red rice vinegar is used to marinade the Kasugo but you may not be able to find it.
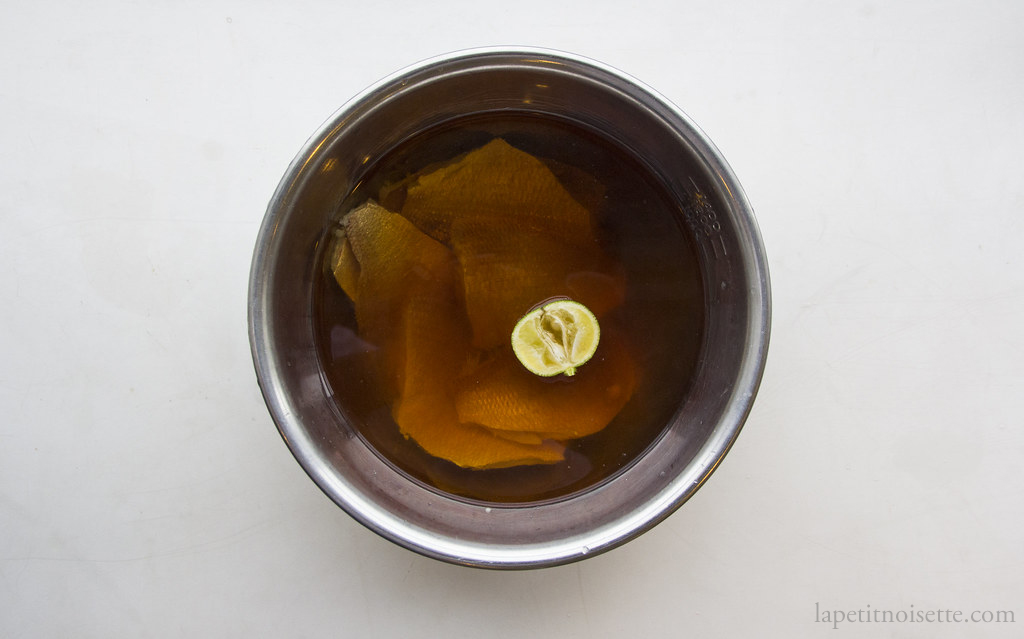
Squeeze half a Kabosu citrus fruit into the bowl and leave the fruit in the liquid after squeezing.
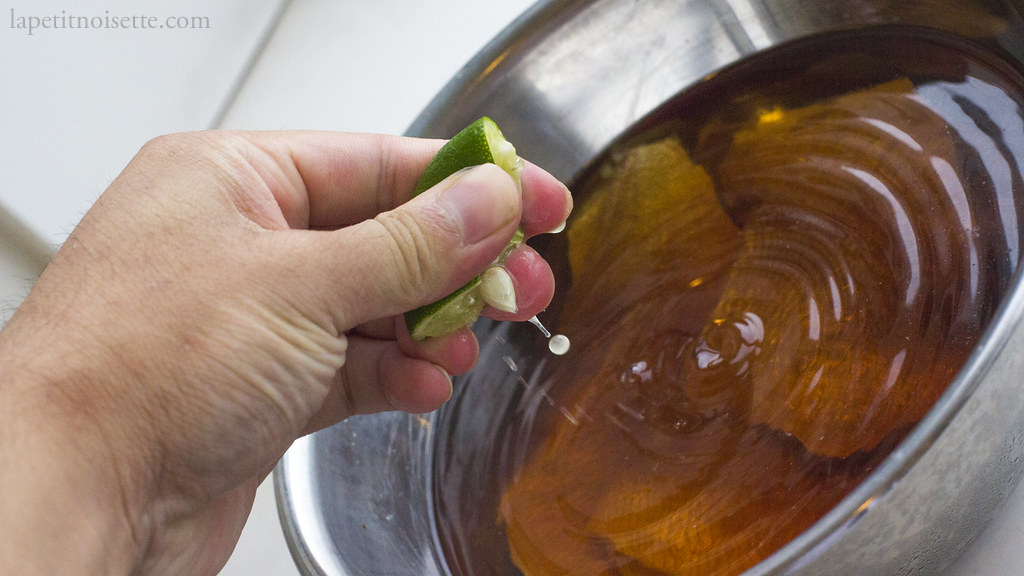
Allow the Kasugo to marinade for 20 to 25 minutes depending on size before draining.
After marinating and draining, we cut the Kasugo fillets down to size to fit a single nigiri. This is to ensure that the nigiri can be eaten in one bite. The excess flesh is grilled and eaten by the staff or used in fish stalk.
We only cut the fillets down to size after marinating to allow to marinate to be more even and gently as cutting the fillets will increase the surface area to volume ratio of the fillets exposed to the marinating liquid.
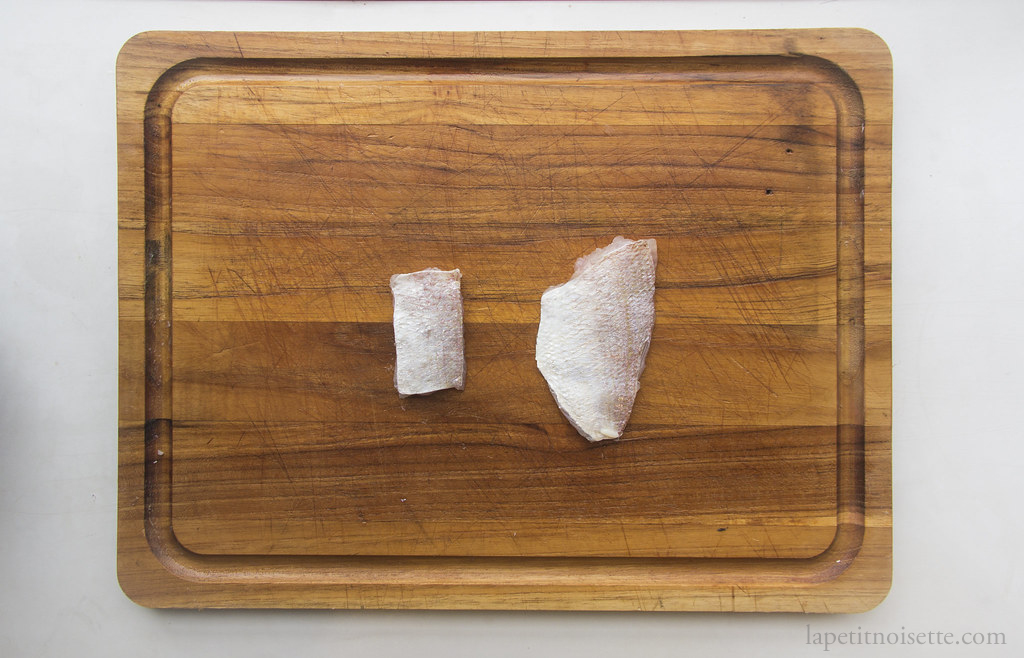
After cutting the fillets, several shallow cuts can be made on the fillet to improve the texture of the fish and make the skin easier to eat, as it skin it not precooked.
This fish does not need aging, huh?This fish does not need aging, huh?
Yes! We never aged Kasugo at our restaurant due to its small size. It was delivered fresh everyday.