This article is part of our tempura series.

Typically seen as garnish rather than a vegetable in itself, myoga (みょうが) is the flower bud of Zingiber mioga, a plant native to Japan that is most commonly known as Japanese ginger. However, unlike common ginger, it does not actually produce a large underground rhizome that is consumed. It is only planted for the flowers that grow between early summer and early autumn.
While it has less spiciness and heat compared to common ginger, it has a much more fragrant aroma that some describe as cooling and almost mint-like similar to that of torch ginger flowers. It is therefore commonly used as a condiment, finely julienned and scattered over tofu or cold somen noodles, or marinated in ginger as served alongside raw fish.
For those who have never seen myoga growing before, you might be surprised to see the tiny flower buds emerge from the soil just as the weather starts to warm. This is because myoga is basiflorous, which means they produce flower buds directly from underground rhizomes which then push up through the soil. Once they poke through the soil as buds, they then flower a few days later. It is here that timing is important, as myoga that is harvested as early as possible when the buds are still tight and firm are sweeter with a more gentler flavour, making it better for eating as is. As the bud matures and begins to open, its structure loosens and the aroma becomes more aggressive, making it less balanced when fried.
When fresh, myoga has a layered, petal-like structure with pale yellow interiors and blush-pink outer sheaths. This structure is key to why it works so well as tempura. When lightly battered and fried, the layers gently separate, allowing steam to escape while trapping aroma inside. The result is a crisp exterior with a juicy, perfumed interior that softens myoga’s sharpness and rounds it into something far more mellow and complex.
In Japan, the most suitable myoga for making tempura are actually those that flower early and produce buds in late spring around May and June. Whilst this may be before their peak season, not only are they sweeter, but have a less fibrous texture to them. Just like when frying new season onions, the layered structure of myoga means that they should be fried gently at a lower temperature for longer to ensure it is cooked through.
Finally, we particularly enjoyed the addition of myoga tempura to tendon bowls that we happened to come across at Mochiku in Tokyo, followed by further testing ourselves. When done well, it acts as a nice palate cleanser between bites without being overpowering. Consider trying it if making a tendon bowl.
Myoga Tempura Recipe
- 1 egg (~50 g without shell)
- 200 g cold water
- 100 g cake flour
- Fresh myoga buds
Trim only the very base of the myoga if necessary and gently wipe clean. If the buds are large, cut them in half lengthwise to expose the internal layers; smaller buds can be fried whole. Avoid cutting too far in advance to preserve aroma.
Prepare the batter following our guide to tempura batter. For advanced batters, this can be made using a light batter as per our tempura batter variations article.
Heat your tempura oil in a pot to 165°C, coat the myoga in flour before dipping into batter and gently lower into the oil, stem first.
Fry until the bubbles emerging from the oil start to become smaller.
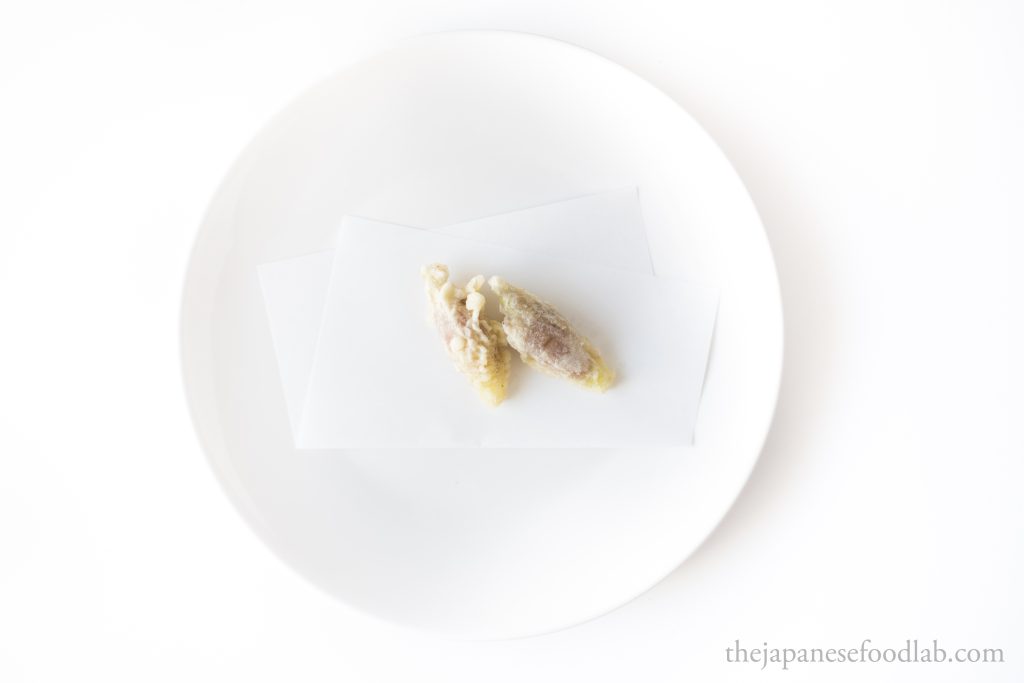
Remove from the oil and place onto tempura paper to remove any excess oil and serve immediately.
