Whilst your standard tempura batter recipe is set in stone and is multipurpose for all ingredients. The more sophisticated end of frying tempura involves varying the consistency and thickness of the batter coating according to the traits of different ingredients.
It’s worth noting that this is not a practice found everywhere in Japan, but carried out by a small number of chefs at high end establishments. This is not only because the technique is difficult to master and achieve consistent results with, but because it’s more suitable for an omakase style menu where you have many courses of specifically chosen ingredients. For restaurants that sell set meals such as tendon bowls and lunch specials, it’s much more efficient to go with a slightly thicker and stable batter for all ingredients so that the tempura maintains its crispiness for longer as these meals are designed to be served all at once.
Put simply, ingredients that require a thicker batter can simply be made by adding more flour or less water and egg, whilst tempura that requires a thinner batter can be made by adding less flour or more water and egg.
If you wish to try it out for yourself, the simplest method is to simply add or reduce the amount of water in your tempura batter recipe and then make separate bowls of batter to use. A much more advanced method is to vary the thickness of the batter within a single bowl by adding flour or water to different areas on the surface of the bowl and mixing it in.
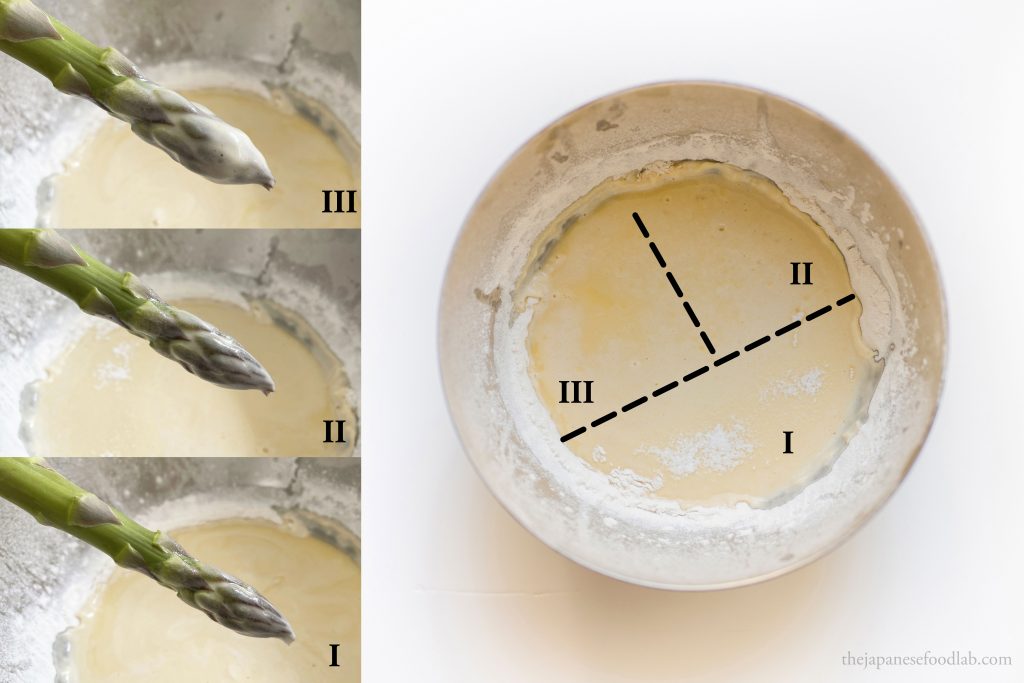
The picture below shows how it is done, as well as examples of the resulting consistency of batter you’d wish to achieve when coating your food. Bear in mind that the degree to which the consistency of your batter will thicken when flour is added will vary depending on the type of flour you use. Therefore, some level of experimentation will need to be carried out for yourself.
How to vary the consistency of your tempura batter
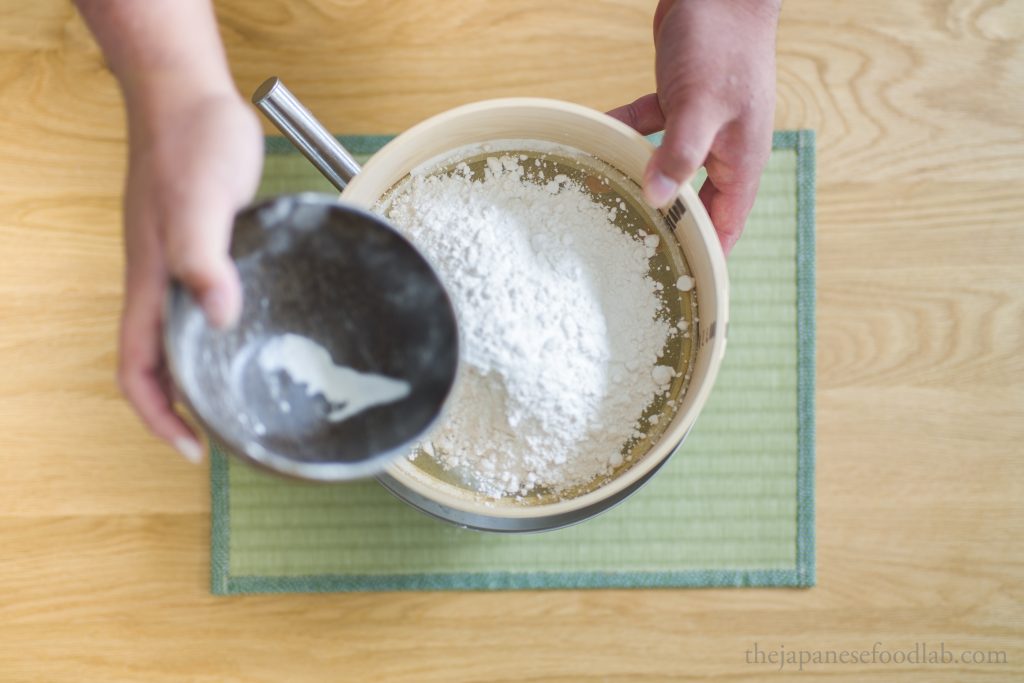
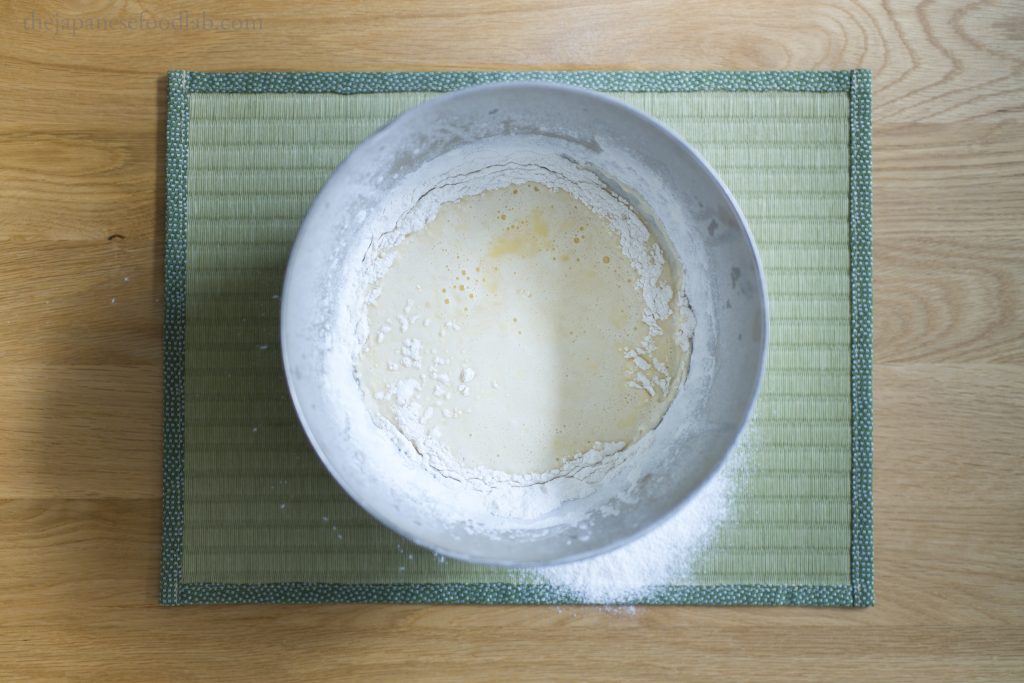
To begin, start by making your standard batter. We outline our recipe in our article and also the science of tempura batter.
This standard batter is what we would call normal consistency and is labeled as section II in our diagram. It is our go-to batter that yields a melt in your mouth yet crispy tempura crust.
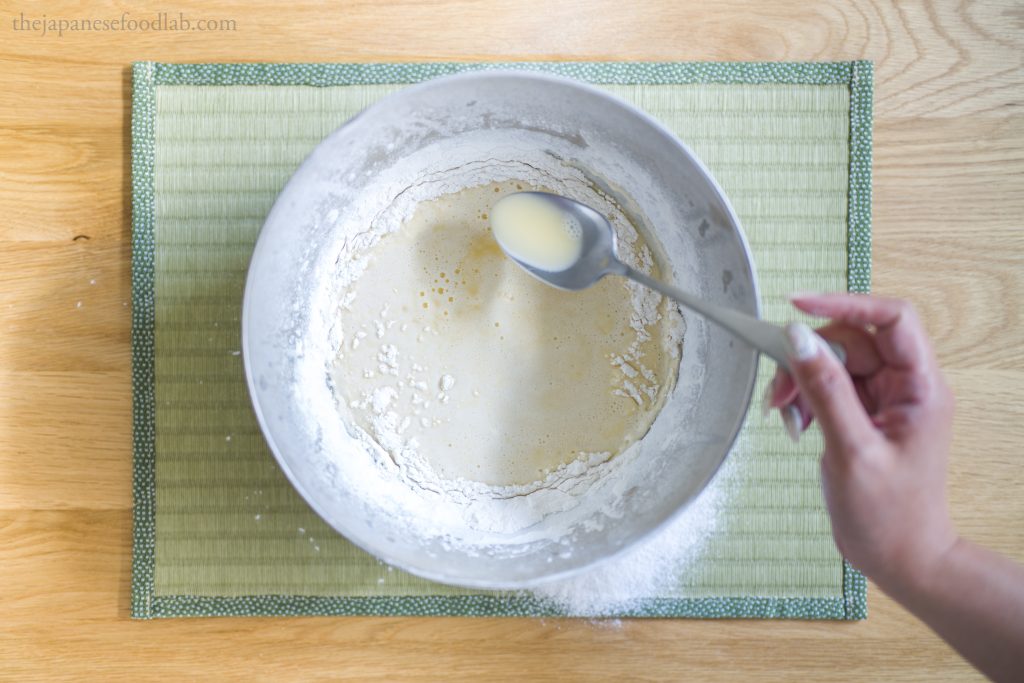
To produce a region of batter with a thinner consistency, simply use a small spoon to add in a little water or water mixed with egg to the batter and gently mix it in with some chopsticks. This is labeled as section I in our diagram. As you can see, it barely clings to the asparagus tip. You’ll most commonly find thin batter used for fish, or for kakiage style tempura (かき揚げ) where many small pieces of ingredients are fried together into a disc of tempura. For example, sakura shrimp (桜海老) or the adductor muscles of surf clams (kobashira/小柱).
To produce a thicker consistency, you have the option to either mix in some of the leftover ring of flour into the batter, or sieve a little flour over the region and then mix it in with some chopsticks. This is labeled as section III in our diagram. From the image, you can see that it coats the asparagus tip well. When fried it leads to a slightly thicker crust and therefore needs to be fried a little longer. Due to this, it naturally stays crispier for longer after cooking but can have the problem of masking the delicate flavor of lighter ingredients.
Now that the different regions of tempura batter have been set up, chefs can easily vary the consistency and characteristics of their batter to suit the ingredients by choosing where in the bowl to dip the ingredient into. In addition, chefs can continue to manipulate their batter by either adding more flour or more water to different areas, changing the consistency on the fly.
This is definitely one of the more interesting advanced techniques that we have come across, and also one of the hardest to learn. Even throughout our experimentation, we have found this particularly difficult to master. After some trial and error, we thought we’d leave you with tips we have found helpful. Because this technique was conceived of in a commercial environment, we have found it works best for large batches of batter in a large bowl. We have found it difficult to use this technique for batter volumes less than 700ml liquid (calculated before the addition of flour). Varying the consistency of batter is also easier to do with batter that has a longer lifespan, which can be done by placing your bowl of batter over an ice bath. After cooking many pieces of tempura, you’ll probably find the different regions of batter consistency start to combine together. At this point, it’s possible to re-adjust the consistency by gently mixing the batter back together and starting from this baseline instead, shifting in more flour or water if necessary.
Tempura ingredients by batter consistency
The list below is what we have found works best for us, combined with other pieces of advice we have been given by different tempura chefs. It should only be taken as a guideline and can vary based on the quality and characteristics of your local ingredients. For example, there can be huge variation in eggplant moisture content depending on climate, rainfall and when it is harvested. A thin batter is appropriate for the typical eggplant you’d find in Japan that tends to have a lower moisture content but a higher moisture content would warrant a thicker batter.
Enjoy the journey experimenting for yourself 😉
Section I- Thin batter ingredients
- All kakiage style tempura including:
- Kobashira (prepared kakiage style)
- Sakura Shrimp
- Oysters
- Milt
- Ayu Sweetfish
- Perilla leaves
- Asparagus
- Broad beans
- Bamboo shoots
Eggplant - Chestnut
- Matsutake mushroom
Section II- Standard batter ingredients
- Zucchini
- Kabocha
- Lotus root
- Shiitake mushrooms
Section III- Thick batter ingredients
- All squids and cuttlefishes
- Hamaguri Clam
- Abalone
- Scallop
- Kisu
- Prawn
